If you decided to grow your own herbs this past summer like me, then fall is the time of year to dry those herbs for storage to use in the winter. I was totally excited and nervous to try this out, but it ended up being a lot easier than I thought.
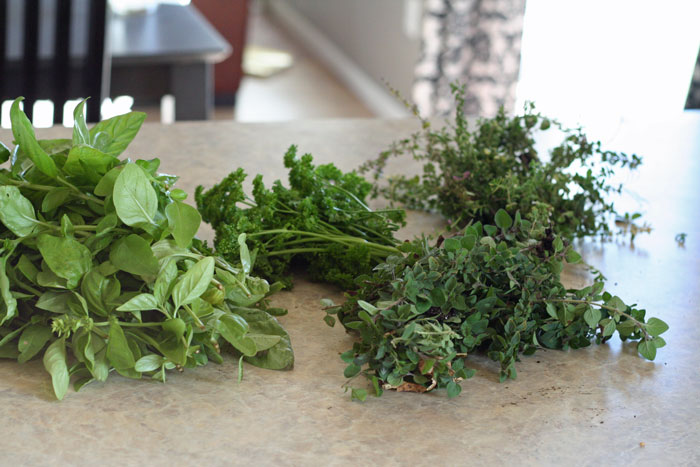
I love that the herbs from my garden are pesticide free and organic. I dried some oregano, thyme, parsley and basil.
Here are a few methods that I learned from fellow homesteading friends that you can use to dry your own herbs.
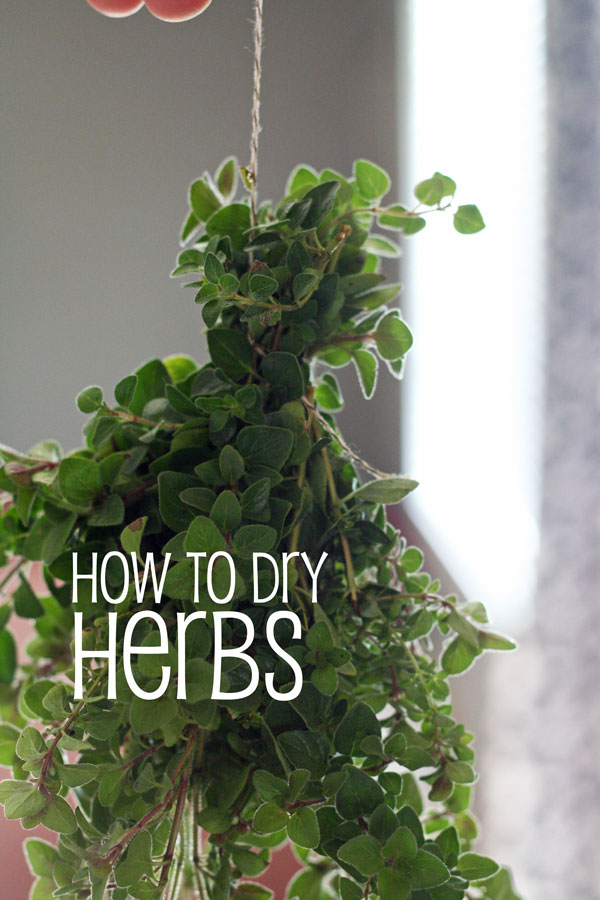
Hang-Dry Indoors
The easiest method for drying herbs is to hang dry them. Take the herbs and rinse them cool water.
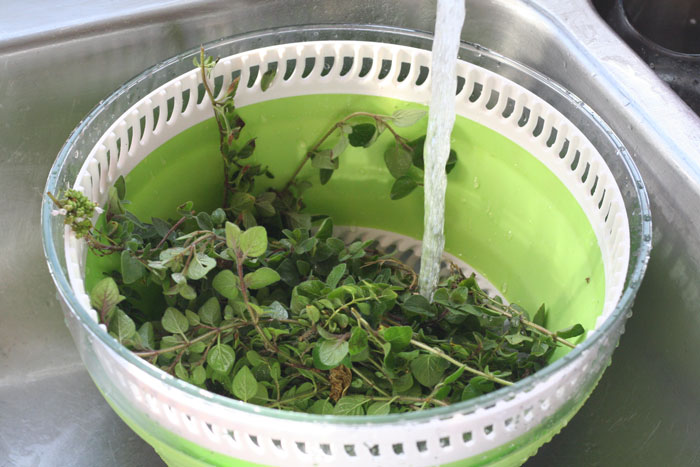
Shake off the excess moisture and remove any leaves that are bruised or soiled. Tie the herbs into bundles (about 4 to 6 branches). Hang them up to dry.
One tip to save falling leaves is to place in a paper bag when you hang them upside down to air dry. Tear or punch holes in the side of the bag, especially near the tie at the top of the bag to allow for air circulation and to aid in drying. Having a bag attached will make it possible to catch any leaves that fall off.
It’s better to hang them up in a dry room away from direct sunlight because you’ll retain better color and more flavor than hanging them outside (plus for this time of year, hanging them outside is probably not dry enough).
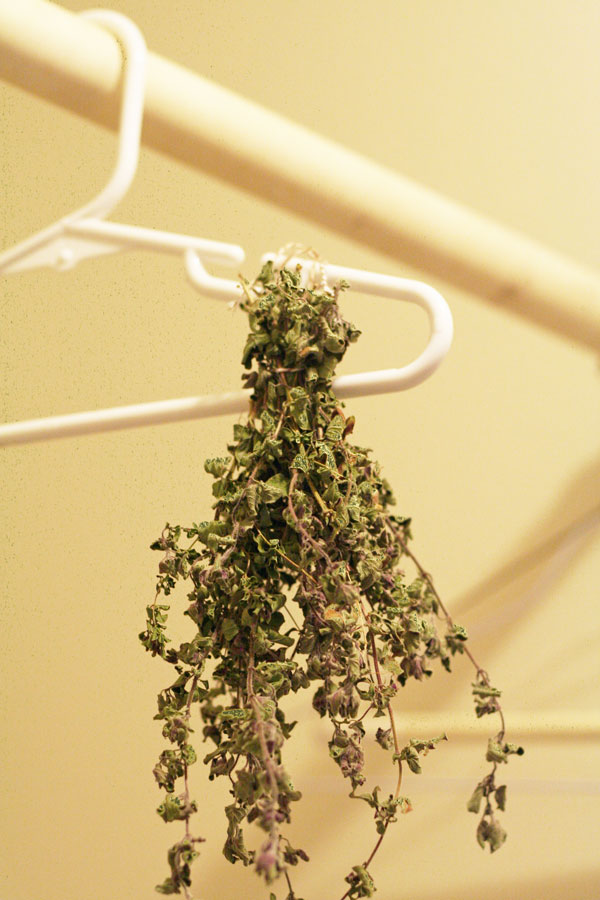
I hung them in little bunches on a hanger over my dryer in the laundry room. After about a week and a half the leaves had all dried to a crisp and were ready to store. Well, all except the basil, that one is taking forever!
Paper Towel Drying
For herbs like mint, bay leaf, and sage, it might be helpful to dry each leaf separately to allow for the best results. To do this, take a paper towel and lay each leaf side by side so that none are touching each other. You can add more paper towels—up to five layers—using this method. Place in a cool oven turning on the oven’s light. They should be dry overnight.
I also tried just drying them on a cookie sheet with a piece of parchment. Worked well.
Using a Dehydrator
Even though I don’t own a dehydrator, I read that one of the fastest and easiest ways to dry herbs is by using a dehydrator. Preheat the dehydrator to a temperature of between 95 and 115 degrees F (though if you live in a more humid area, you may need to raise that to about 125). Once you’ve rinsed the herbs and shaken off the excess moisture, place in a single layer on the tray. Drying times will take between 1 and 4 hours depending on the herb. You know that they’re done if the stem easily breaks rather than bending and the leaves crumble.
Drying in a Microwave
Using a microwave is really convenient, especially if you only need to dry a small amount of herbs. It’s also really helpful for humid areas where air drying might be difficult.
Separate leaves from their stems. Place a paper towel on a plate and then place a single layer of leaves with another paper towel over the top. Microwave on high for one minute, but monitor the herbs as they cook to make sure they don’t start burning. After the first minute, continue heating and checking on the herbs every 30 seconds until the herbs are dry.
Tip: The best time to harvest is early in the morning before they are burned by the sun but after the dew has dried.
After they have Dried
Once they are dry and crispy they are ready to be stored.
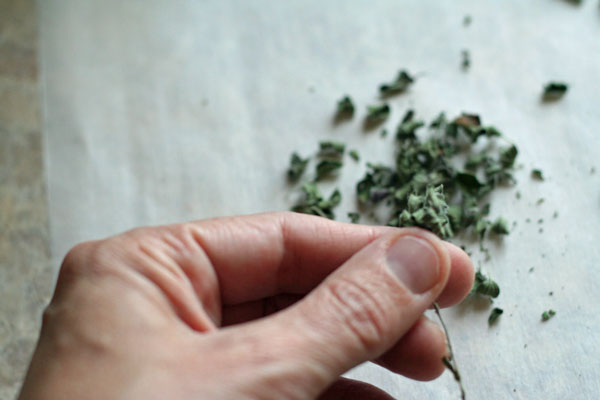
You just remove the dry leaves from the stem.
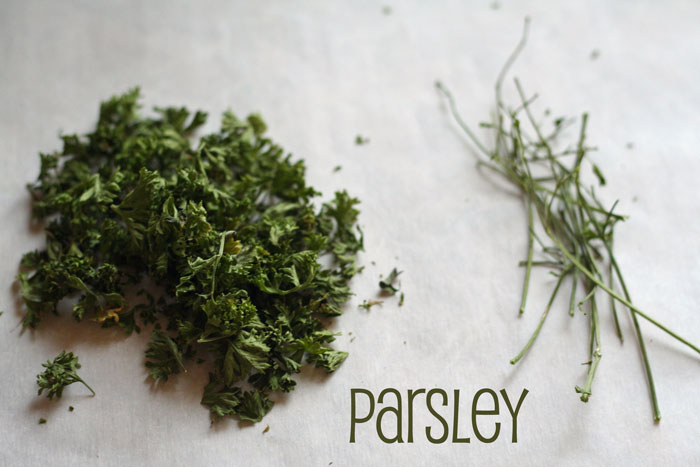
I saved one of my used empty Costco parsley containers so I could refill it with my own dried parsley.
It would have been full of dried parsley, however my bunch fell off the hanger in the laundry room and I was only able to save a few parsley branches. Oh well, I still have ton of fresh parsley growing in the garden to dry.
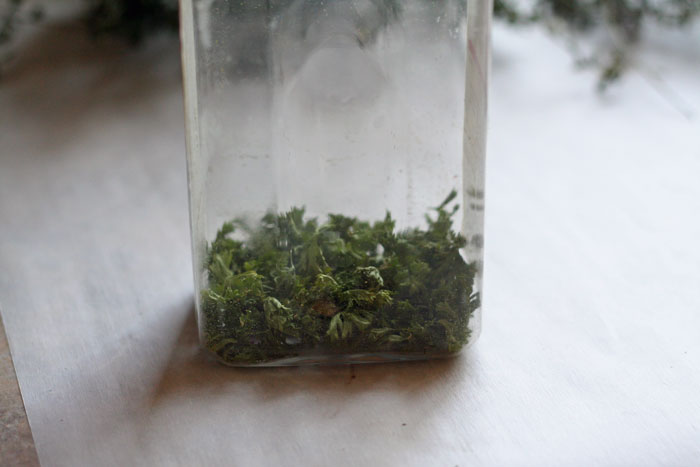
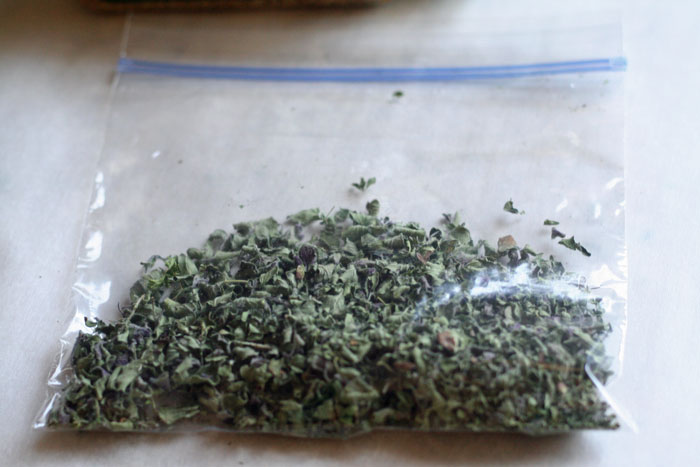
Or you could also just add your dried herbs to baggies.
I am also thinking of ordering up these nifty little containers as well to store them all vintage-style.
What herbs have you dried? What is your favorite method for drying herbs? Do you think that herbs you’ve dried taste better than dried herbs from the spice aisle at your grocery store?

About Karrie
Food is my love language. But so is saving money. So I like to combine the two a lot and make thrifty make ahead and freeze meals to save time. Because life is busy, and freezer meals can come to the rescue for all of us. And yes, they actually CAN taste good. Read more...


Comments & Reviews
Florence says
I hung my parsley to dry for a few weeks. When they were dry, I removed the leaves from the stems, but they did not crumble. I then laid the leaves out to for a few more weeks. They still do not crumble in my fingers like my sage & basil do. What am I doing wrong?
Carolyn says
I put my herbs in a paper bag and stick them in my car. Summer days can make it the perfect place to dry herbs as long as your car is free of people smashing it. Flip the bag a few times.
Happy-Money-Saver says
Great tip!!
Rachel says
I had my first garden this year and froze my herbs in little containers with lids. The kind you make jello shots with, just filled them with water. I tried hanging some upside down to dry but it they never really dried out too much. How long do they have to hang?
Denise Yamas says
You don’t have to go to all that trouble. I simply snip mine out of my herb garden and throw them in small paper bags, then hang the bags inside or even throw them on top of the fridge for a week or two. For one, if you leave herbs out to dry like most tell you, you loose a lot of flavor and smell. The paper bag will help with drying. Then just slide the dries leaves off the stalk, and put them in an air tight container. It is not that complicated. Good luck.
dawn says
I normally just air dry my thyme and oregano on paper towels. Got fancy this year and bunched them with rubber bands….got to thinking that so much stays unused out in the garden, so I gave a bunch of bunches 🙂 to Bible study group members.
I sooo have a stevia drying story….my little plant that I’ve been nurturing all summer yielded a measly 2 tsps!!! After swirling the dried leaves in the Cuisinart, I found that the darn things just floated on top of my tea…geeez…..!!!!
Karrie says
Oh no!! I have never tried growing stevia, I can’t believe you only got 2 tsp!!
Michelle says
I dry mine in a dehydrator until they are crispy. Then I just use mason jars to store them. I usually fill them to the brim with each herb that I grow, and then I have plenty to share with neighbors, friends, and family.