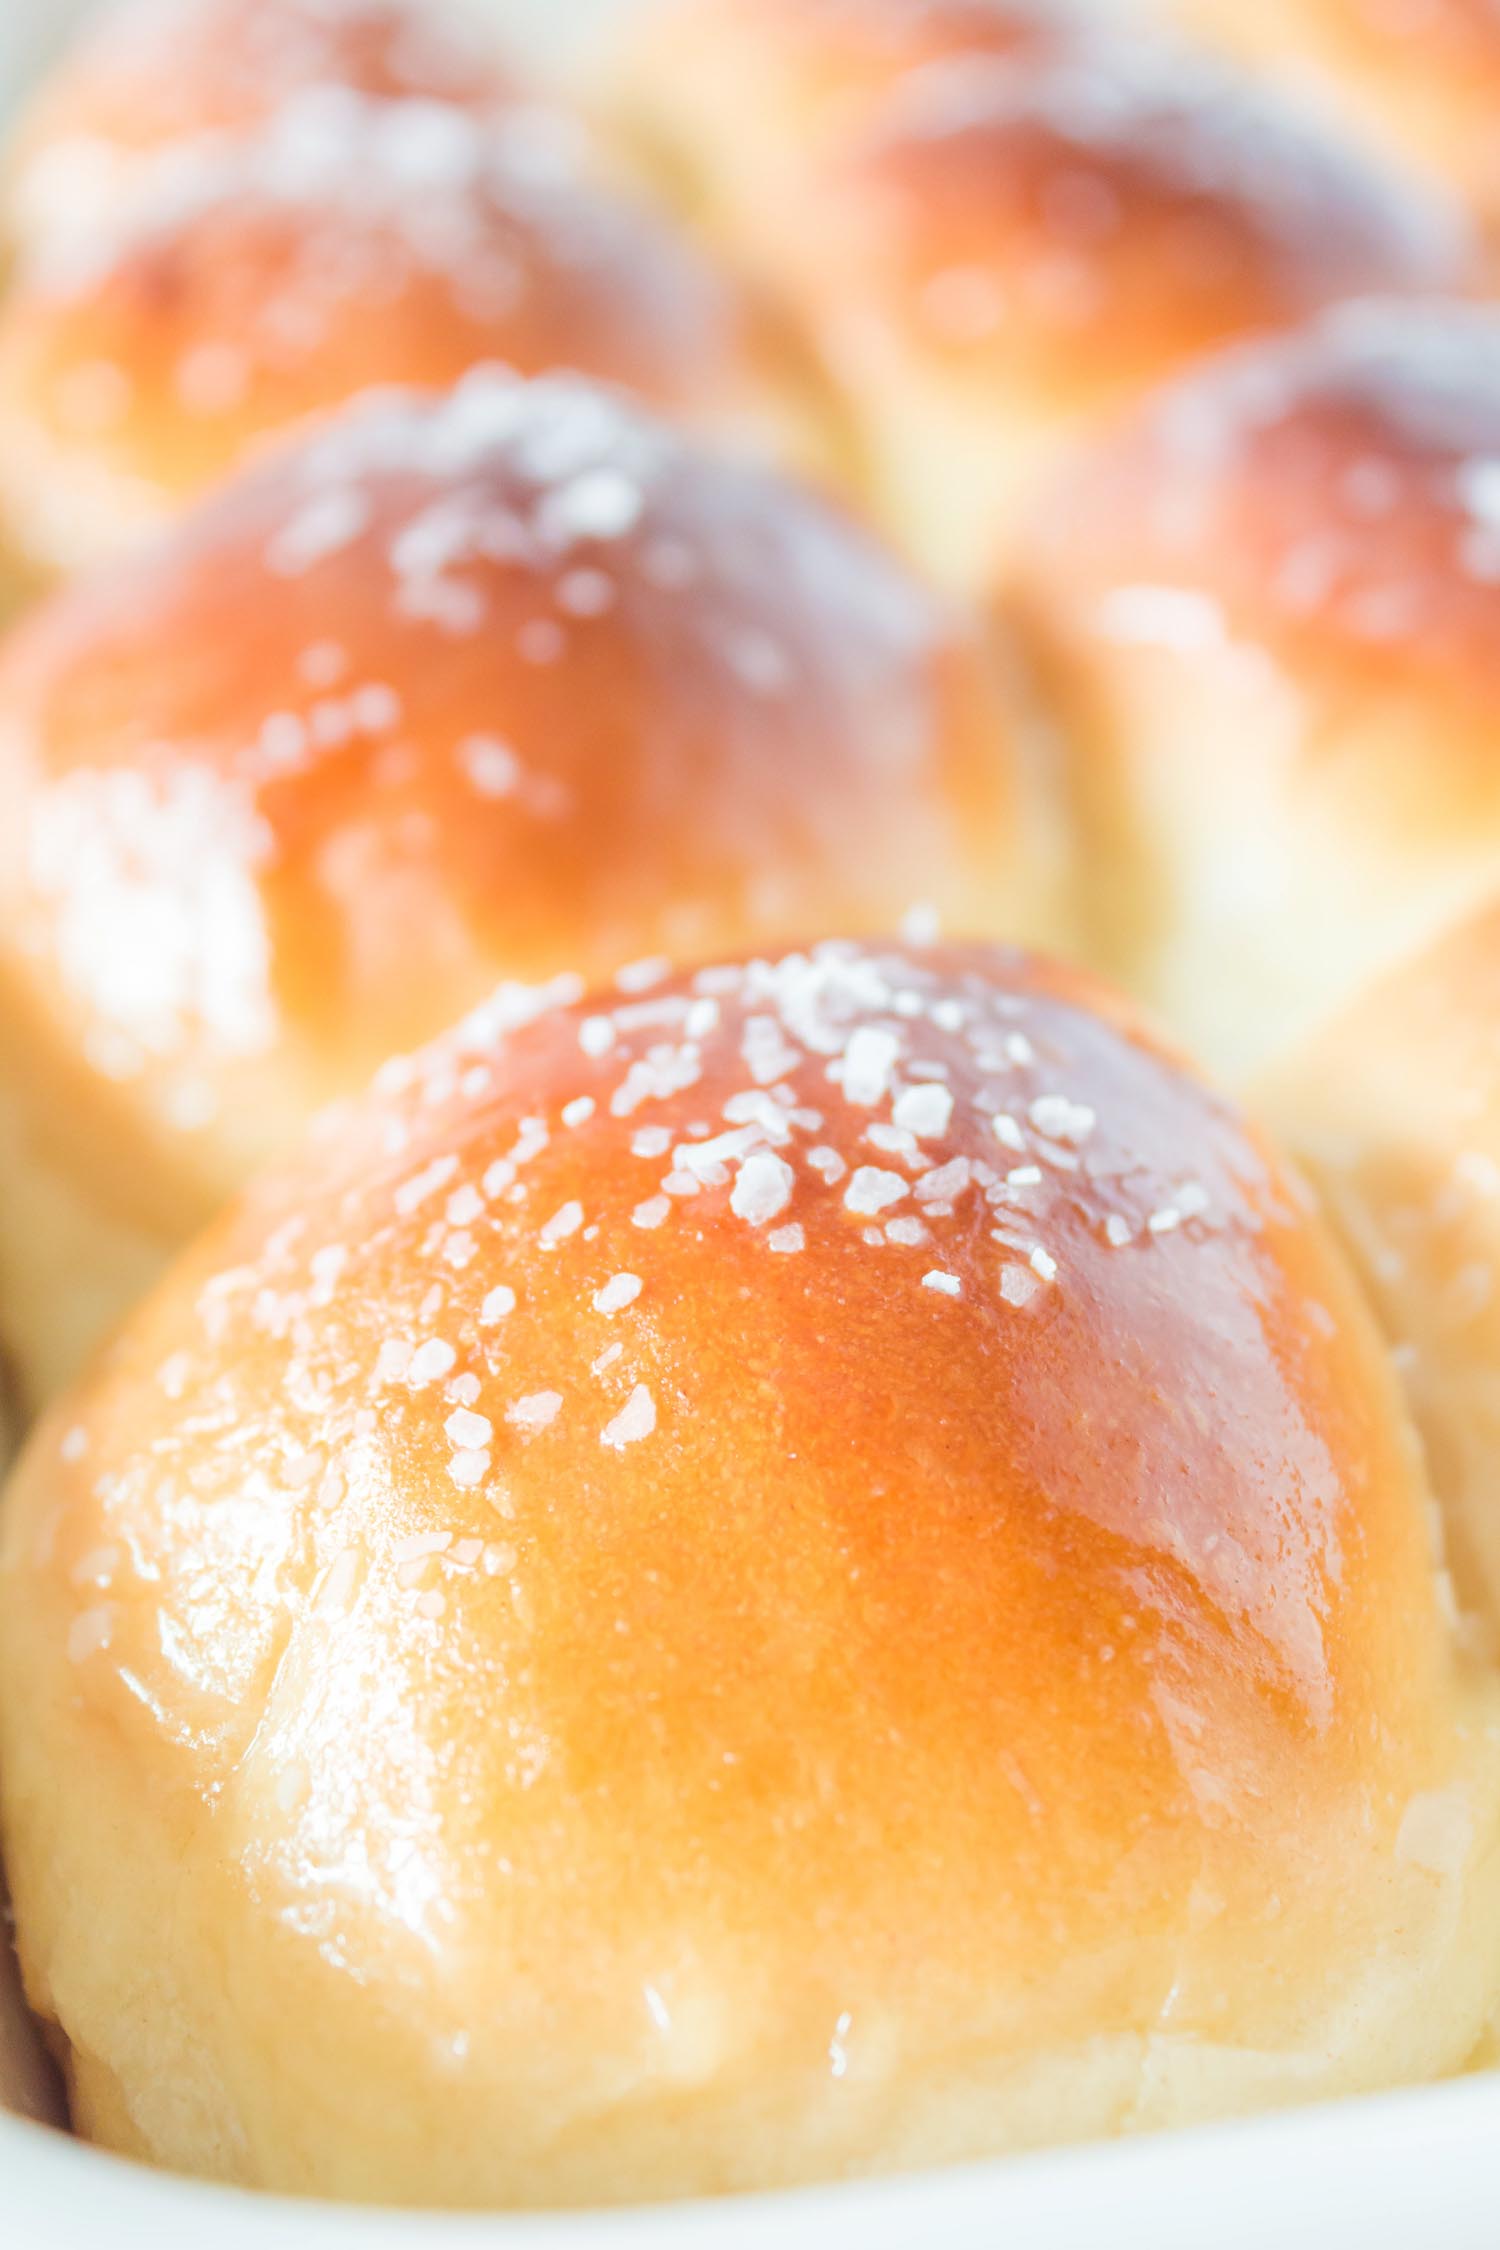
These soft, buttery homemade dinner rolls warm out of the oven are life-changing! They are truly the BEST dinner rolls ever. I’d even go as far to call them perfect. 10 out of 10. This flavorful, melt-in-your-mouth buttery salted dinner roll recipe is gonna be the best roll you’ve ever tried.
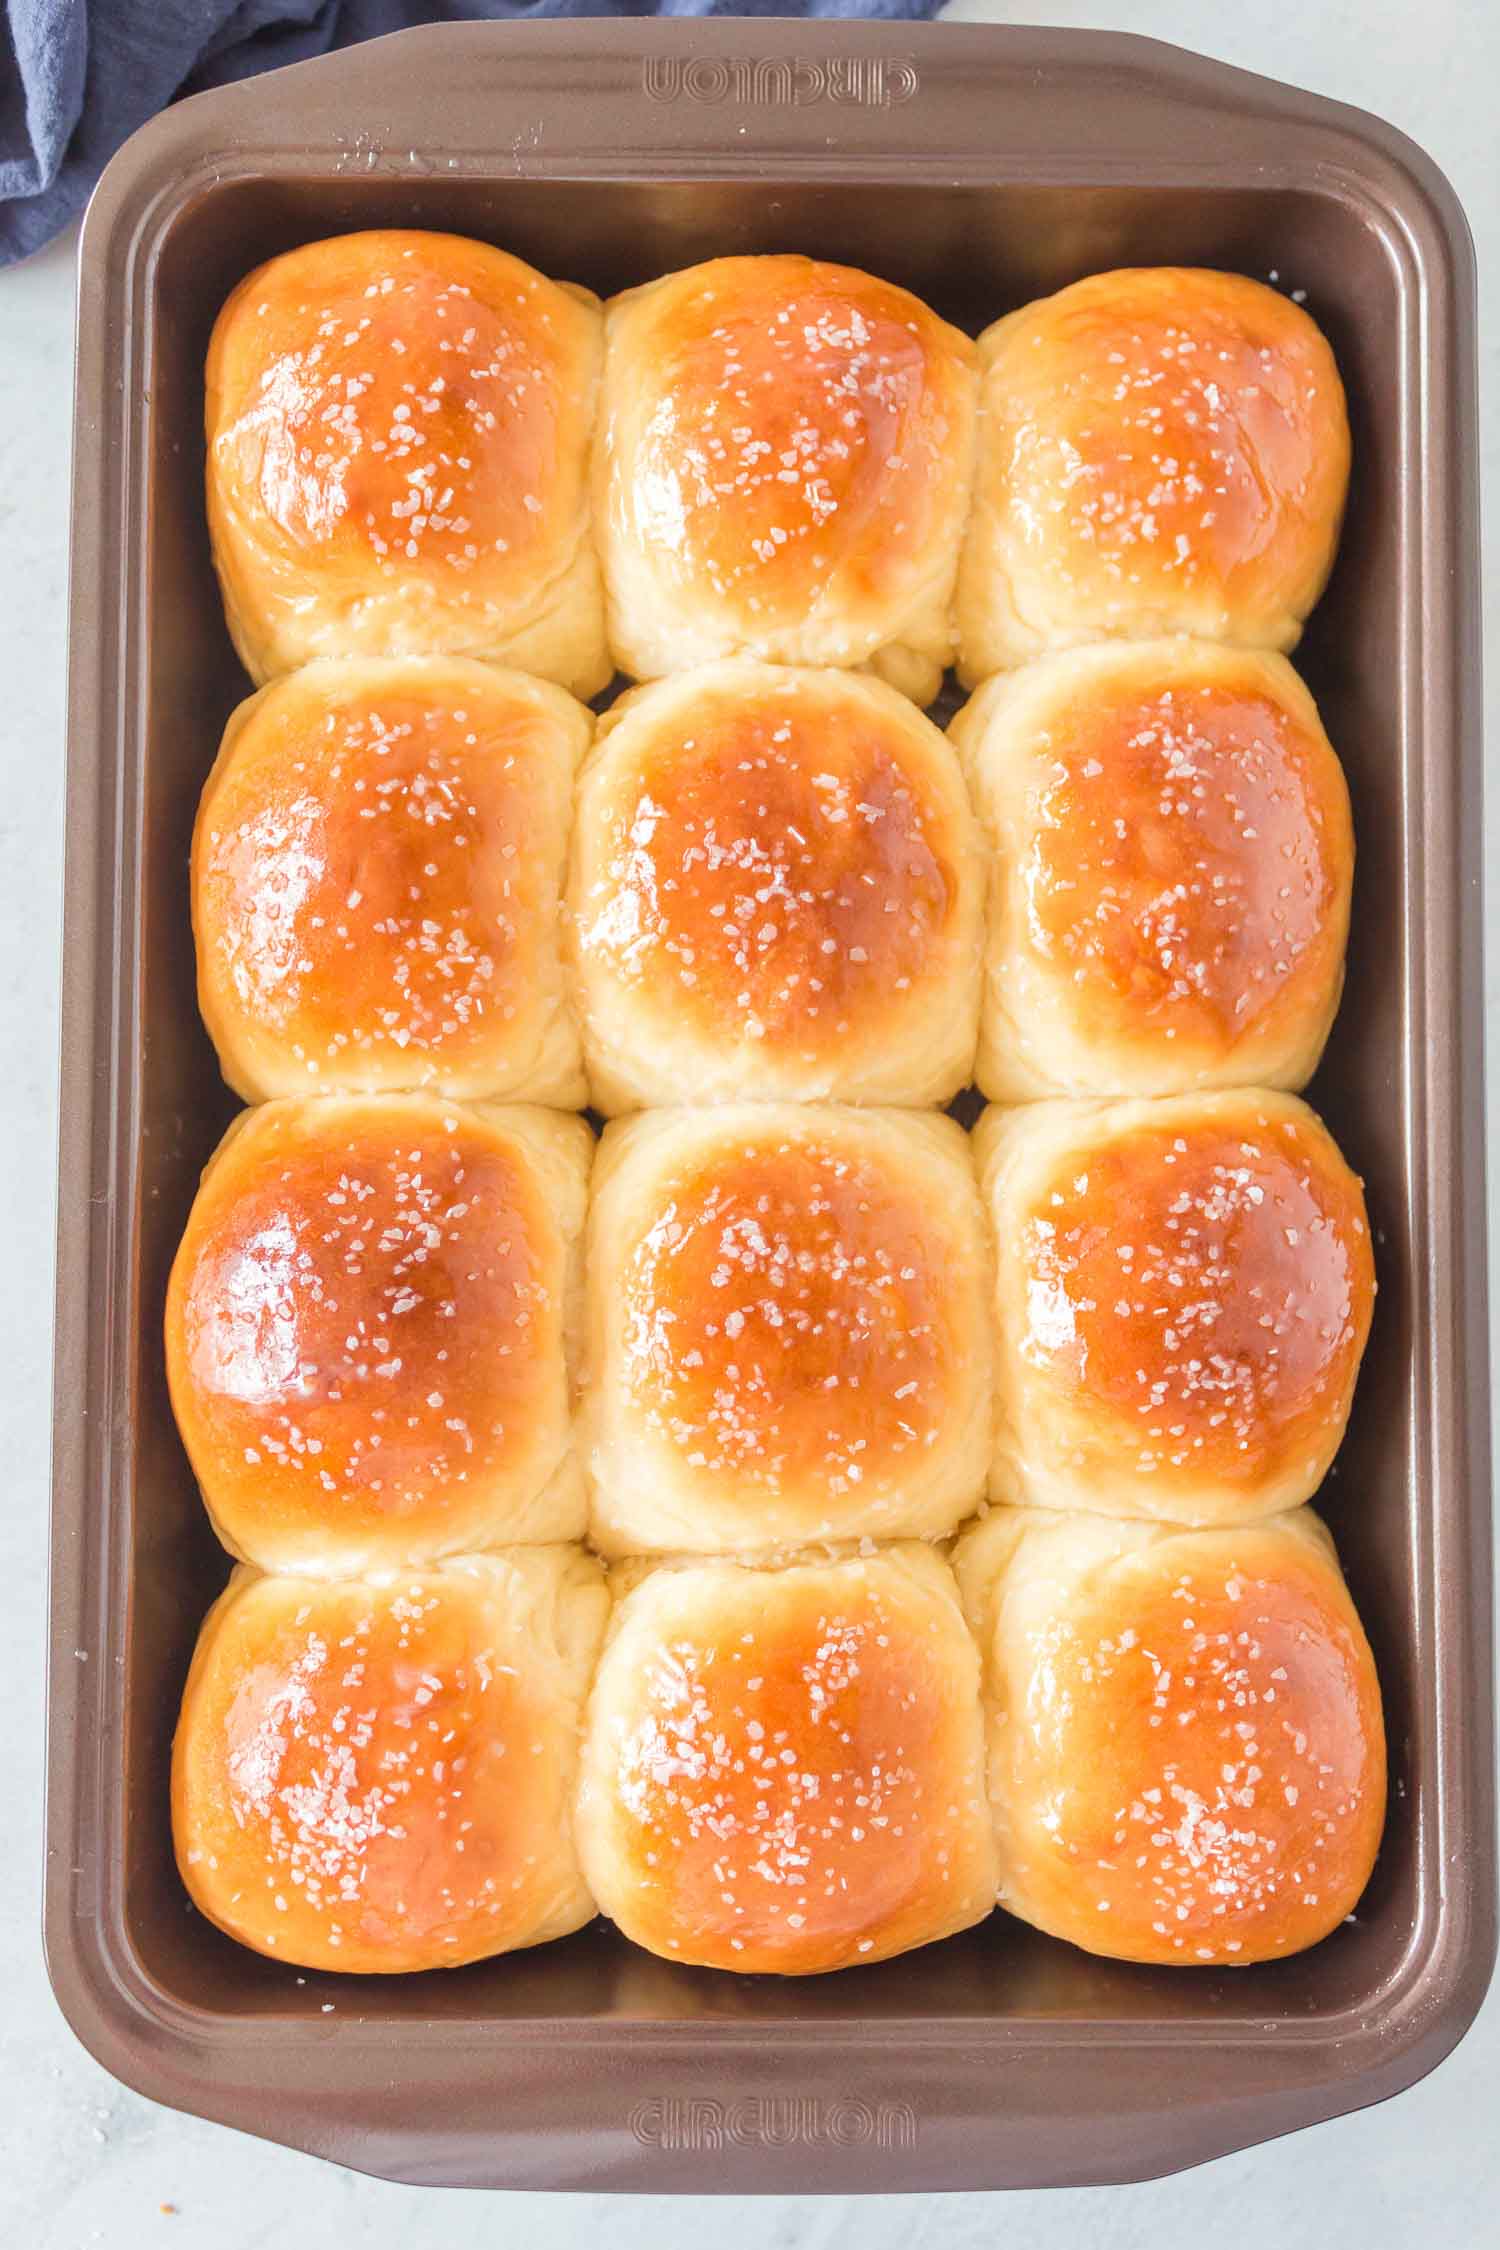
There’s nothing better than fresh homemade dinner rolls.
The smells of bread baking lingering in the house. Sneaking that first freshly baked roll from the pan before everyone else (and telling all others to wait for them to cool..haha). And then taking that first heavenly bite.
Clearly I love rolls..
This easy, no-fuss homemade dinner rolls recipe was created by test after test after test. I wanted the very best, easy and no-fuss recipe that turned out perfect every time.
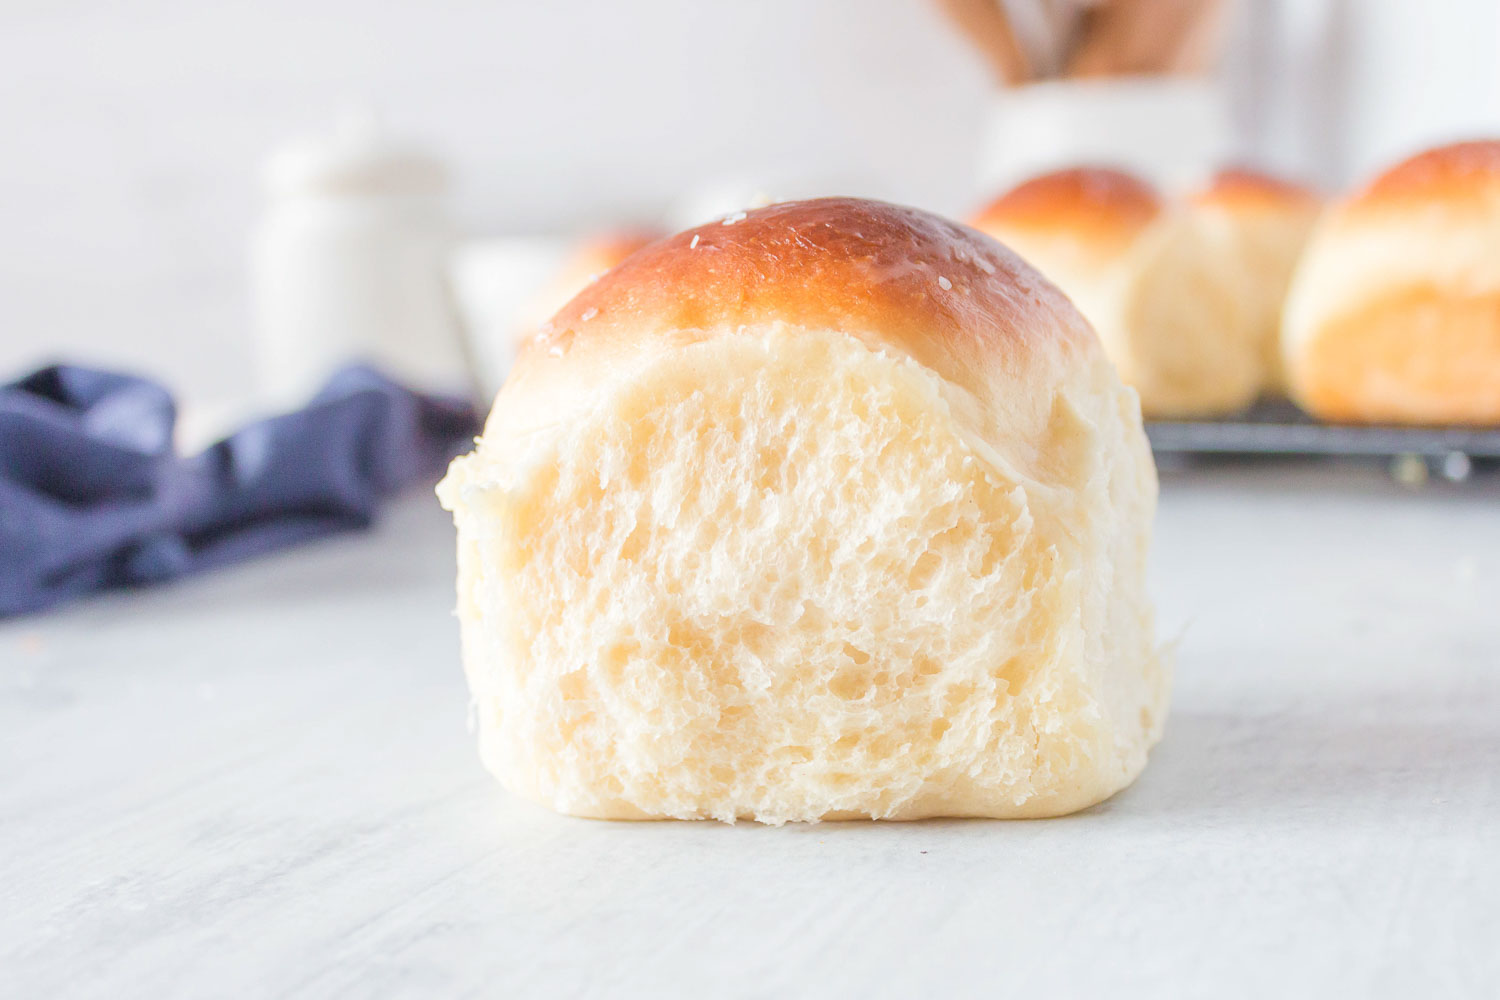
3 Secrets to Making the Best Dinner Rolls Ever
- Secret #1: The first secret I discovered while developing the recipe is using evaporated milk made for a rich and flavorful roll. You can use whole milk but for the best results canned evaporated milk is key. That and a lot of butter. Butter is the best.
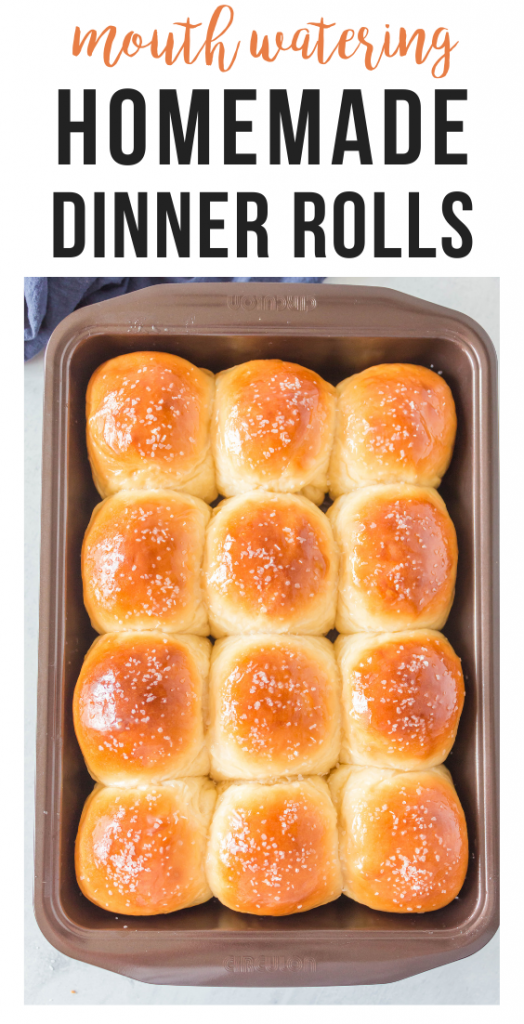
- Secret #2: Letting the rolls rise nice and high by using a 9×13 inch sized baking pan vs baking them on baking sheets. When allowed to rise high and squished together, they create the perfect soft and tender texture.
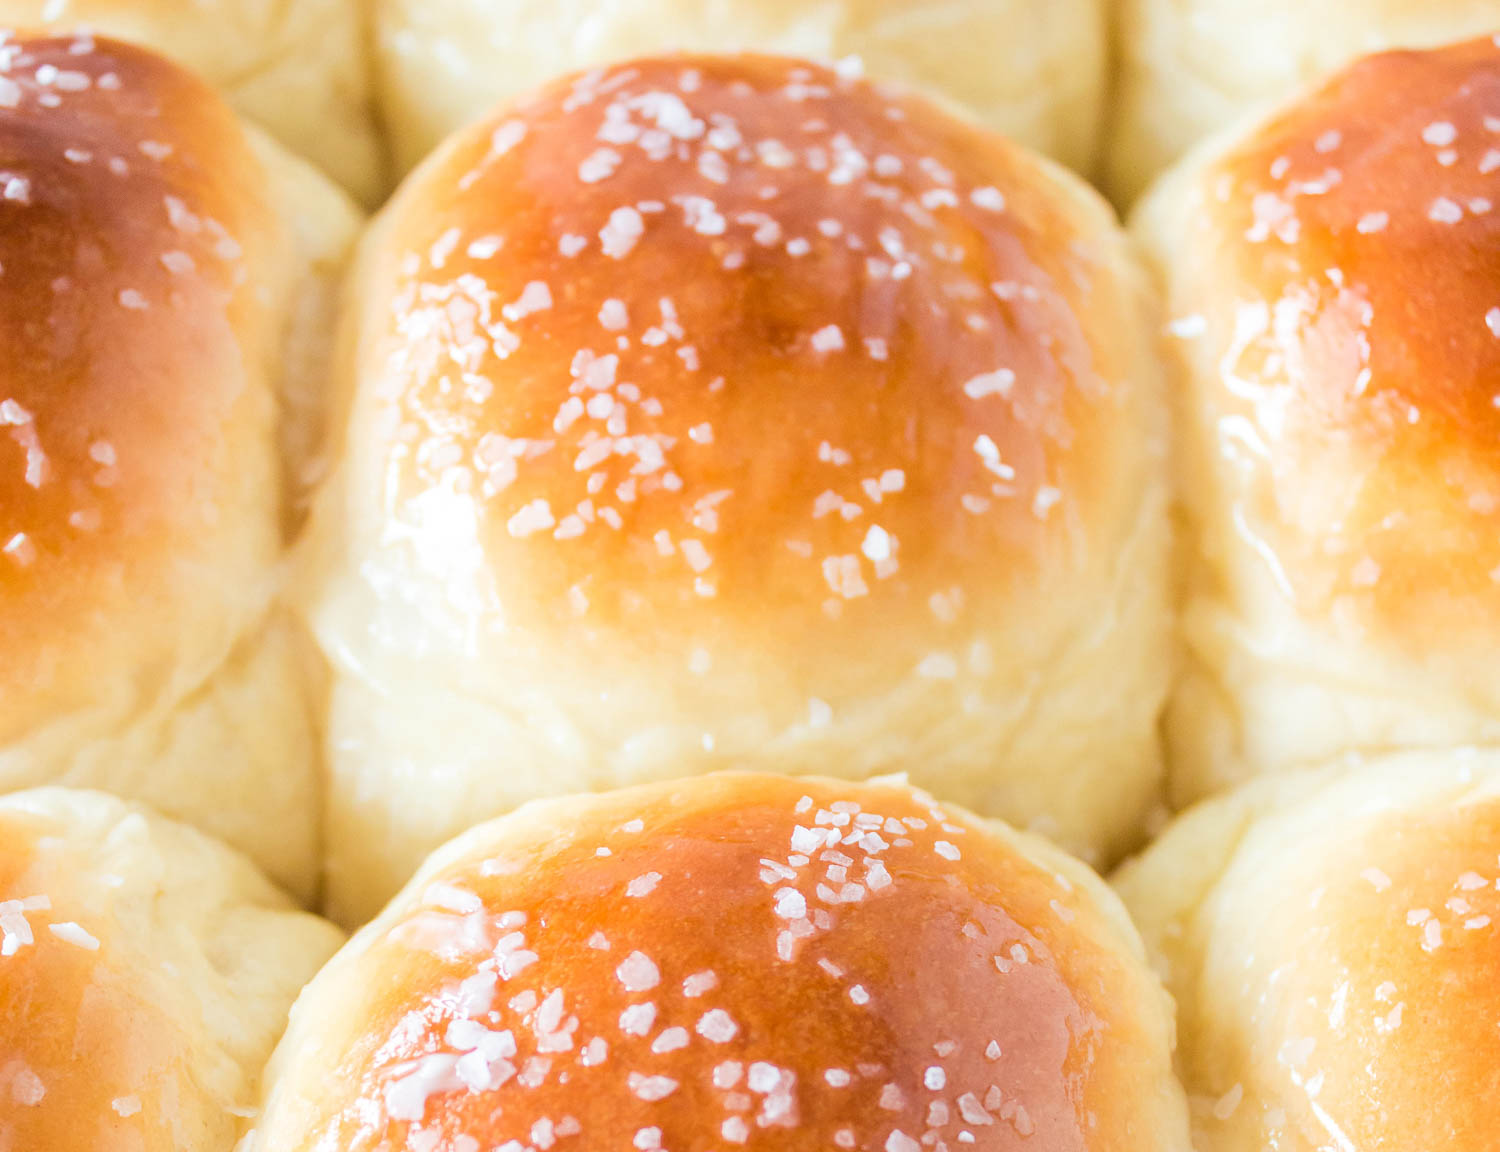
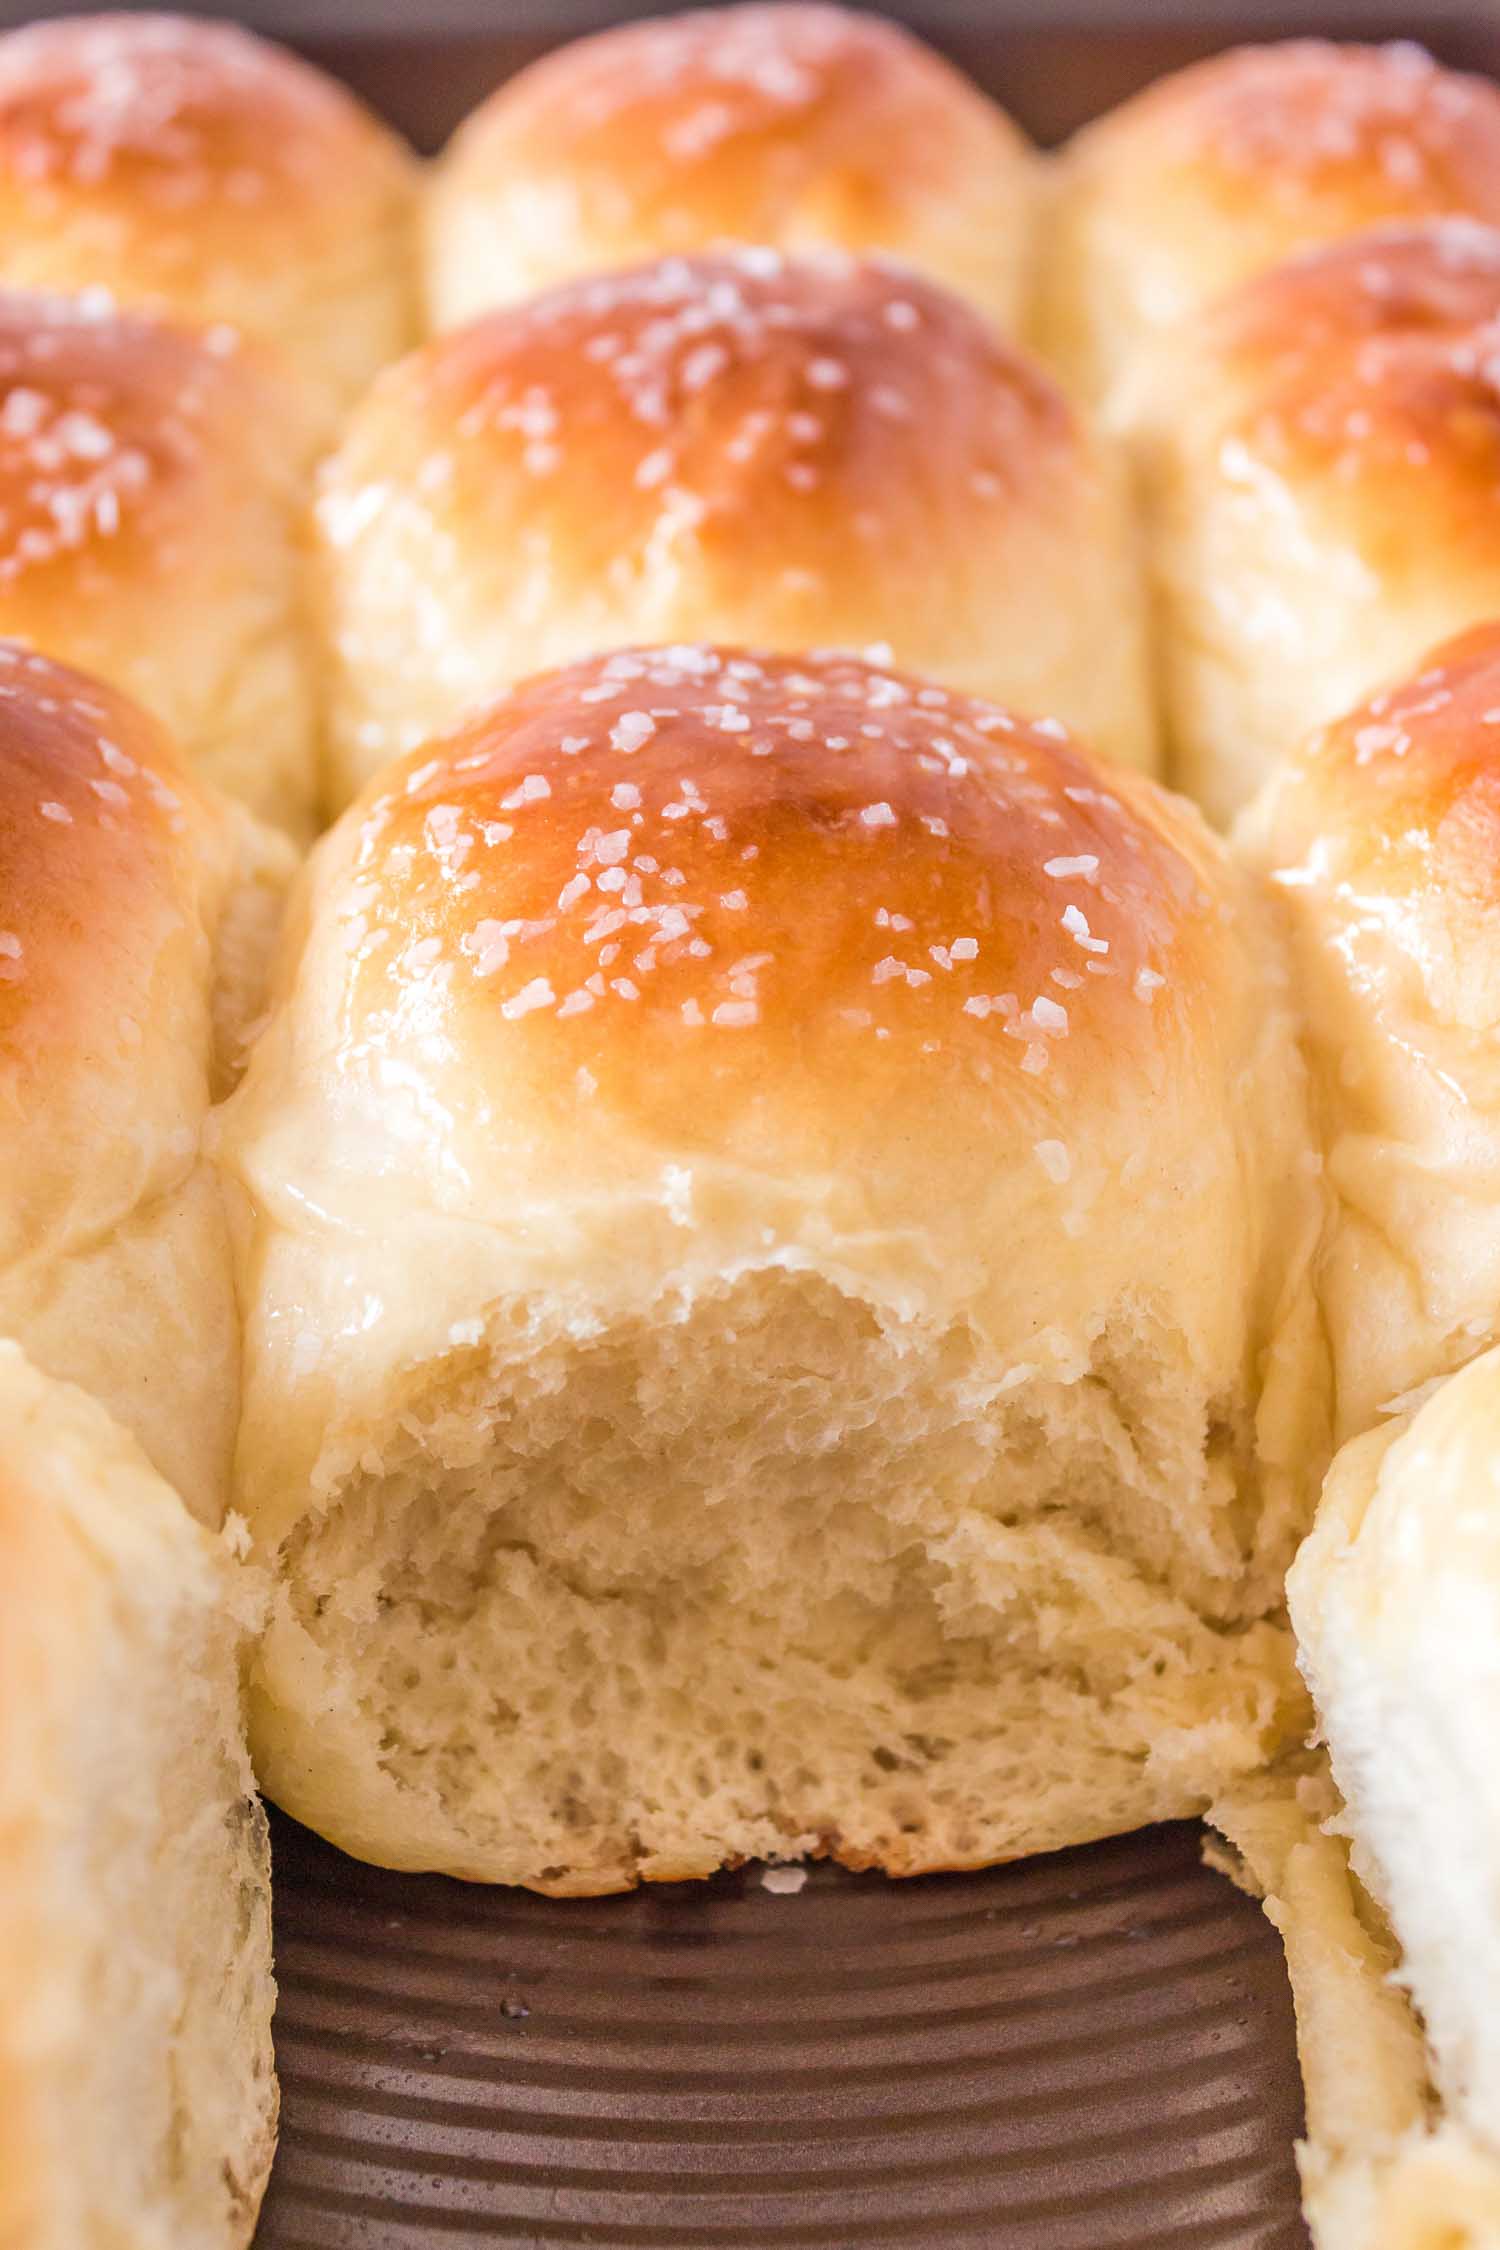
- Secret #3: When the rolls come out of the oven, you brush them with melted butter and then sprinkle some coarse sea salt while they are still hot. If you’ve never tried a salted dinner rolls, you haven’t lived. It’s so so good.
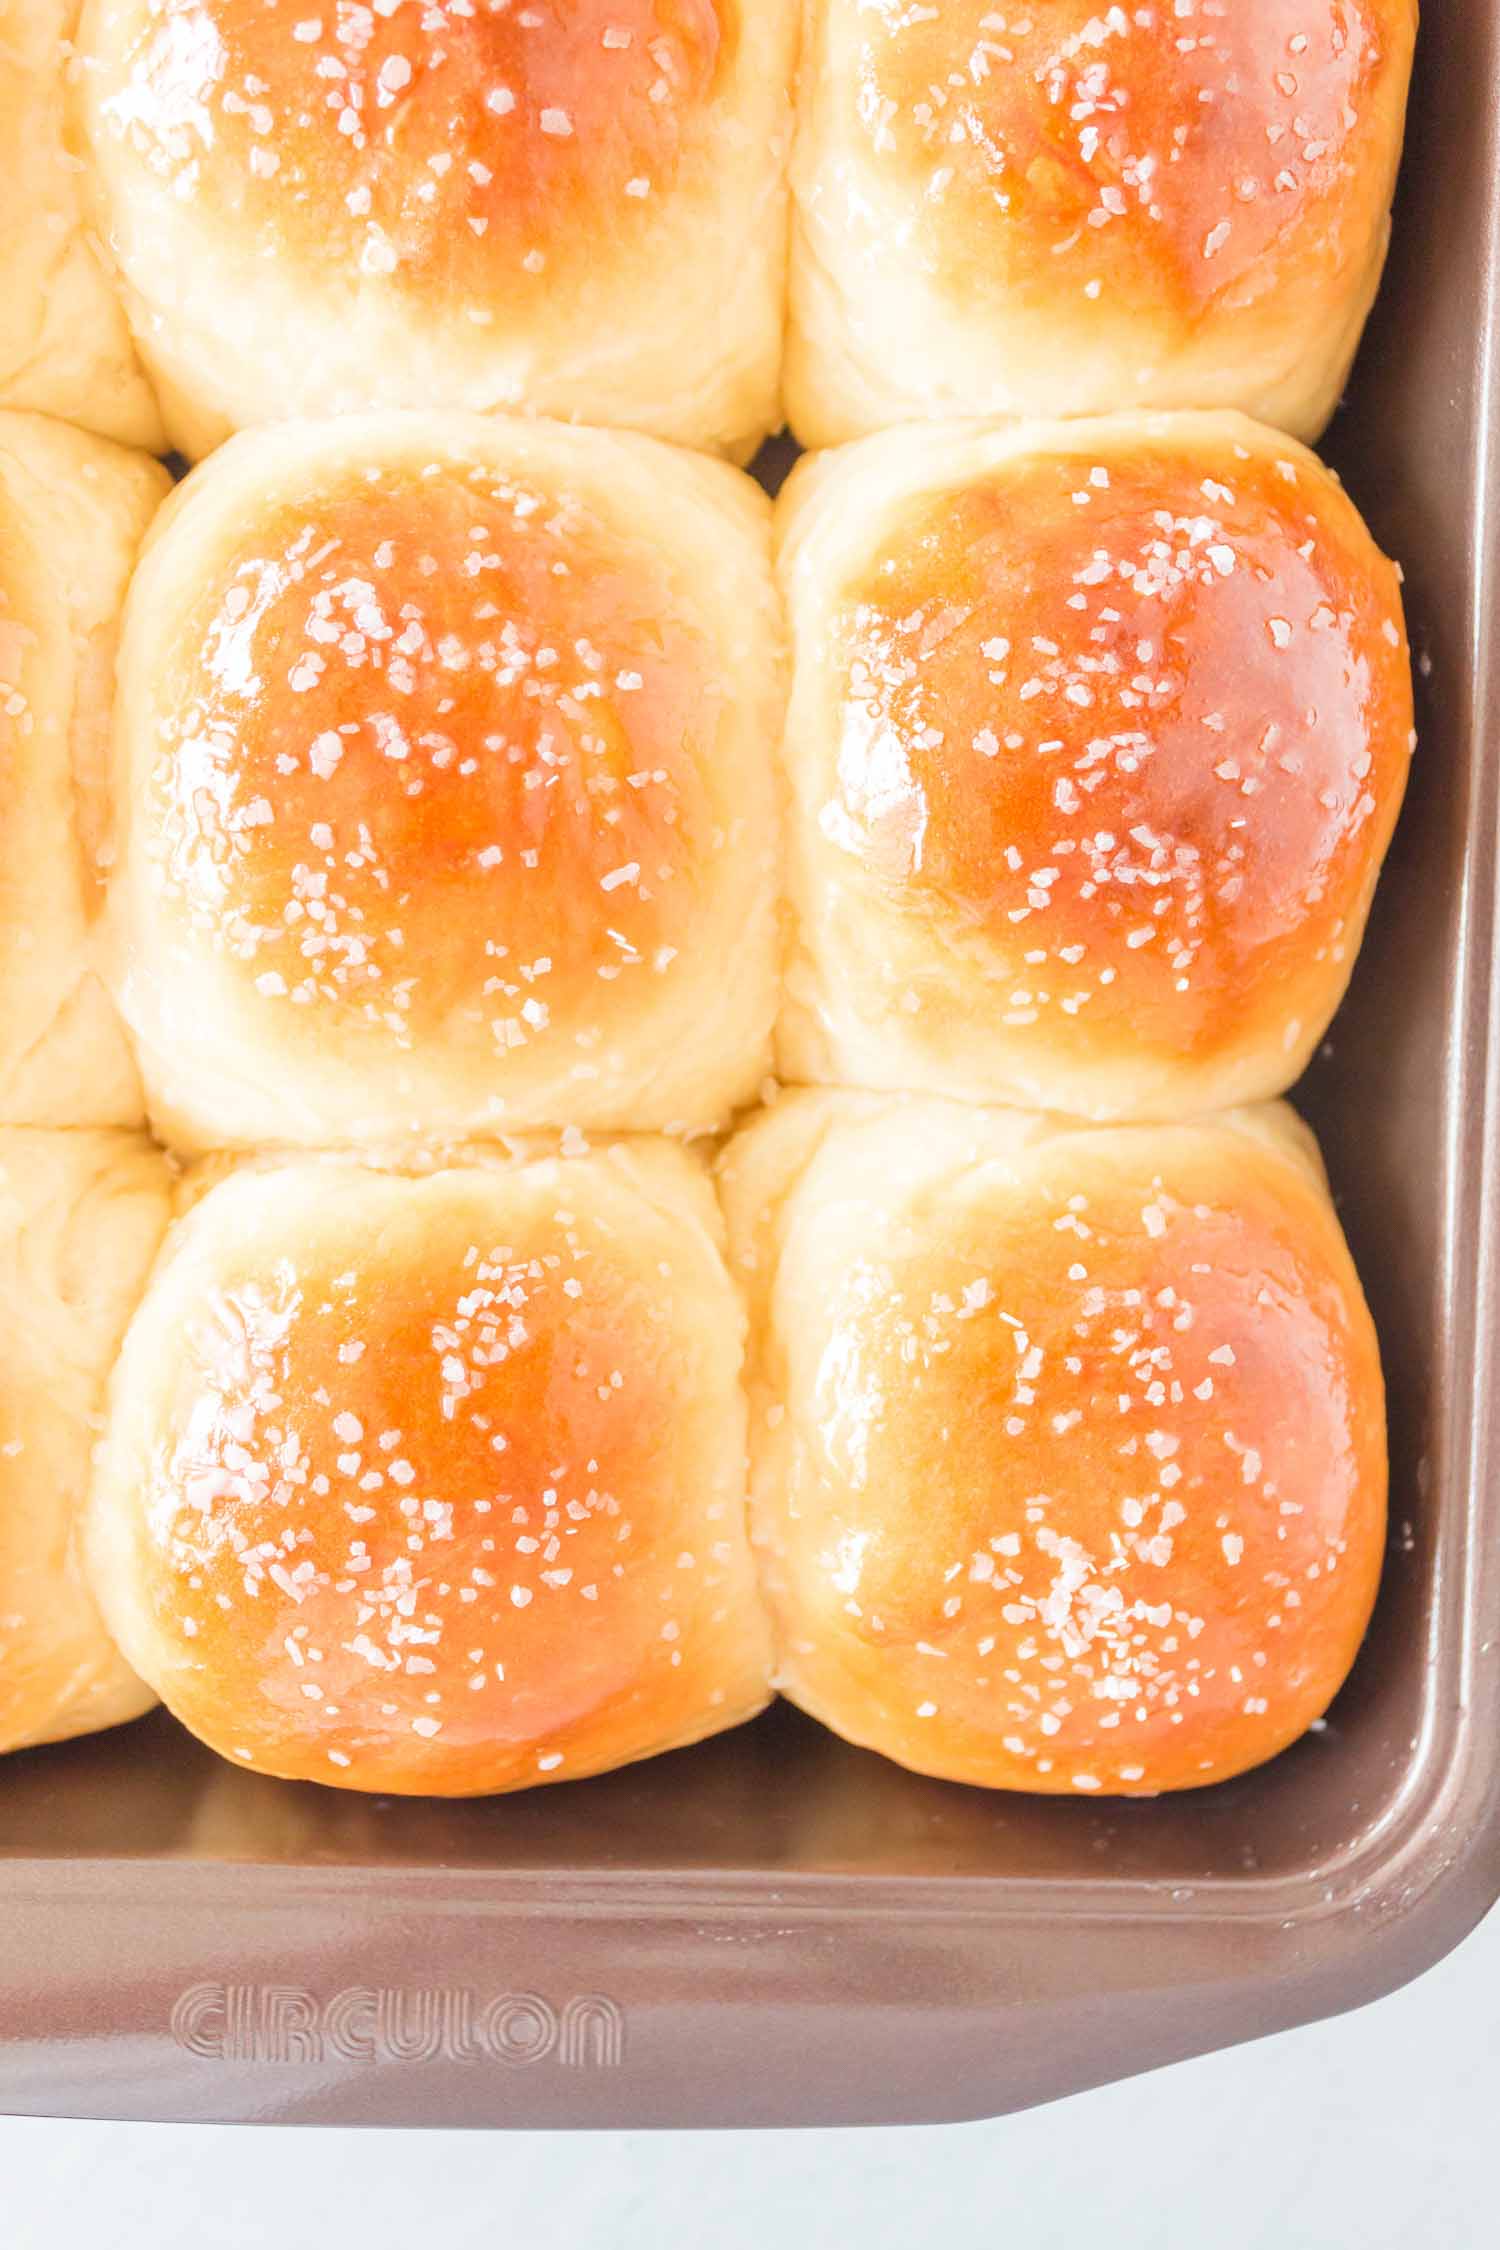
Every time I make these for someone they ask me for the recipe. No… they demand I give them the recipe. I’m not kidding!
Plus this dinner roll recipe is easy enough for beginners to have amazing success and will wow anyone that tastes them.
I promise you won’t taste a better roll in all your life.
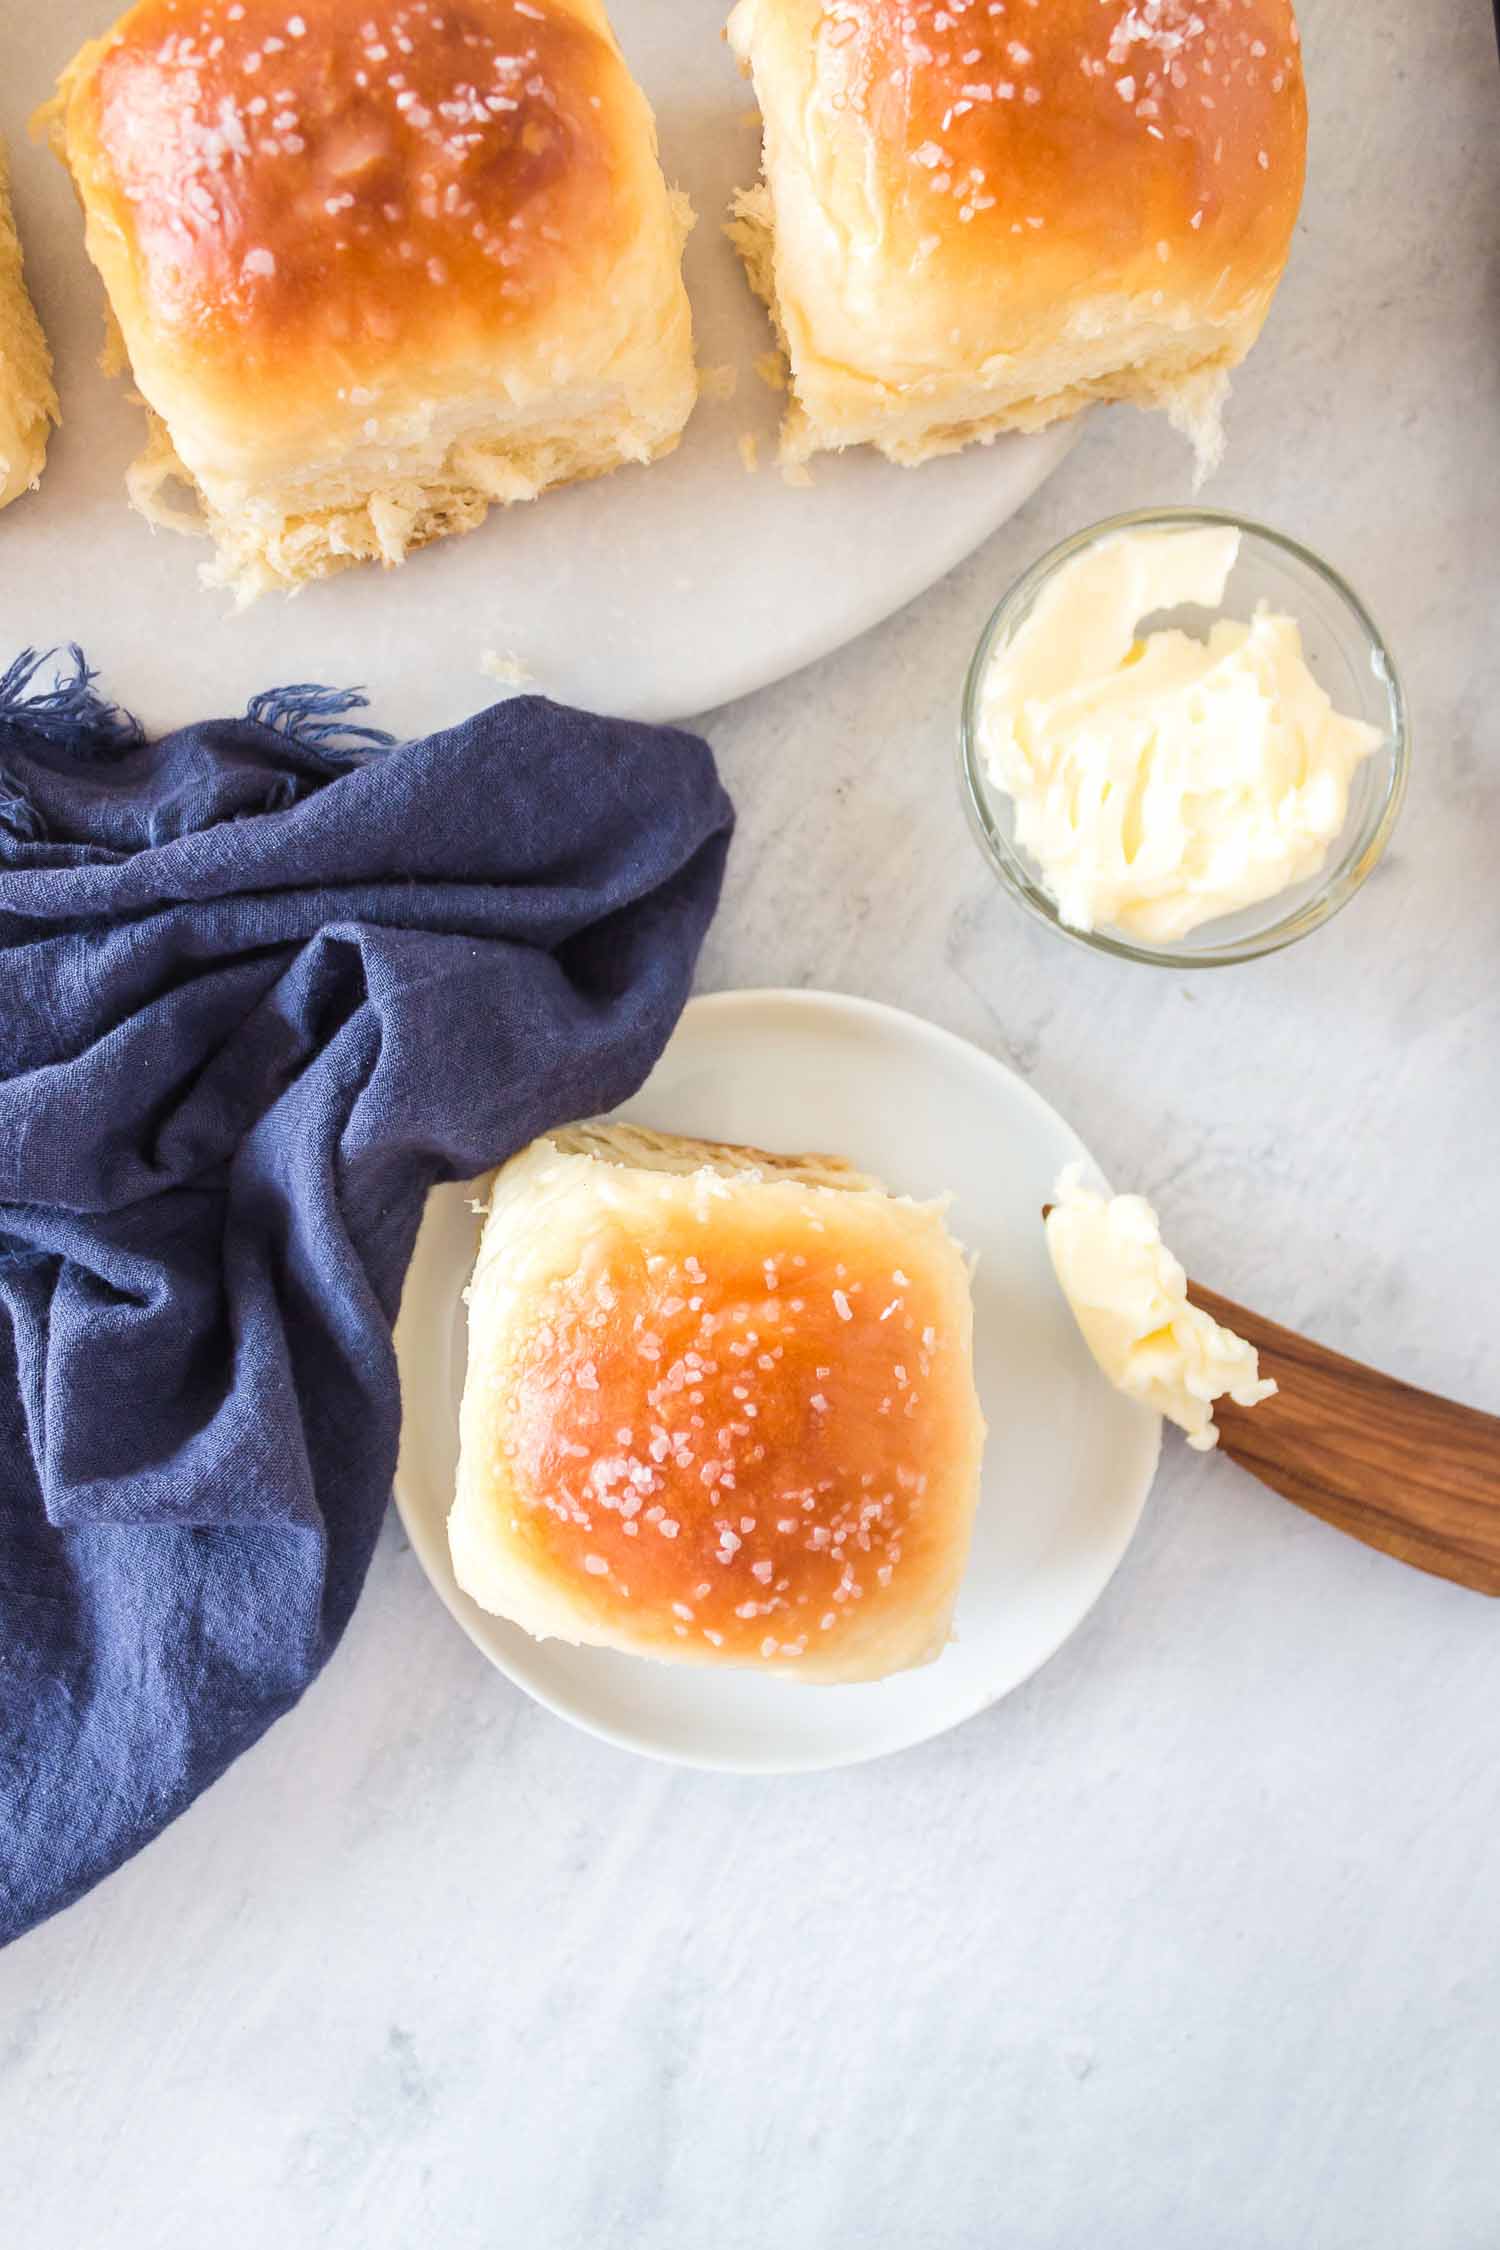
Old fashioned yeast rolls are one of those recipes that can be intimidating. I get it! After all, they take about 3 hours in total to make including proofing time. But it’s so worth it!
Since they can be frozen, they’re also excellent dinner rolls to make ahead of time and enjoy later. You won’t be buying rolls from the grocery store again!
How to reheat dinner rolls?
Nothing beats a warm, fresh out of the oven dinner roll! If you want to warm your pre made dinner rolls, you can actually put them back in the oven. Make sure they’re pressed snuggly together in a baking sheet, though. Using a baking pan or having too much space will make the sides hard. Bake at 350 degrees for about 7 minutes.
Another great option (that I personally love!) is to put them inside the slow cooker. Take a clean, damp towel and place it in the bottom of the slow cooker. Set the rolls on top, then cover them with another damp cloth. Leave them in for about 30 minutes on low, or up to 2 hours on warm.
How to create SOFT dinner rolls?
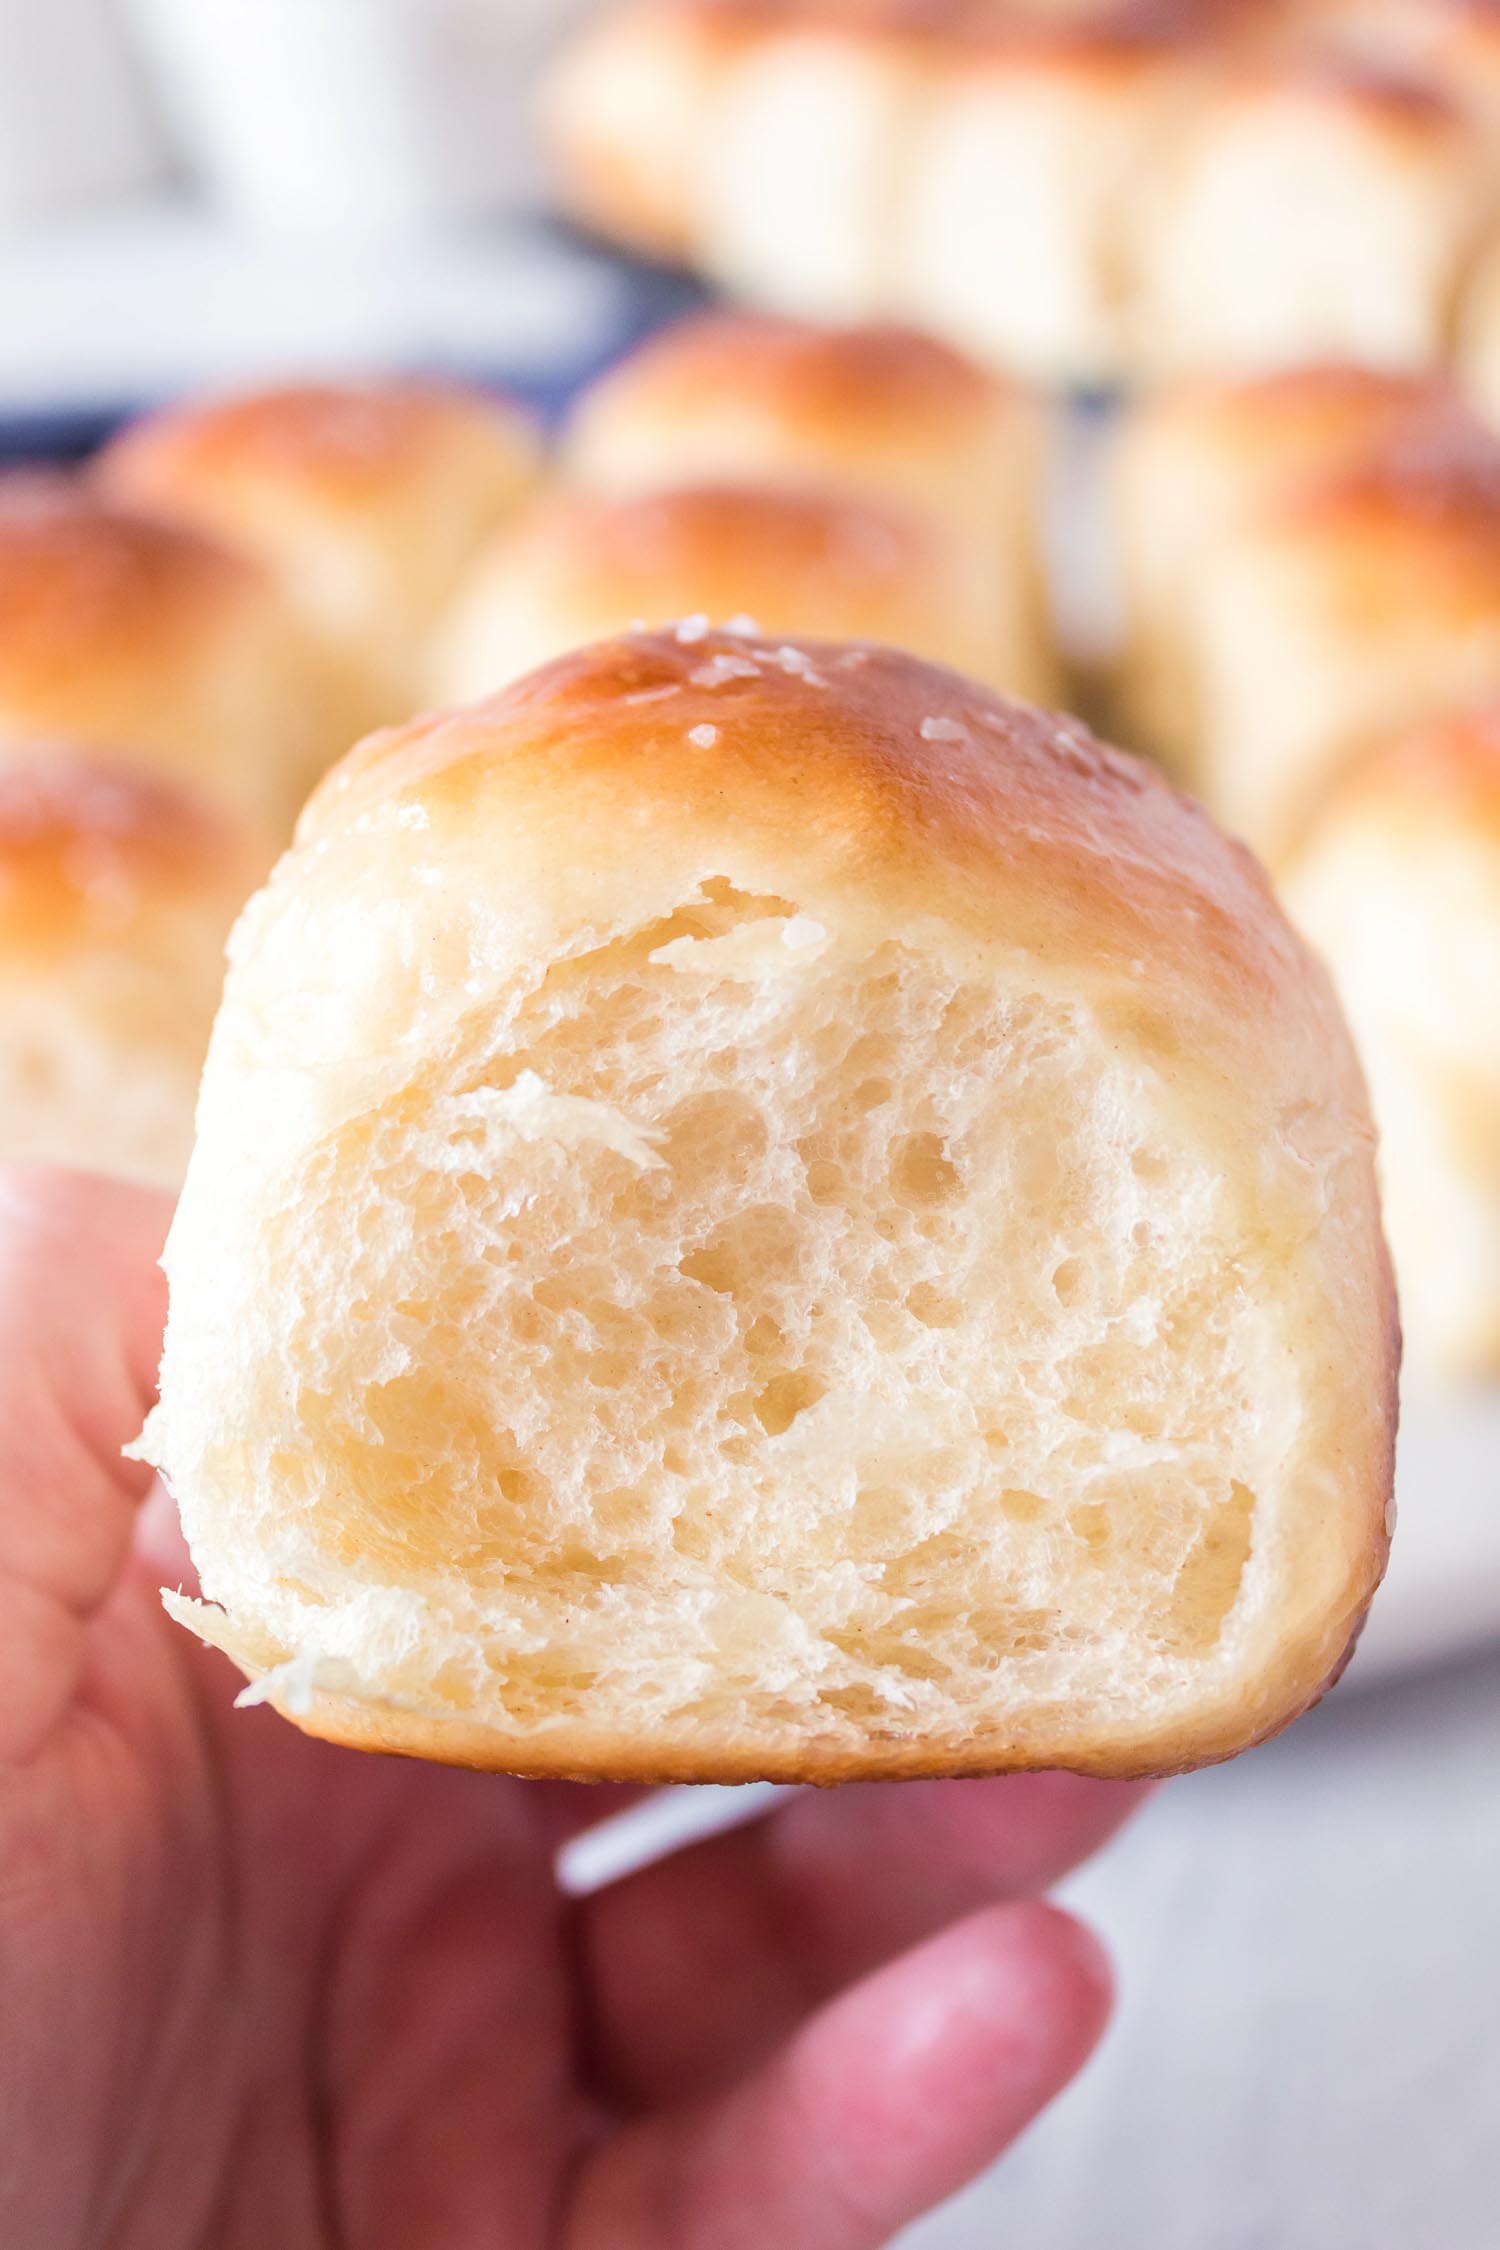
The real secret to creating soft dinner rolls is to start with a rich dough. (In this case rich is basically a synonym for delicious.) Milk, butter, and eggs equal fat, which in turn helps the dough stay soft during baking. It’s also important that you don’t over mix your dough or add too much flour.
How to tell when rolls are done baking?
When your house smells like delicious freshly baked bread then your dinner rolls are probably almost done. If the tops are golden brown, but you’re not sure if the rolls are done, you can check the temperature using an instant read thermometer. When they reach 195°F they are done.
Ingredients
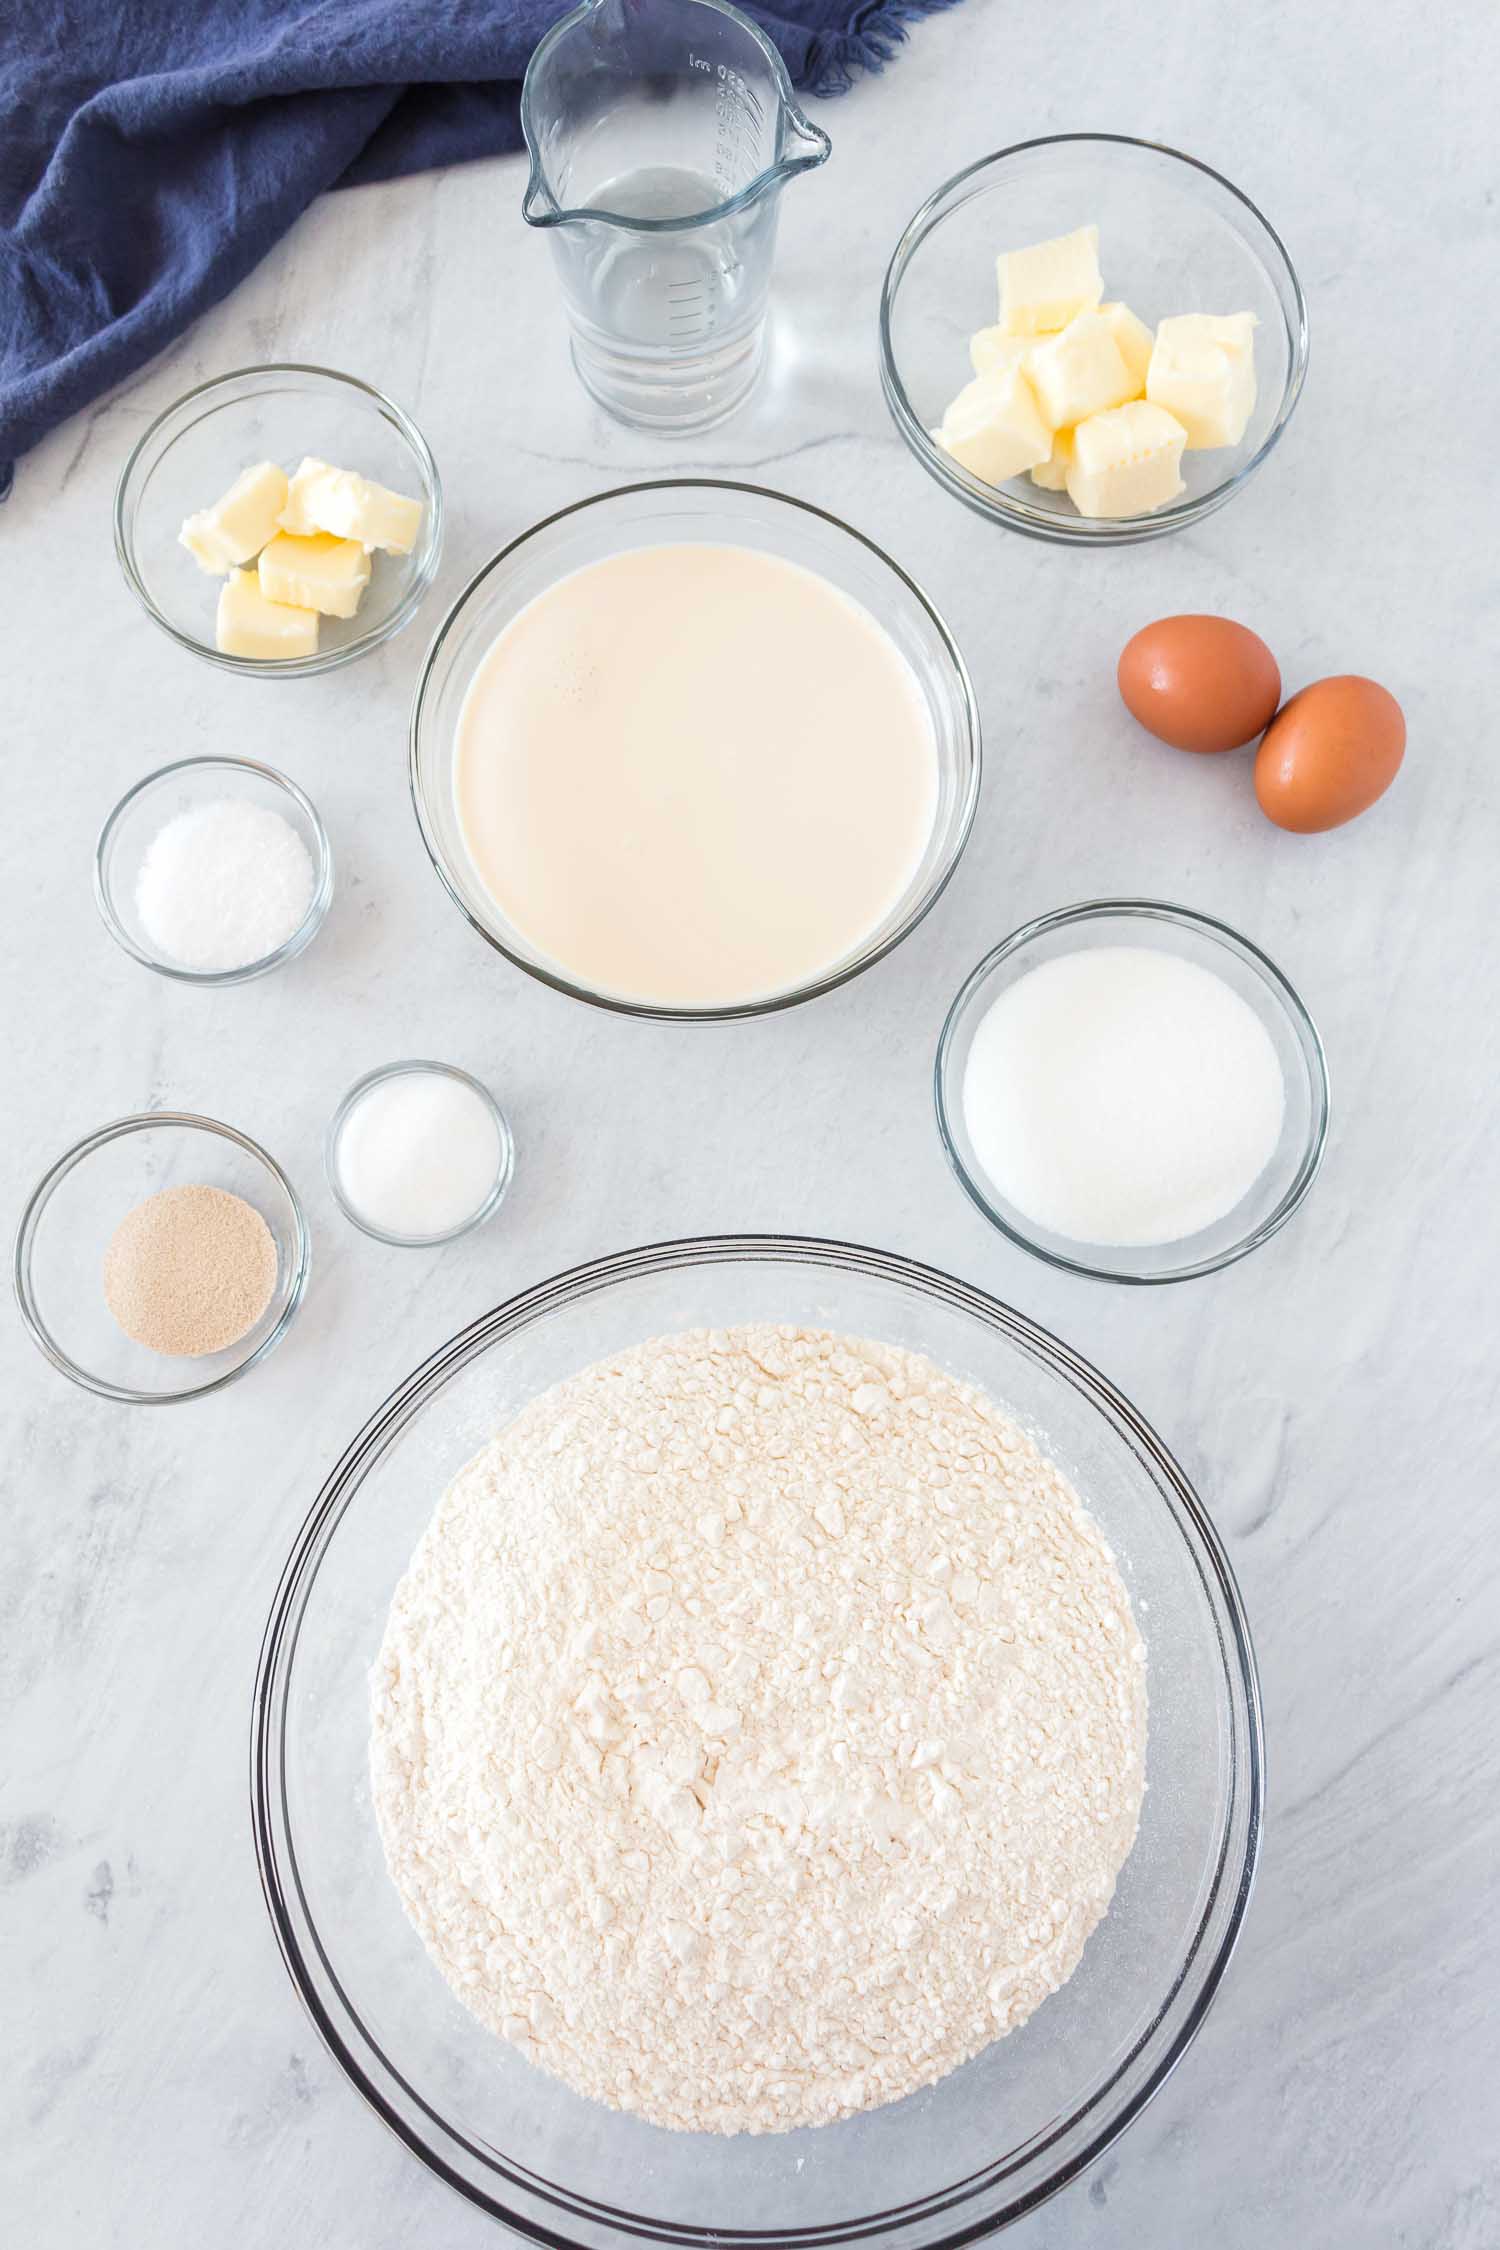
These traditional yeast rolls have just 7 simple ingredients. You’ll need warm water, sugar, a package of active dry yeast, a can of evaporated milk (can be substituted for whole or 2%), butter, flour, and salt.
Coarse sea salt is optional to top the rolls with – but I highly recommend it because it’s delicious!
How to Make Dinner Rolls – Step by Step
Step 1: Proofing the Yeast
It’s always a good idea to proof the yeast to make sure it’s alive and active. For this recipe you’ll combine some luke-warm water (between 104 – 108 °F), active dry yeast and sugar to a bowl and let it proof for 5-8 minutes. Proofing basically means having your least come alive and start eating those sugars.
Note: If the yeast doesn’t foam up after letting the mixture stand, it’s likely dead from either too hot of water or expired/stale yeast. Repeat this step with fresh yeast or cooler water.
Step 2: Heat your Milk
You’ll need to first melt your butter in a saucepan, then add in the milk. The idea here is to keep things warm so the yeast grows faster. You’ll need to be careful though not to get it too hot. You are still going for luke-warm or slightly above room temperature. (104-110 degrees).
Step 3: Mixing the Dough
Once your yeast is proofed you can finish making the dough for your dinner rolls. First, turn your mixer on low. Leave it on while you mix in all the ingredients. You’ll find a printable full version of the recipe below.
- Add in your beaten eggs, the ¼ of sugar, the milk mixture, 3 cups of flour, and the salt. Then increase your mixer to medium speed and mix for about 1 minute.
- Mix in 2 more cups of flour. Then bring the mixer back to medium speed and let it go another minute.
- For the remaining 1-2 cups of flour, you’re going to slowly add it in ½ cup at a time. Make sure each addition is mixed well into the dough before adding more.
- Stop when the mixture pulls away from the sides of the bowl and you have a slightly sticky dough ball.
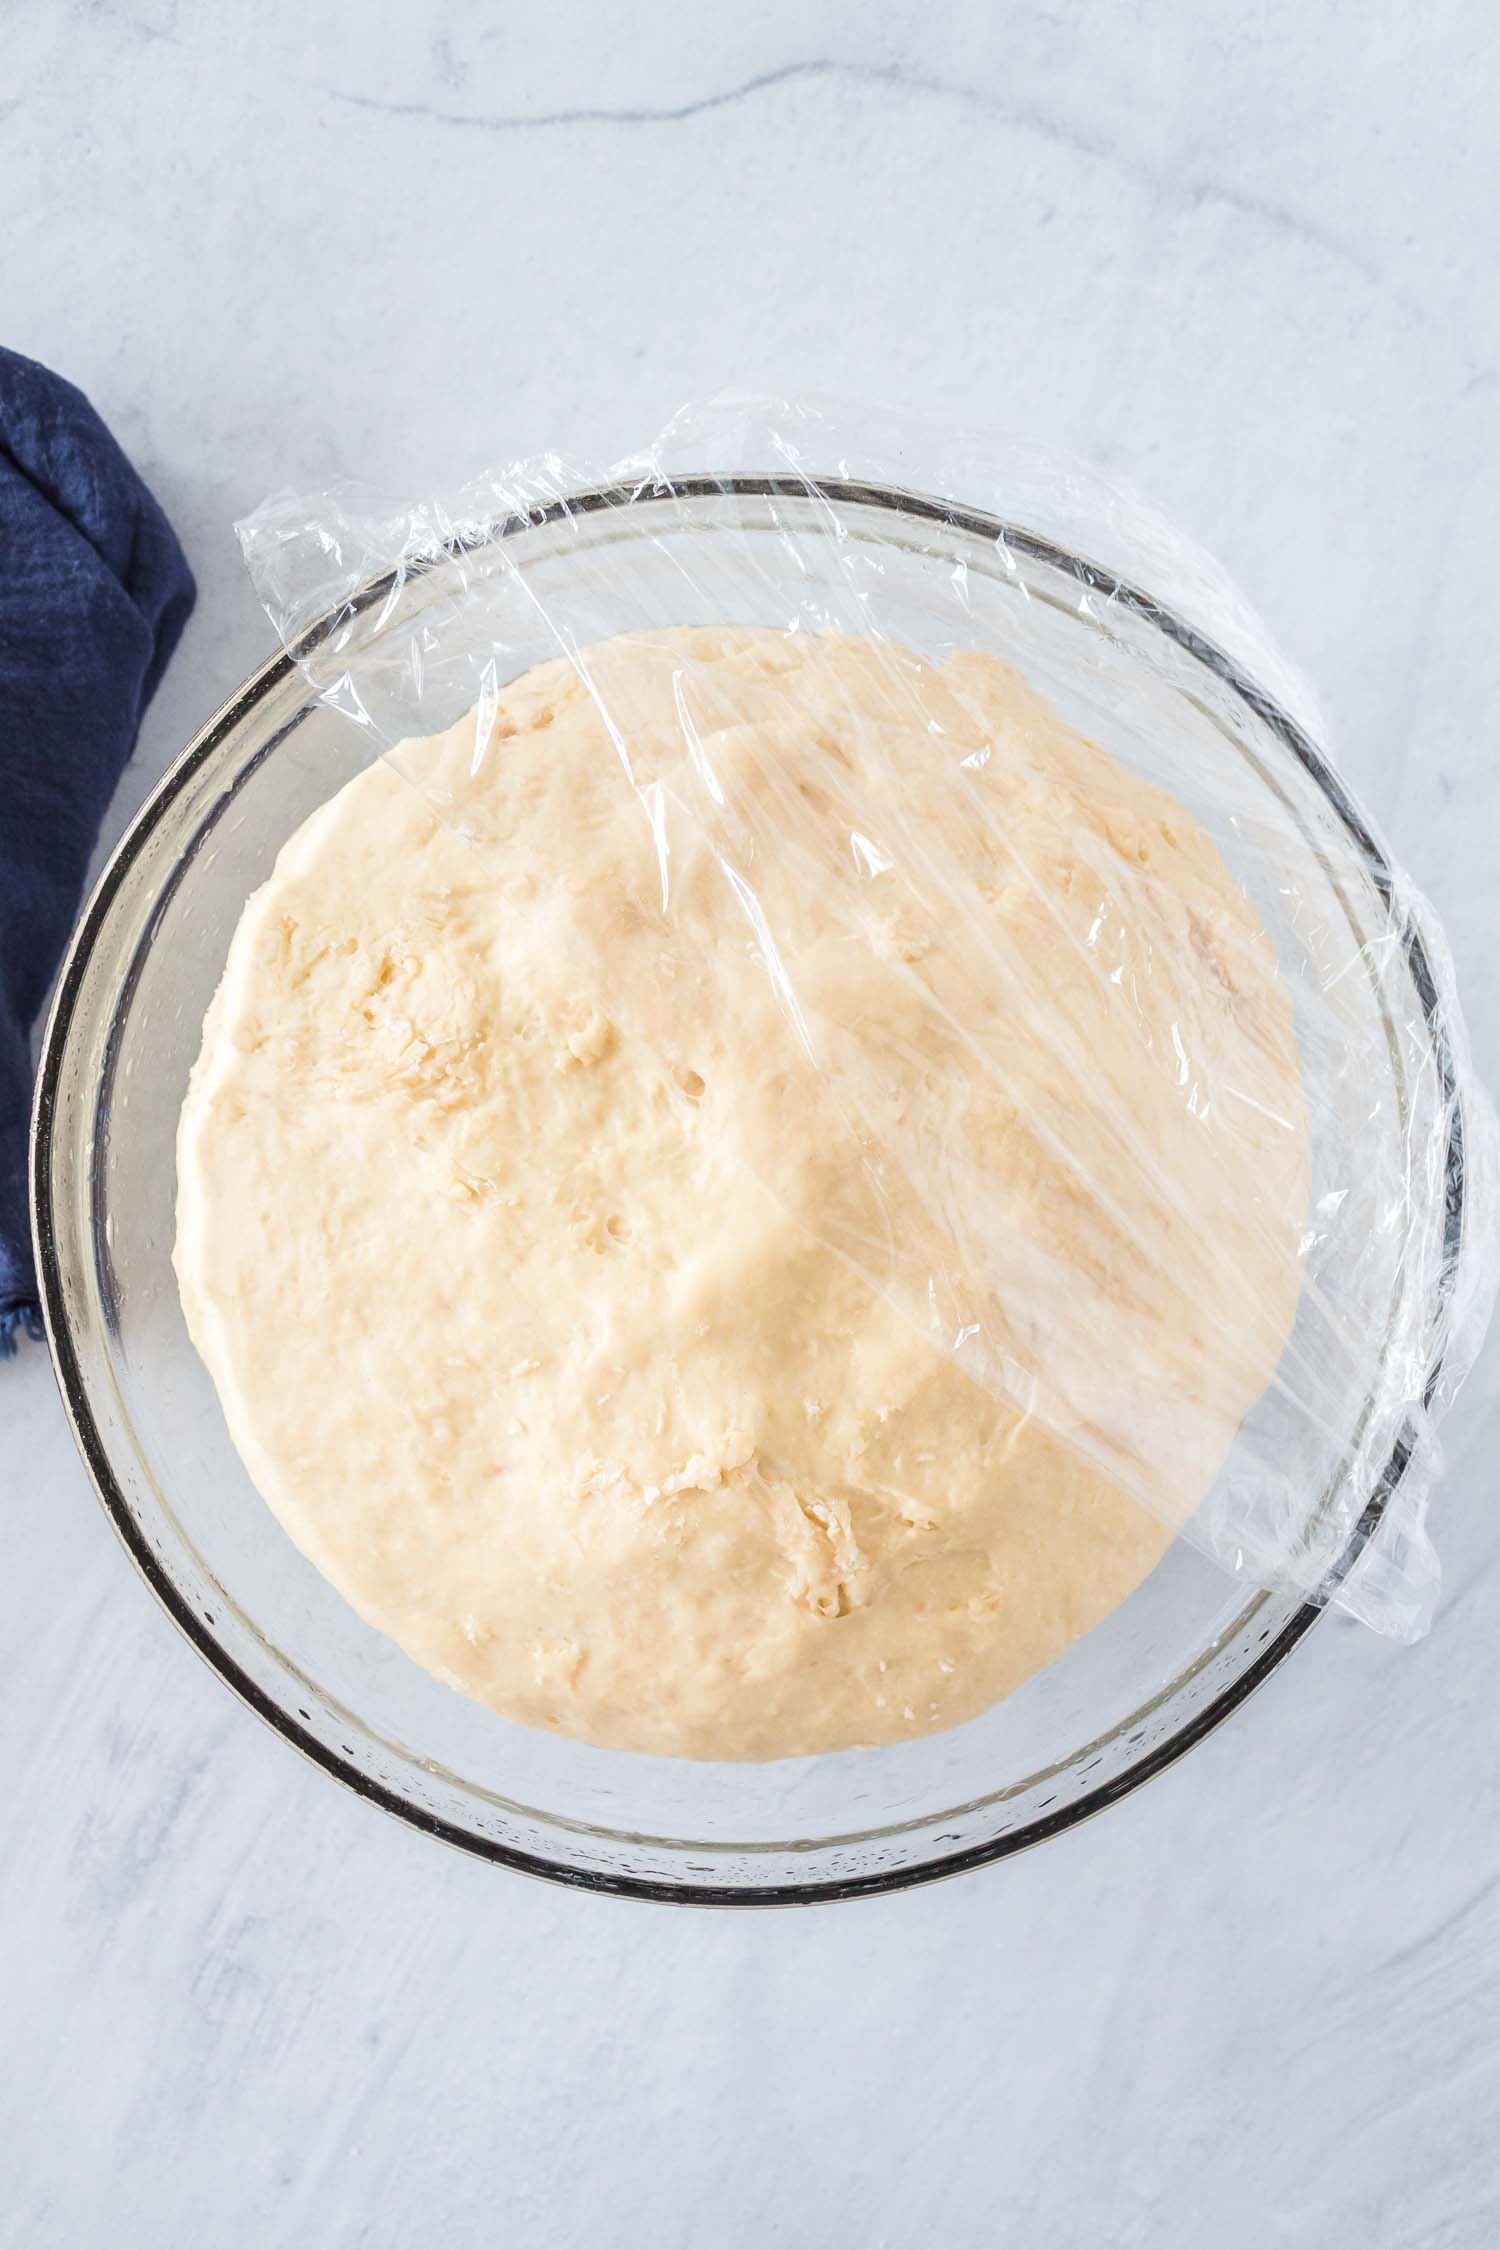
Transfer the dough to a lightly greased bowl. Cover it with a damp cloth or plastic wrap that’s been sprayed with cooking spray. Then place the bowl in a warm area to rise for 40-50 minutes or until doubled in size.
Once the dough has risen, it’s time to form the rolls. Pinch off pieces of the dough and roll it into 24 balls.
To get your rolls more even in size, it’s easier to divide the dough in half, then fourths, and then each section into 6 rolls.
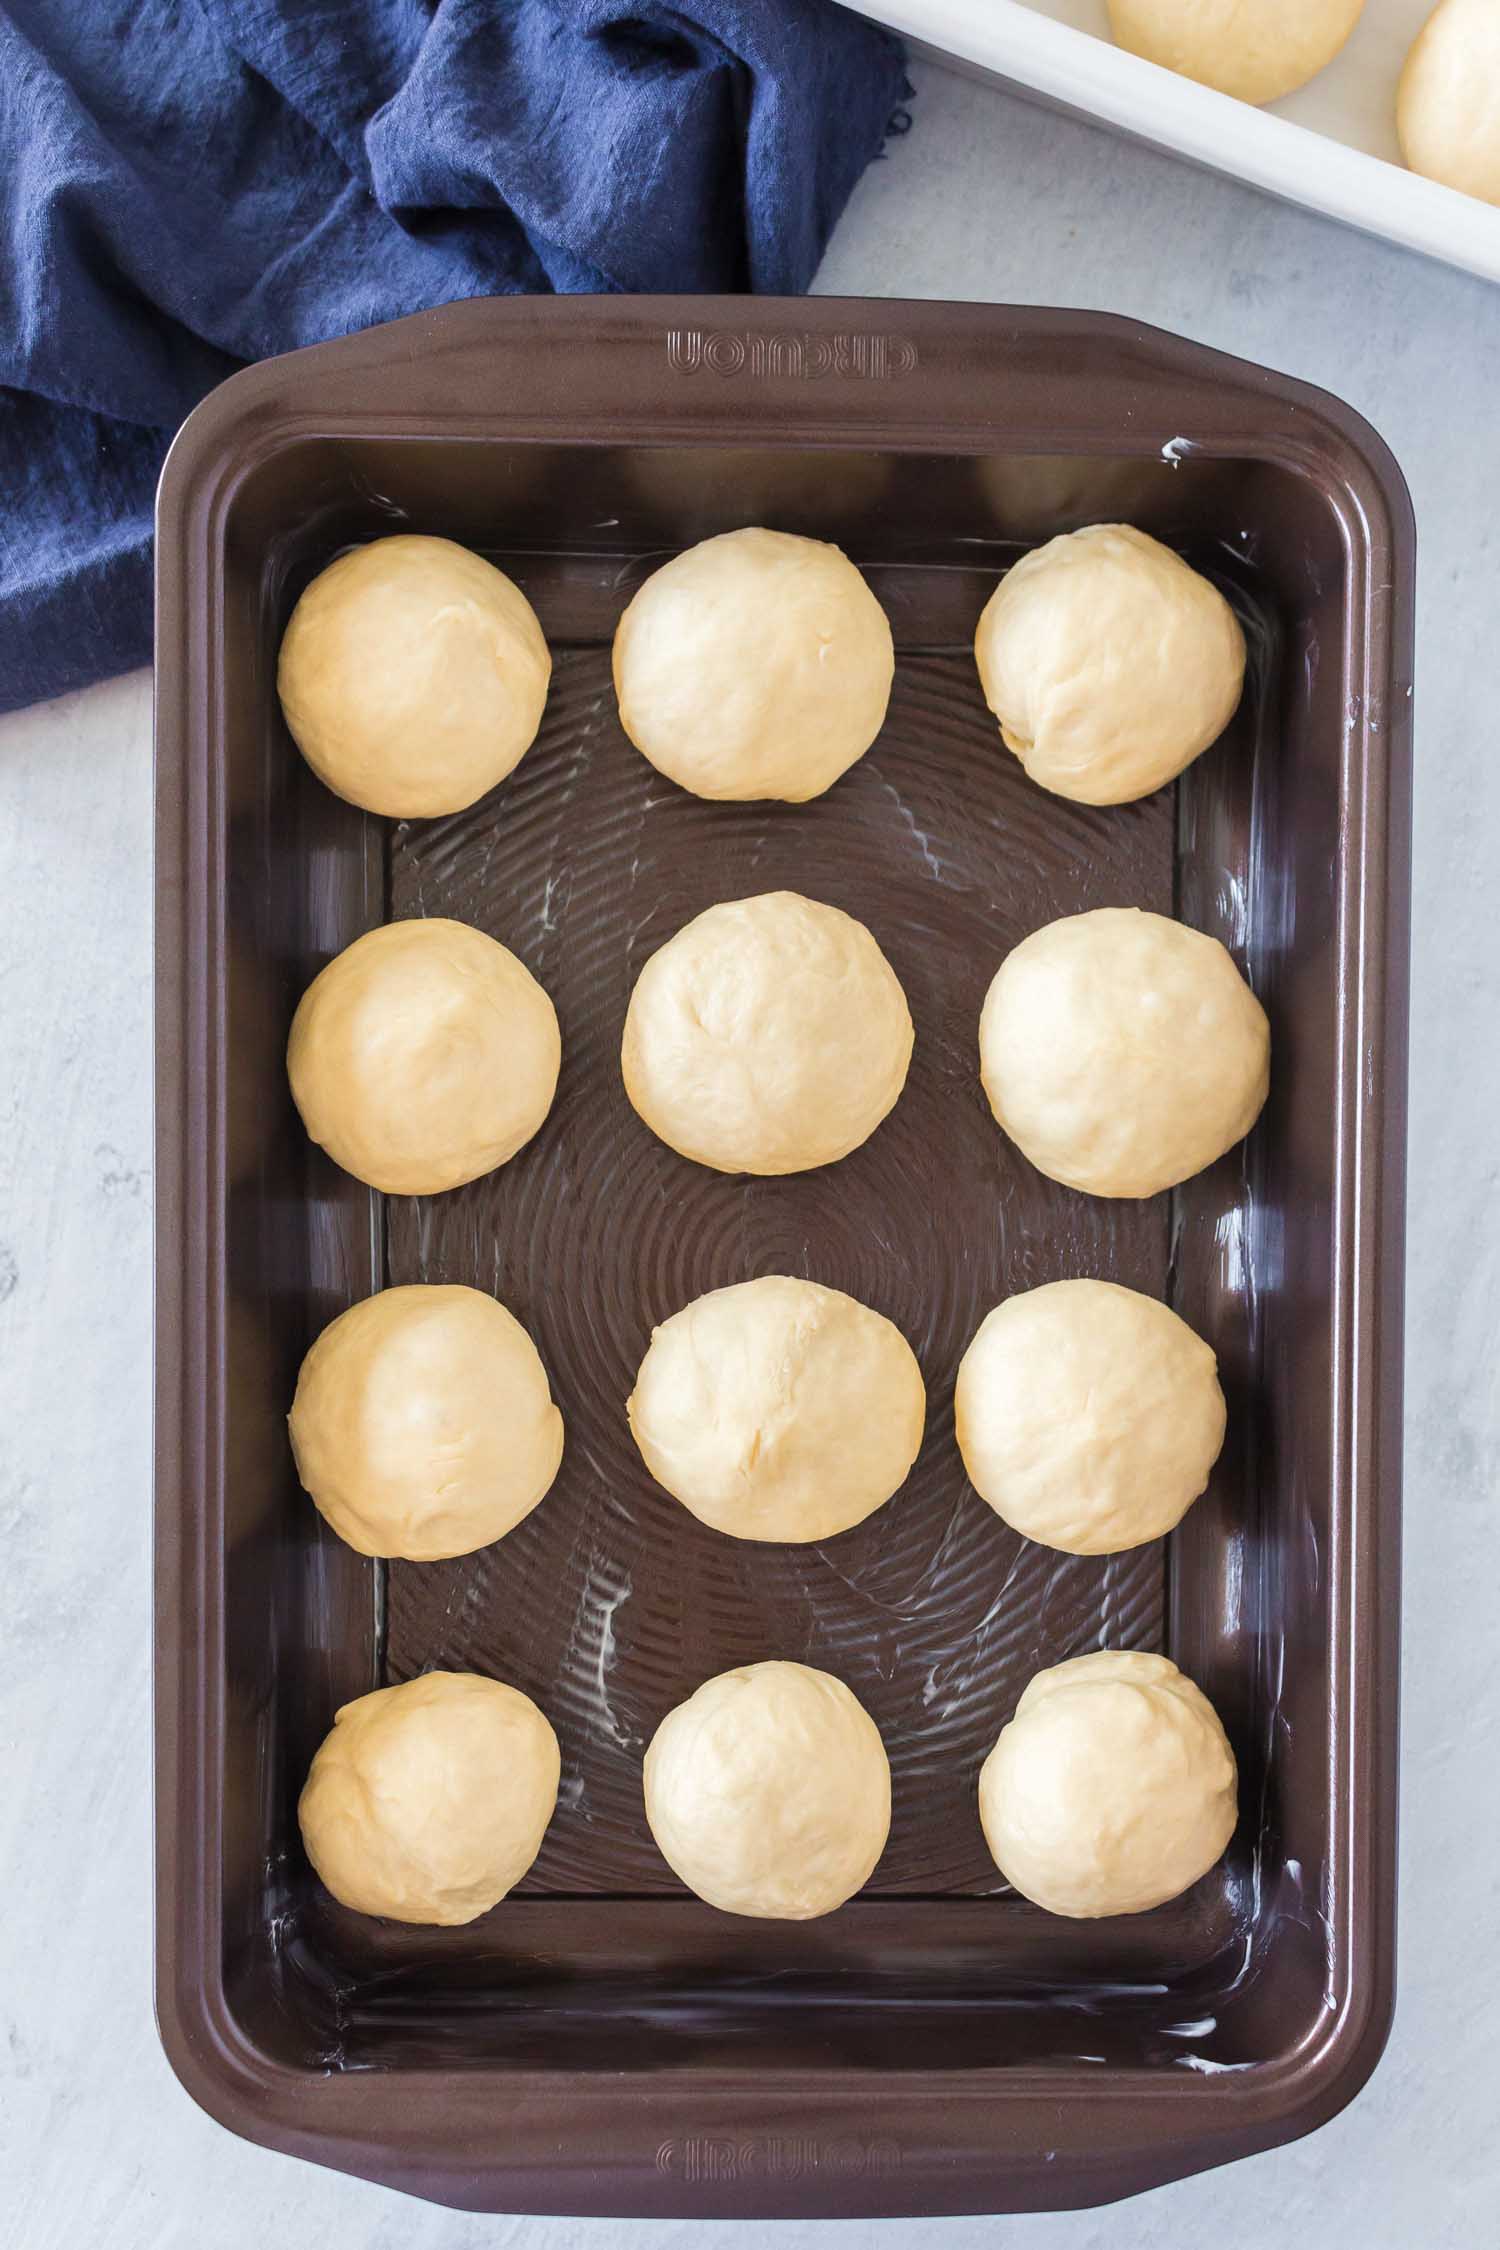
Place the rolls into 2 lightly greased or parchment lined 9×13 baking pans. This is important!! These rolls are high rise rolls and when they squish all together in a baking pan they are so much better.
Cover the rolls again and let them rise an additional 30-45 minutes or until doubled in size. Here is what they should look like:
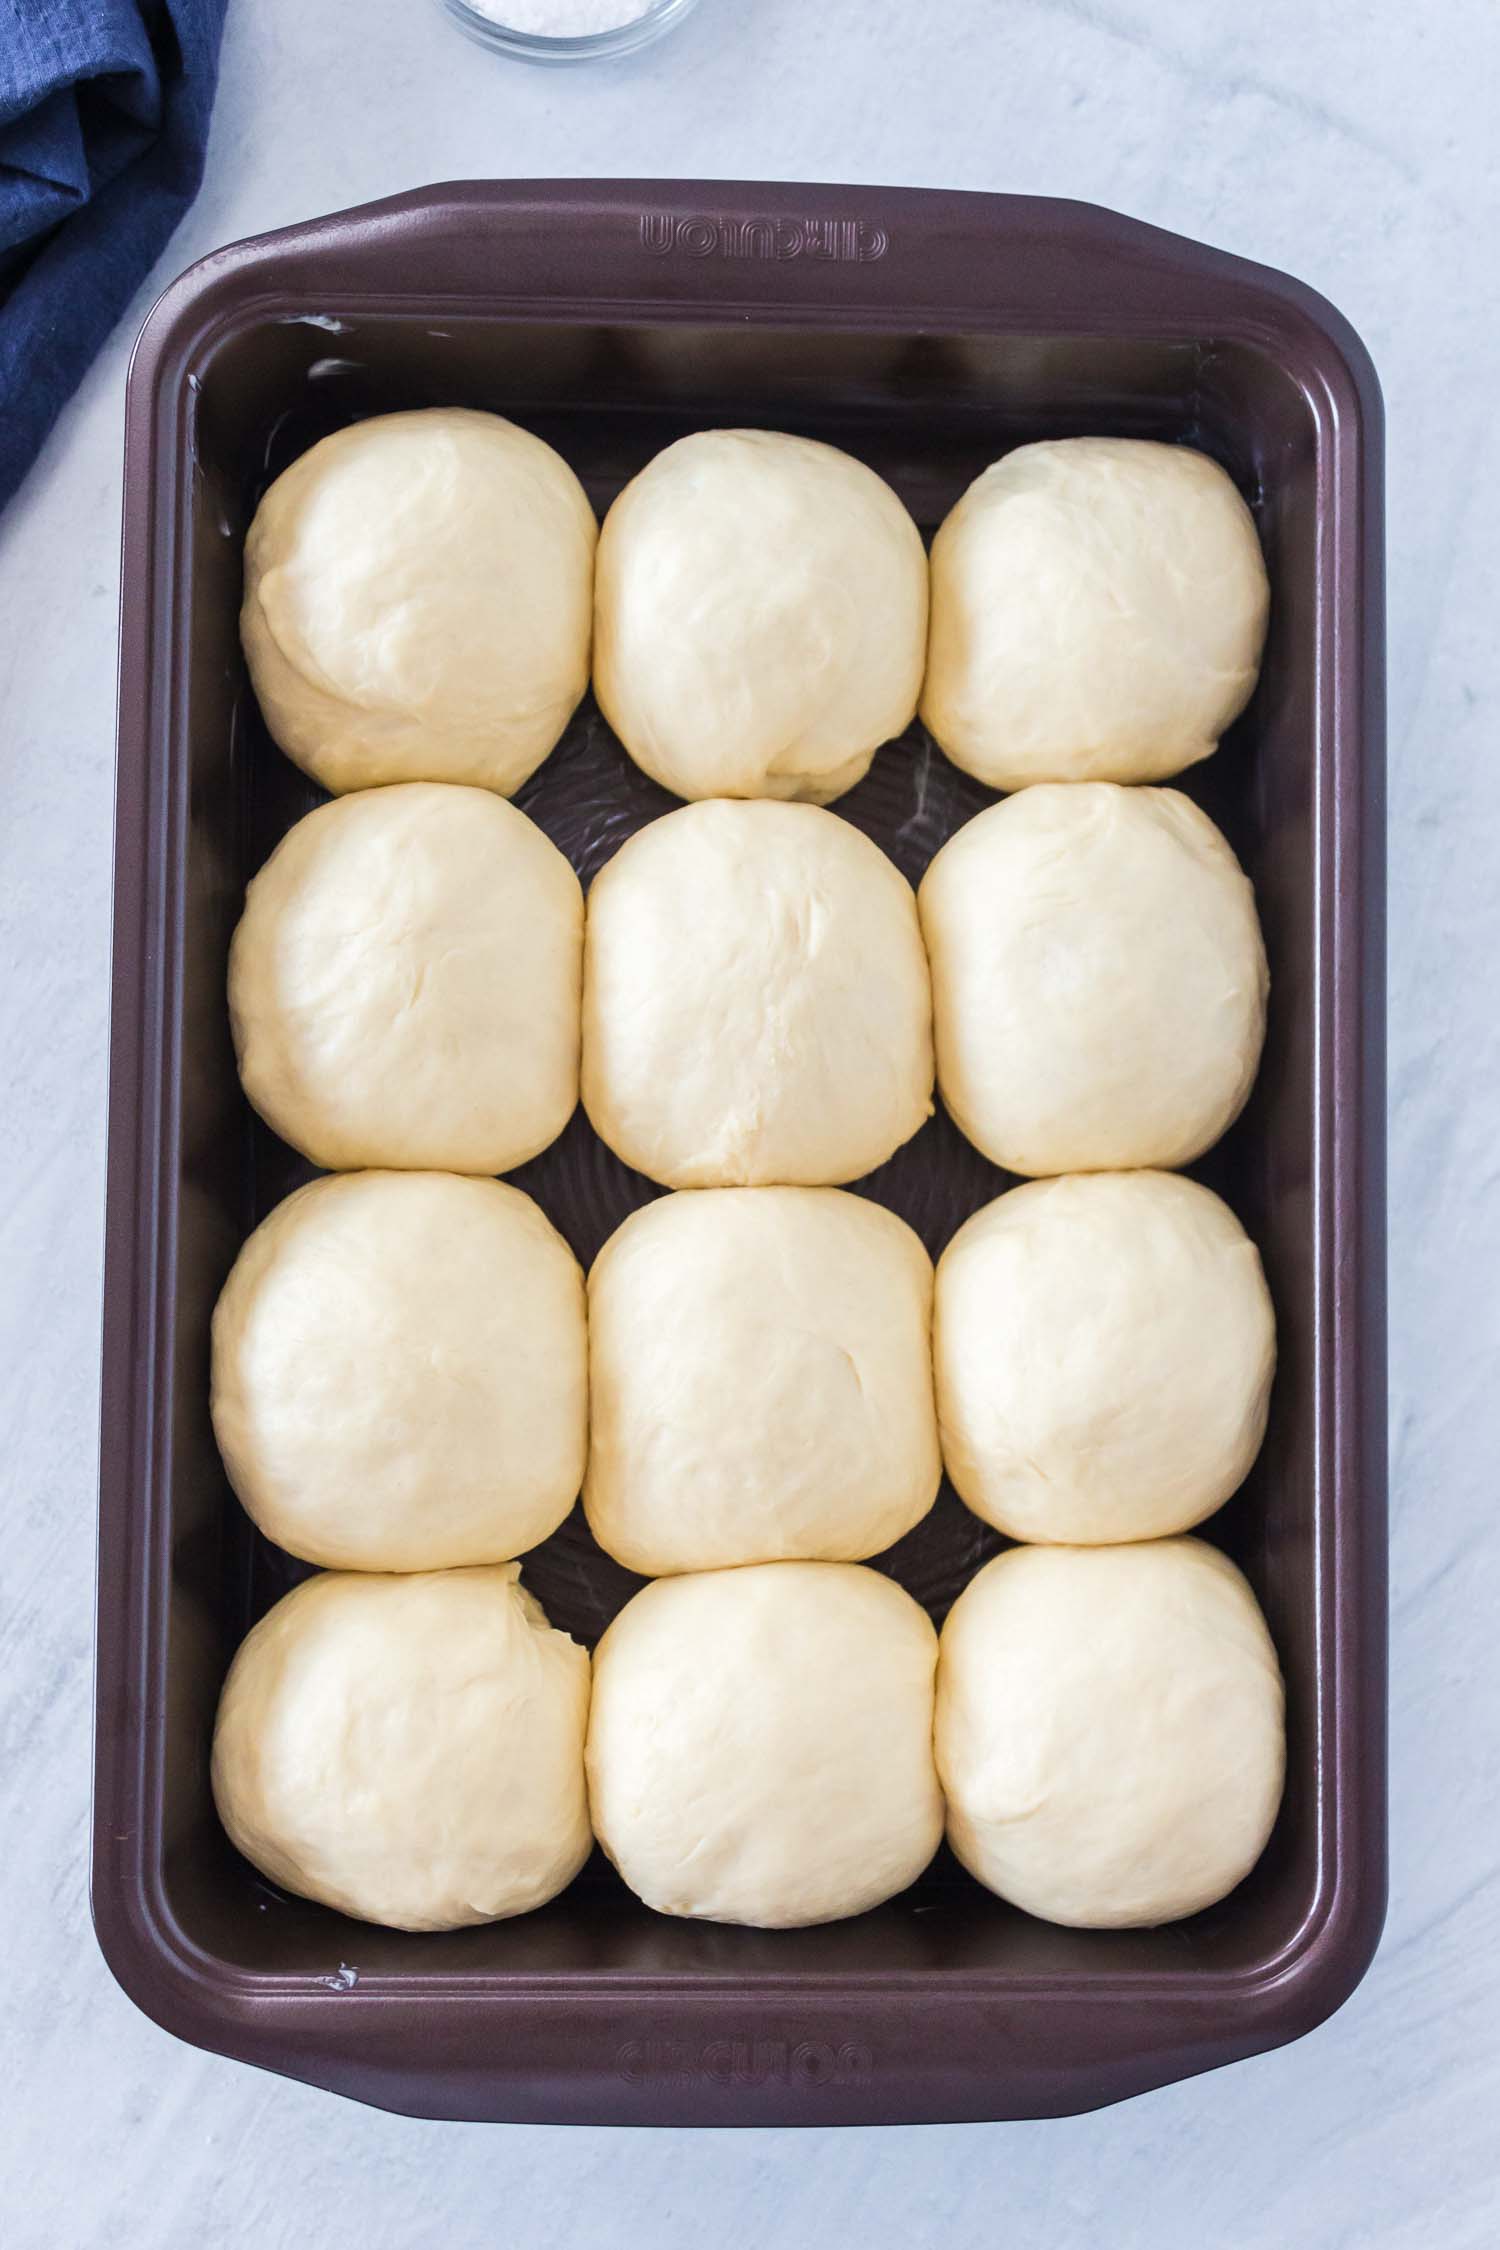
Then bake the rolls at 375°F for 14-17 minutes or until rolls are golden brown on top. Remove rolls from the oven, and brush the hot rolls with butter. Sprinkle a pinch of sea salt on top of each one and enjoy!
Pro Notes/Tips
- Testing for roll doneness tip: If you have an instant read thermometer bake until center of a roll reaches 195°F for perfect results.
- Canned evaporated milk really helps these rolls get their rich flavor and softness. However, you can also substitute it with whole milk instead.
- You can substitute fast rising or instant yeast for the active dry yeast, however the rise (proof) times will be slightly shorter and you’ll end up with a slightly different (less dense) texture of the roll.
- For this recipe you can use all-purpose flour or bread flour. I prefer all-purpose flour as it makes a less chewy texture.
- If you don’t have 9×13 baking pans you can also use a quarter baking sheet, but for the best nice, tall rolls as pictured the 9×13 sized work best.
- For a warm place to get your rolls rising – turn on the oven for 20-30 seconds at 350 then shut it off. It’s usually enough to get the oven coils a little warm, and helps give it a warm place to rise.
- Convection baking temperature: 350°F for the same time amount.
- To make ahead & freeze dinner rolls: Prepare the recipe through step 7. Then place the rolls on a piece of lightly greased parchment paper on top of a baking pan. Cover tightly with plastic wrap and flash freeze for 2 hours or until rolls are hard. Transfer the frozen rolls to a freezer-safe gallon sized bag and seal the bag, removing air. Place back into the freezer until the day you want to make them. These will keep in the freezer for 3 months. On the day you serve them, arrange the dough balls in a greased baking pan. Cover them tightly with plastic wrap, then let them thaw and rise for about 4-5 hours. Once risen, bake the rolls as directed.
What to do with leftover dinner rolls?
Apparently some people have leftover dinner rolls after a meal. If you’re the kind of person who has self control, then you’re probably wondering how you can keep them from going to waste.
First of all, leftover rolls can be frozen. Freeze them in a large freezer bag for up to 3 months (just remember to get as much air as possible). Thaw them in the refrigerator or at room temperature, then reheat as desired.
You could also use them up in sandwiches the next day like these Ham & Cheese Sliders.
If you forget the rolls on your counter for a couple days – don’t worry. There’s still hope! Turn those hard rolls into homemade croutons or breadcrumbs. Or better yet, break them up and make french toast casserole.
Baking for the Holidays | Other Recipes You’ll Love
While I make these rolls for casual dinners at home throughout the year, I always make sure I make them for special holidays. I mean, it’s just not Thanksgiving without these yeast rolls on the table.
Here are some other great Thanksgiving recipes:
- If you’re getting ready for Thanksgiving, you might want to get these Make Ahead Mashed Potatoes ready now. They taste just like they’re fresh!
- And then for dessert, my grandmother’s Old Fashioned Pumpkin Pie is seriously good.
- After Thanksgiving, use up leftovers in this After Thanksgiving Casserole, make a Turkey Pot Pie, or check out some of my fav Thanksgiving Leftover Freezer Meal Ideas.
I love seeing what comes out of your kitchen! If you made this recipe (or any others), tag me in your picture on Instagram @happymoneysaver and use the hashtag #happymoneysaver!
Soft Homemade Dinner Rolls
Ingredients
- ½ cup warm water (104 -108°F)
- 1 tbsp sugar
- 1 package active dry yeast (approx. 2 ¼ tsp)
- 5 tbsp salted butter
- 1 12- oz can evaporated milk + about ½ cup water (enough to make 2 cups with the milk)
- ¼ cup sugar
- 2 eggs (lightly beaten)
- 6-7 cups all purpose flour
- 3 tsp salt
- 2-3 tbsp additional melted salted butter
- coarse sea salt (optional)
Instructions
Proof the Yeast:
- Add warm water, sugar and yeast to the bowl of a stand mixer with dough hook attachment. Mix on low for 10 seconds just to combine. Then allow the mixture to sit for 5-8 minutes until you see the yeast turning foamy. If your yeast does NOT turn foamy, it’s likely dead and you’ll want to redo this step with fresher yeast or cooler water.
While that's Proofing:
- In a small saucepan set over medium-low heat, melt the butter.
- Next open your can of evaporated milk. Add enough water to the milk to make 2 cups. **See note below. Add to the saucepan and give it a quick stir.
- Bring the milk-butter mixture just to lukewarm to get the chill off of it (104°F – 108°F). If you have an instant read thermometer, this is a great time to use it. Too hot and you could kill the yeast. Remove from heat and set aside to cool if necessary.
- Lightly beat your eggs.
Making the Dough:
- Turn your mixer on low and let it stay on low while you add in your ingredients.
- Add in your beaten eggs, the sugar, milk mixture, 3 cups of the flour and lastly the salt. Increase mixer to medium speed, and let mix for 1 minute.
- Add in 2 more cups of flour. Increase to medium speed, and let mix again for 1 minute.
- Slowly add in remaining 1-2 cups of flour – ½ cup at a time until mixture comes away from the edges of the bowl and a dough ball forms that is lightly sticky.
- Transfer dough to a lightly greased bowl. Cover with a damp cloth or plastic wrap coated with cooking spray and place in a warm area to rise. Let rise 50-60 minutes or until doubled in size.
- Pinch off pieces of the dough and form 24 rolls. Try to keep them uniform if possible by dividing the dough into half, then fourths and each fourth section then into 6 rolls.
- Place the rolls into (2) lightly greased or parchment lined 9×13 inch baking pans. Cover with damp cloth or lightly greased plastic wrap and let rise an additional 30-45 minutes or until doubled in size.
- While those are rising preheat your oven to 375°F.
- Bake the rolls for 14-17 minutes or until rolls are golden brown on top. Expert tip: If you have an instant read thermometer bake until center of a roll reaches 195°F.
- Remove rolls from the oven, and brush the hot rolls with butter and add a pinch of sea salt on each one. Serve immediately or store cooled rolls in gallon sized bags for up to 2 days.
Notes
Nutrition
Loved this recipe?
Make sure to follow on Instagram @happymoneysaver and on Pinterest @happymoneysaver for more money savin’ recipes!



Comments & Reviews
S Jentzsch says
This is now my favorite roll recipe! Thank you for sharing, and I love the tips as well. I put a half recipe in my bread machine and let it do the work then form the rolls and let it have a final rise before baking. HEAVEN!!!!
TRainwater says
Could these be mixed and all in a bread machine?
Sherylann Sharoian says
THE BEST!! JUST THE ABSOLUTE BEST!!
I searched and tested for months before finally found this recipe. It’s just simply delicious….PERFECT!
Karrie says
Yay!! So happy you love them!!! They are sooooo good!
Lyn says
Turned out very good 👍
Jesseca says
I am not a comment-leaver unless a recipe is unusually superb and let me tell you – these soft dinner rolls top the cake!! I have been baking bread for over 10 years now and only about a year ago did I find these amazing rolls! I have made them many, many times since and they are always a winner. I love the richness of the butter, cream & egg in the dough but really it’s the salt sprinkled on top that made my husband and I go “why have we never done this before??”. Fool-proof recipe, so easy to follow… I could eat these things all day.
Thanks so much, Karrie!!
p.s. this dough is absolutely perfect for cinnamon rolls too 🙂
Karrie says
Aweeee, thanks Jesseca!! So happy you love them as much as I do!!!
Ruthie Collins says
Question:
Am I reading this correctly? After the first rise you do ‘not’ punch the dough down?
Jeanne Stahmer says
I’ve been using this recipe for 2 years now, and what a great recipe it is! The rolls are tasty, buttery and salty sweet, and they don’t last long. If there are any leftover from dinner, they’ll be eaten with jam for breakfast or as a sandwich roll for lunch. I always use about 7 1/2 cups of flour (I knead the dough in that extra 1/2 cup just to get a “feel” for the dough) and I’ve never had a problem with *too* sticky dough.
Thanks for sharing this recipe!
Bershell says
I will have to try again ☹☹☹
Guy says
To clarify, could you please give a weight for each cup of flour please. Different sites quote different weights for a cup of flour. Thank you.
Christine Toy-Corwin says
This seems like so much flour for one pan of 24 little dinner rolls. Is 6-7 cups correct? And still someone posted that they had to add even more flour. I’m not a seasoned bread maker so I’m just asking before attempting this recipe.
Chloie says
Rats! I’ll have to try again. Mine came out much more wet- I added nearly 3/4 more flour, but it was still super sticky. They seemed to rise okay, but I also couldn’t get them to brown as beautifully as yours. Will have to try again.
Karrie says
You might be in a different altitude than me too, a lot of people need to either add more or less flour depending on altitude.Yes try again!!!
Fiona says
Lower altitude would mean to more or less flour?
Happy-Money-Saver says
At a higher altitude, you would add more flour but at a lower altitude you would not add more flour. 🙂
Sydney Hansen says
I’m pretty picky when it comes to rolls, but wow these were thee best rolls I’ve ever had. They are so soft, not to doughy, but doughy enough. Salty and buttery. Just amazing. I could eat 1000 of these !!!