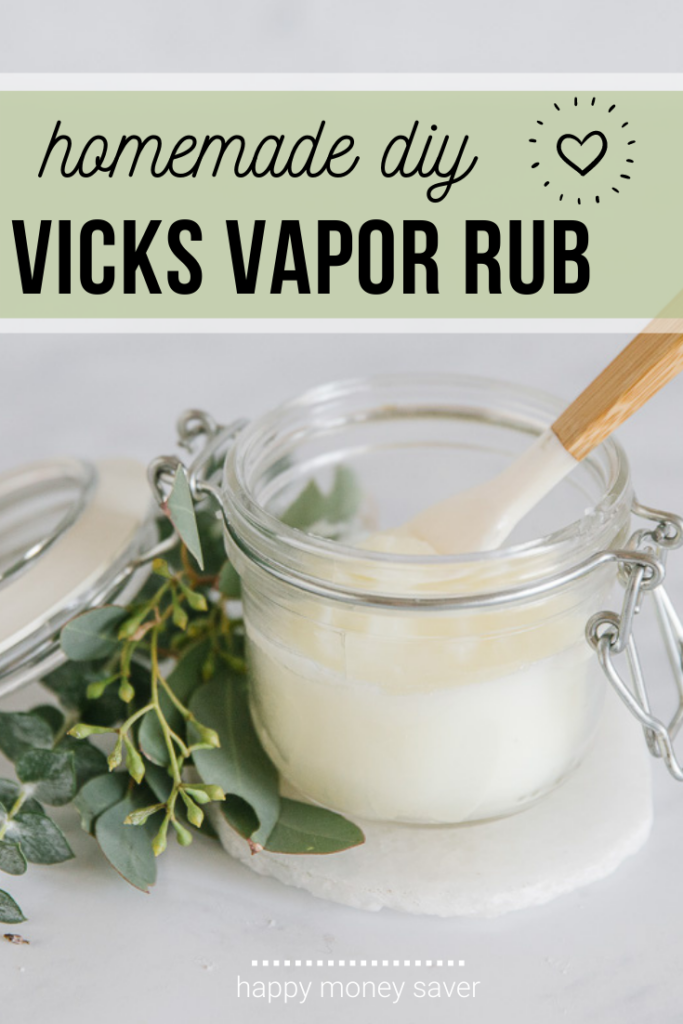

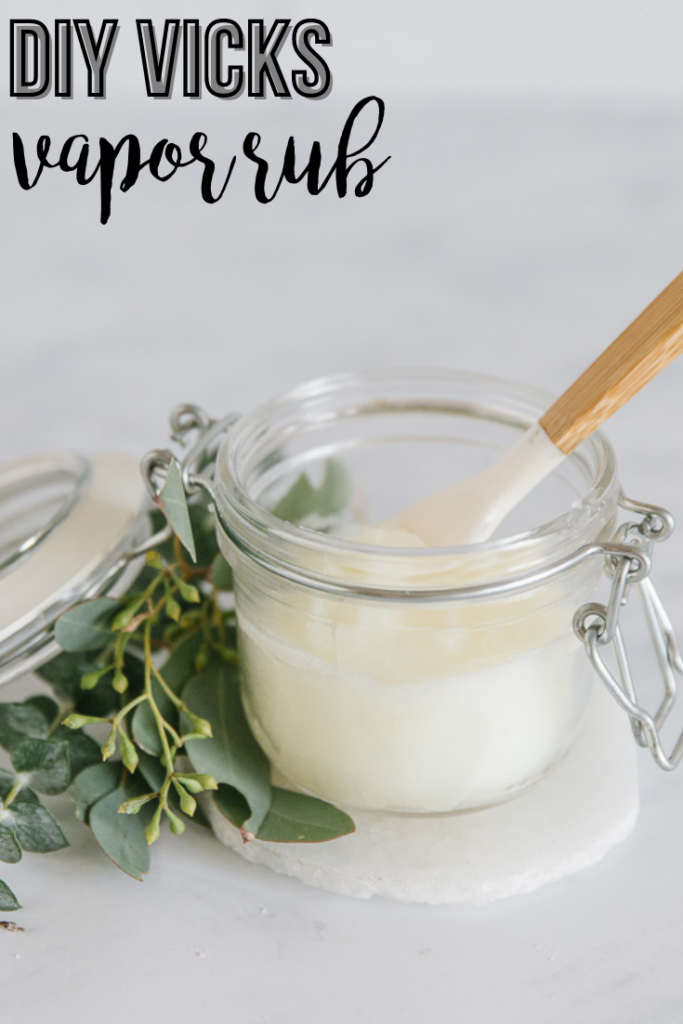
Homemade Vicks Vapor Rub is essential in my household, especially during the cold months. With a few ingredients, this natural recipe can be whipped up within minutes to be used all winter long! No more suffering with stuffy noses and bad allergies with this DIY vapor rub.
This is the season of stuffy noses and clogged sinuses! Congestion is the worst and can make it hard to sleep, breathe and get anything done.
I started making my homemade chest rub recipe a few years ago and now I am hooked! This recipe helps fight the congestion from the moment you put it on. Honestly, the scent alone makes me feel better!
I also really love making homemade recipes to see if they really save me money. It’s just so much fun to try to re-create products and find ways to be more natural. Plus the survivalist in me wants to know how I can make something like a homemade natural chest rub just in case of an emergency.
Say hello to a new homemade Vicks vapor rub that excludes petroleum and turpentine and that soothes naturally and smells AMAZING!
Ingredients
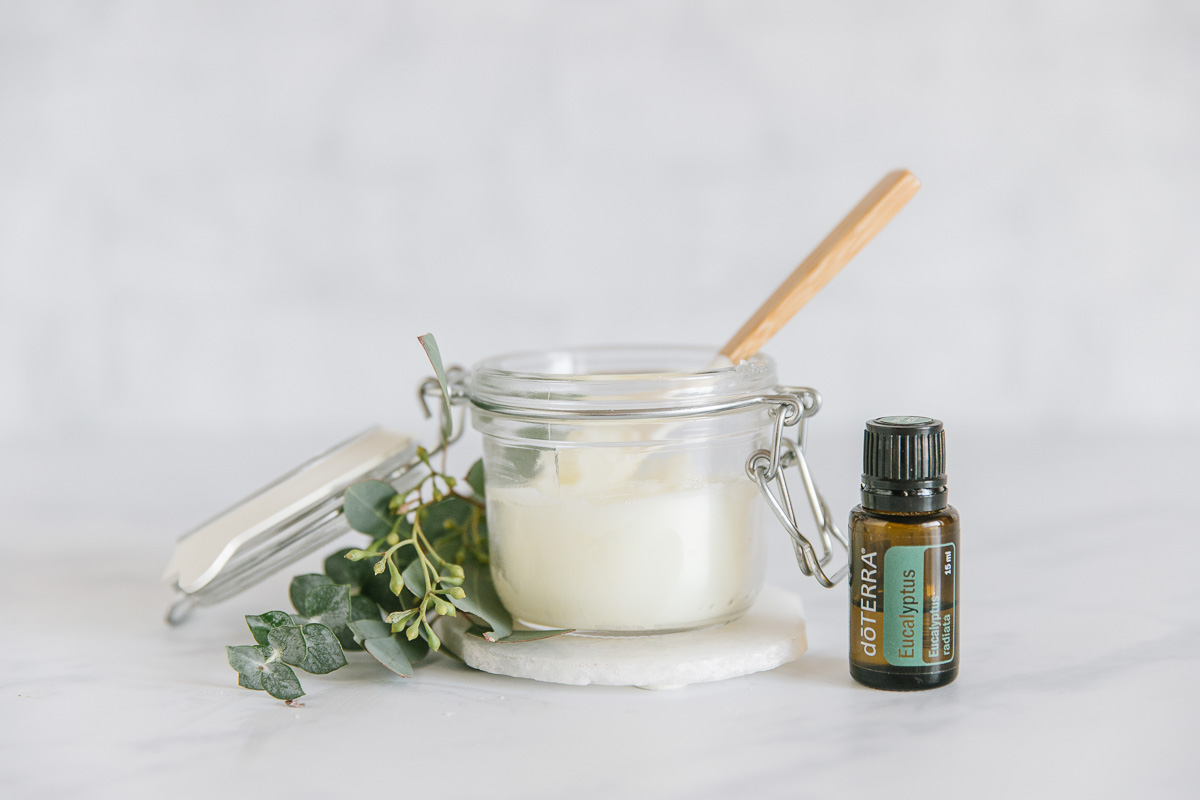
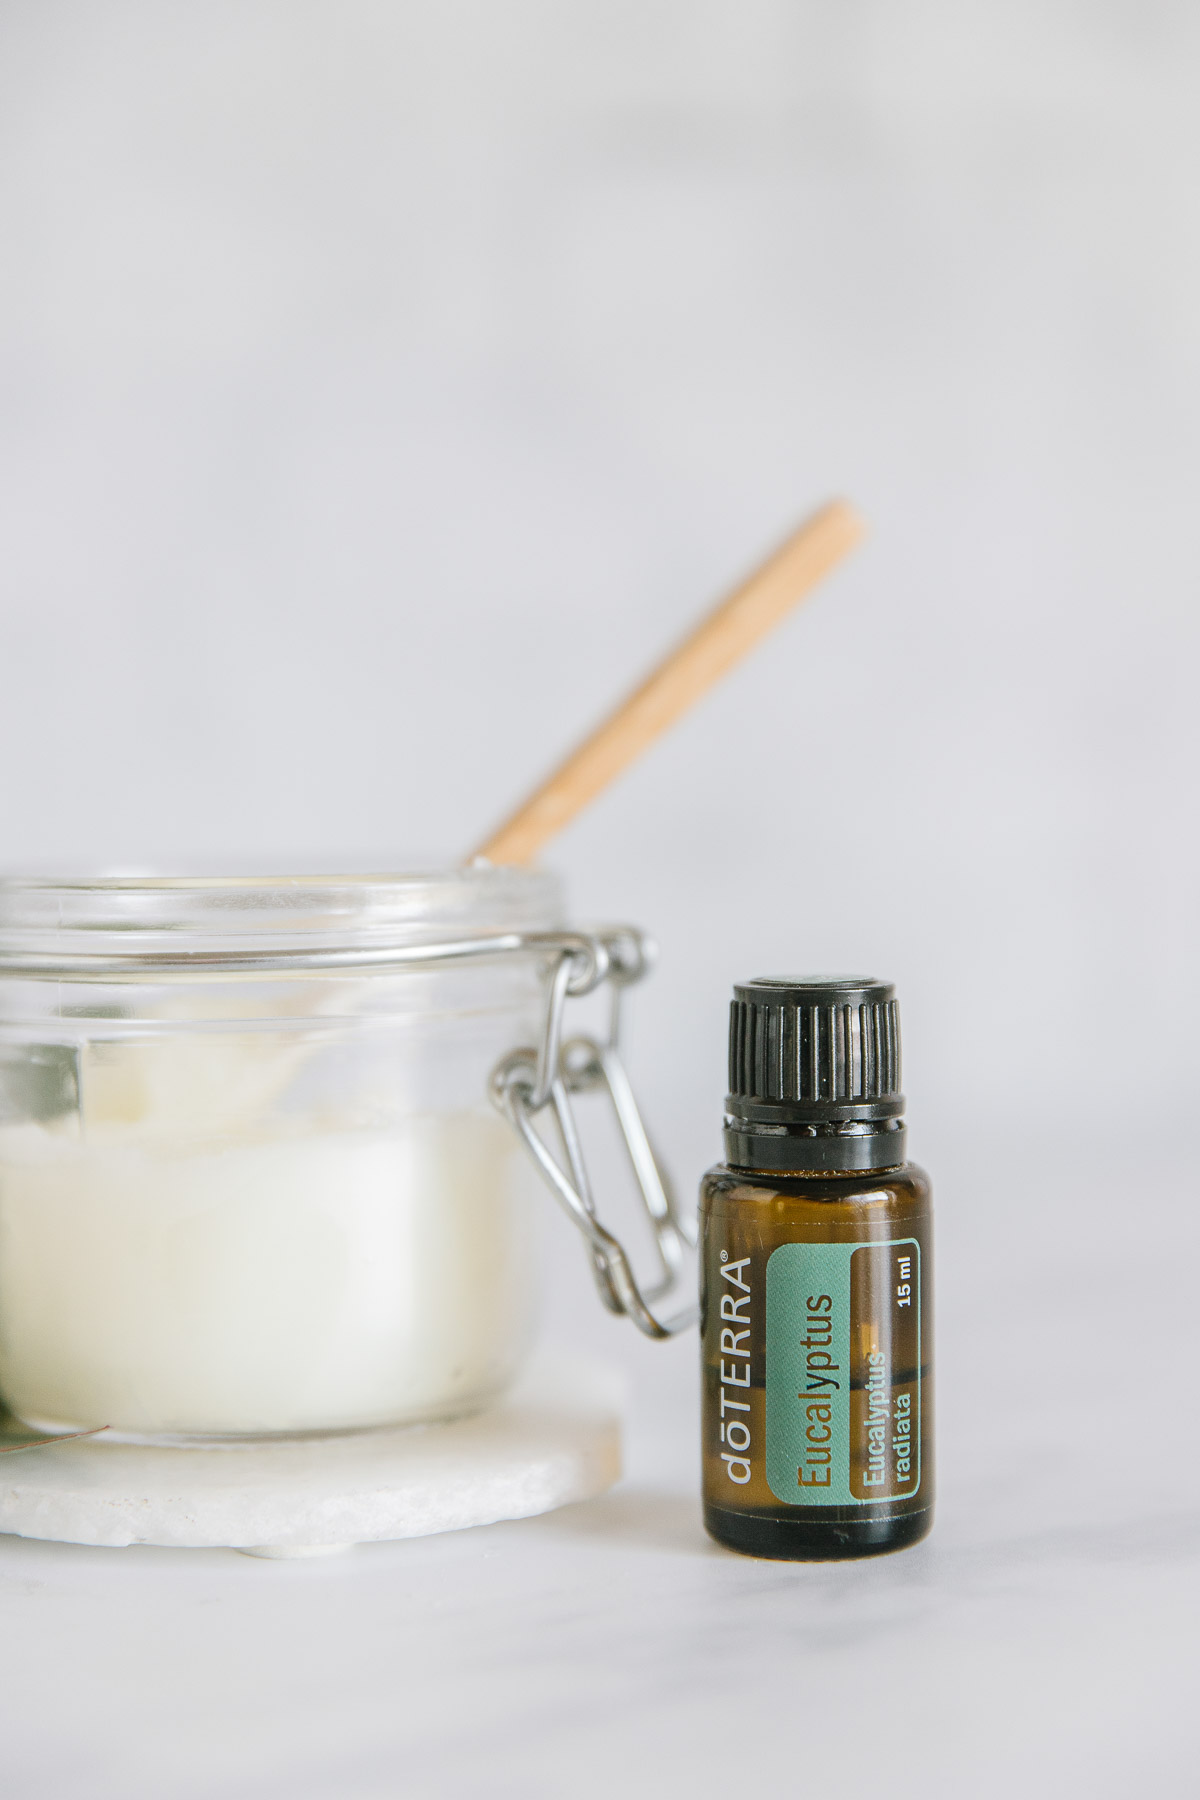
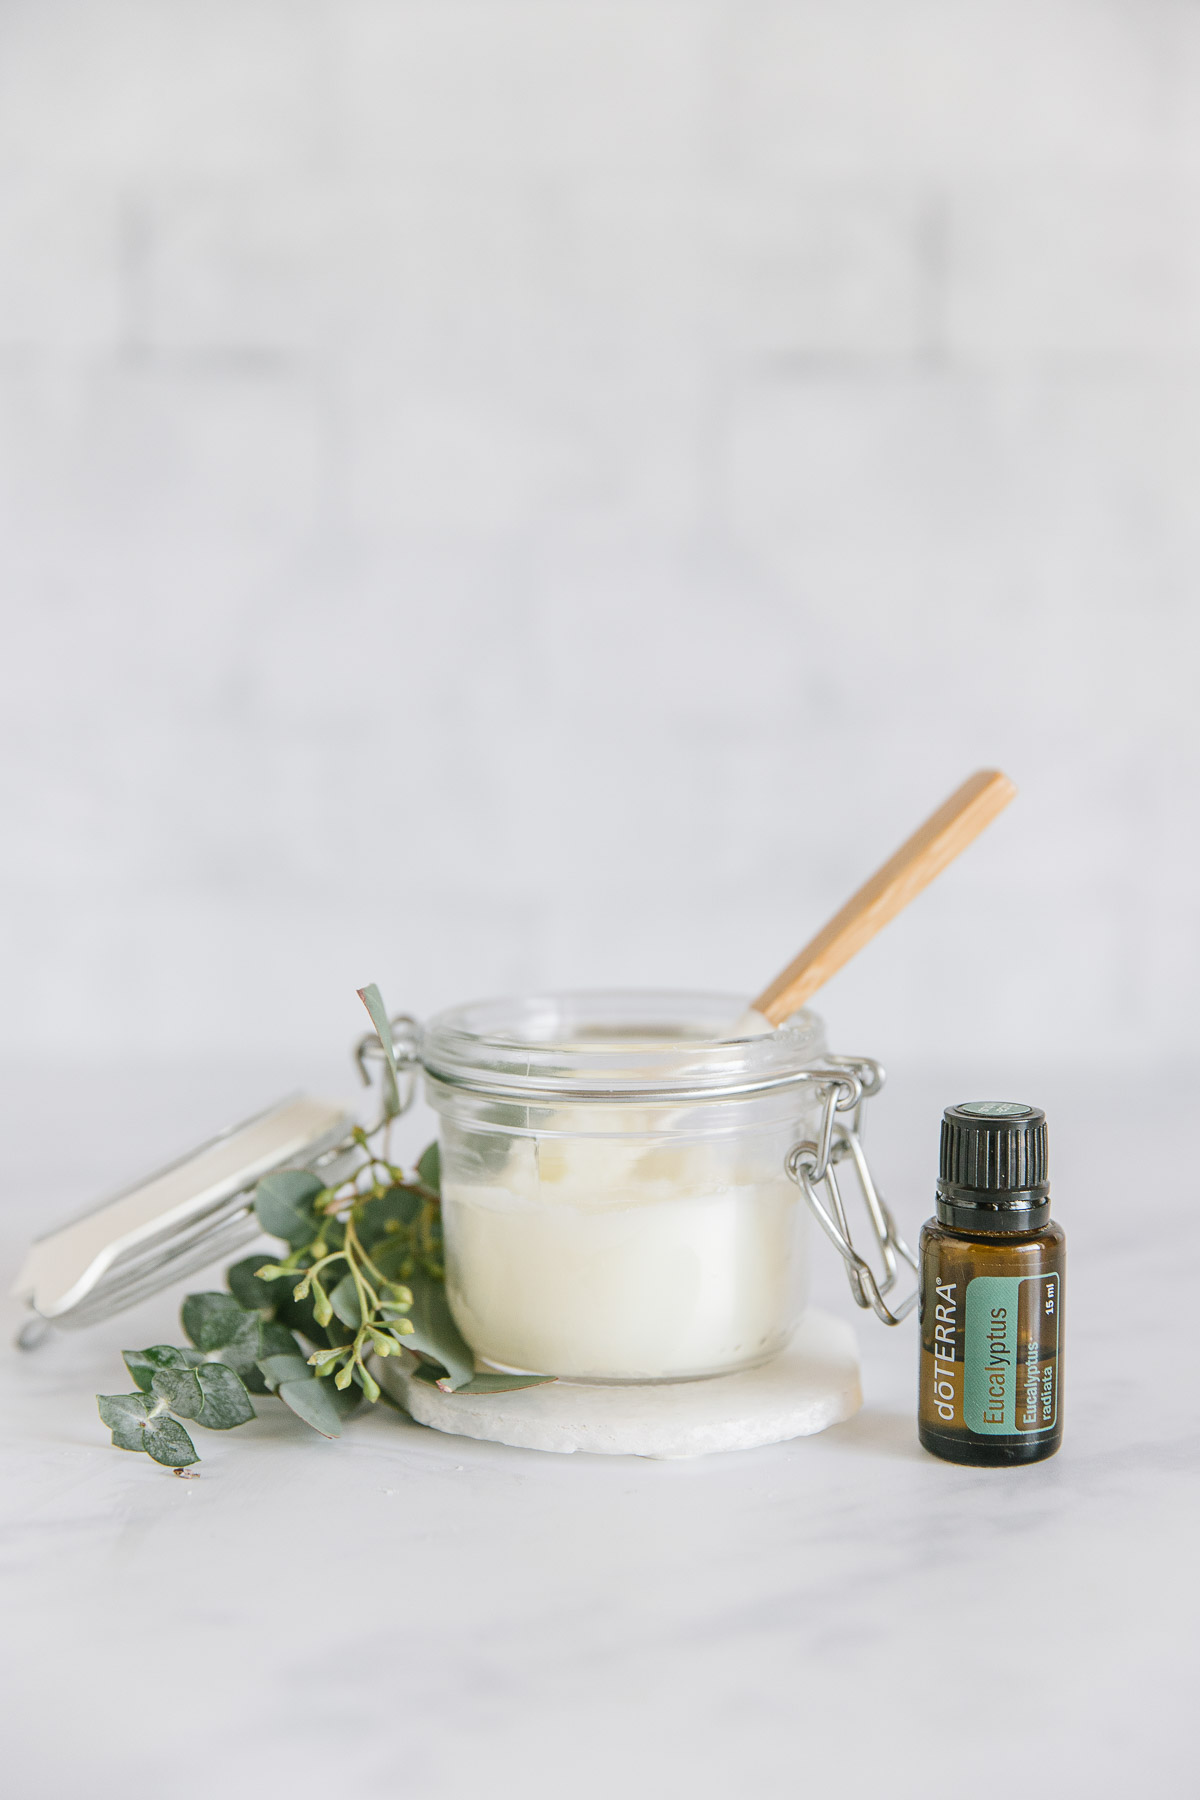
The best part about this recipe is there are only a few ingredients that you need for it – coconut oil, beeswax, eucalyptus essential oil, and your other favorite essential oils. I used lemon and sweet orange and it smells amazing!

Make your Own Homemade Vicks Vapor Rub
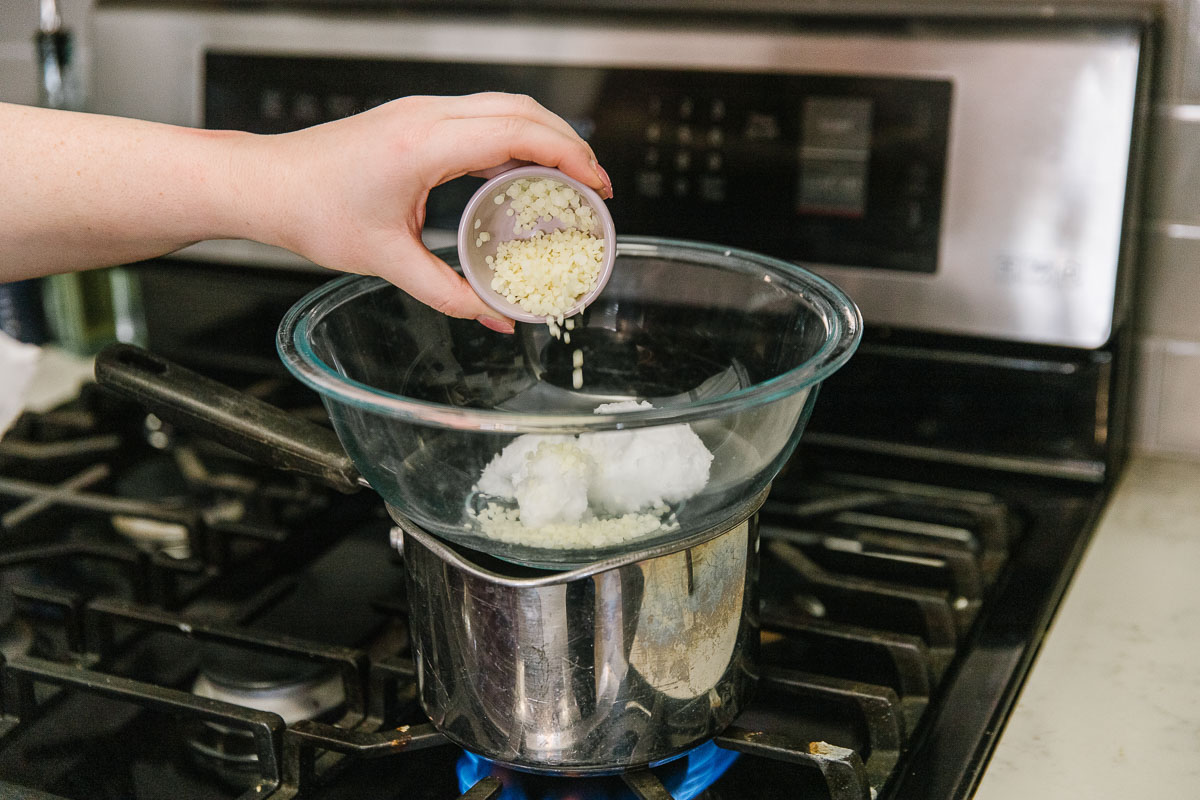
In a double boiler melt the coconut oil and beeswax together while gently stirring until the mixture is smooth and well combined. If you don’t have a double boiler, set a bowl on top of a pot of gently boiling water. Tada! Double boiler.
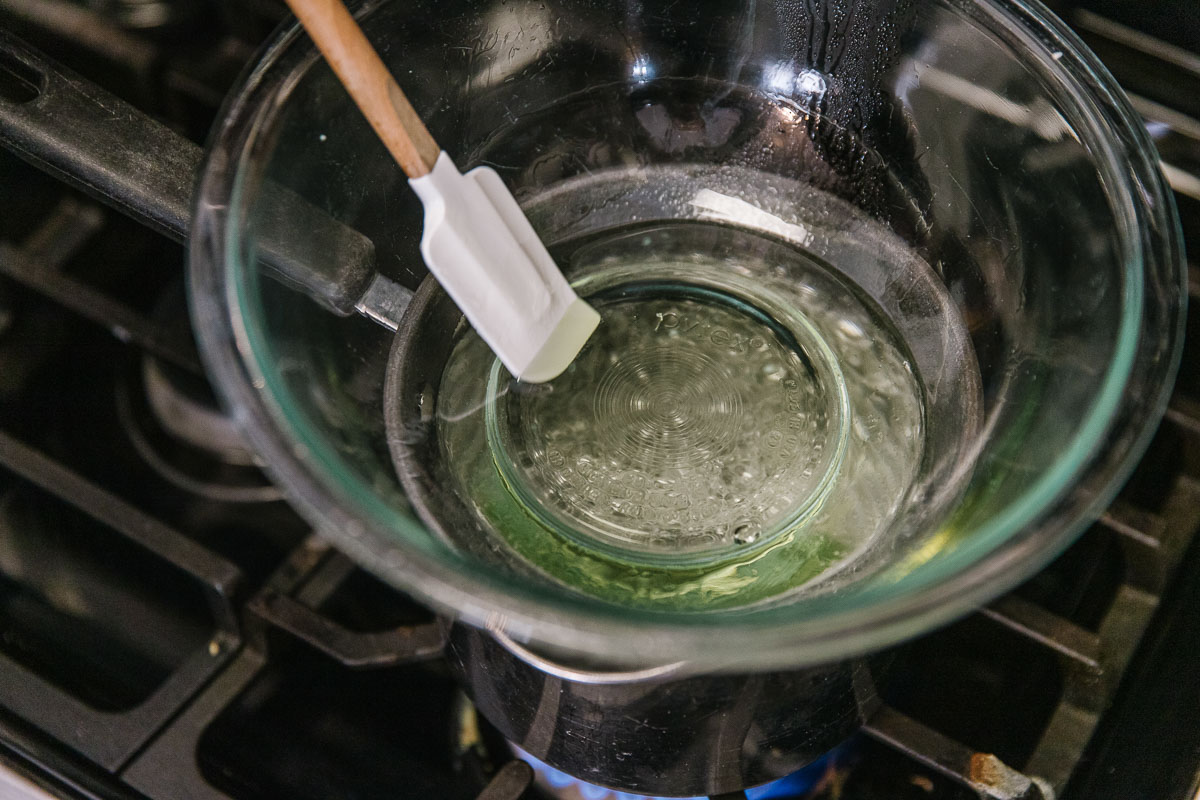
This is what my oil and beeswax looked like about 30 seconds after adding them to the bowl.
When the mixture is smooth, remove from heat and quickly add in essential oils before the rub starts to solidify. It won’t become totally solid, but it’s definitely easier to mix while it’s still in liquid form.
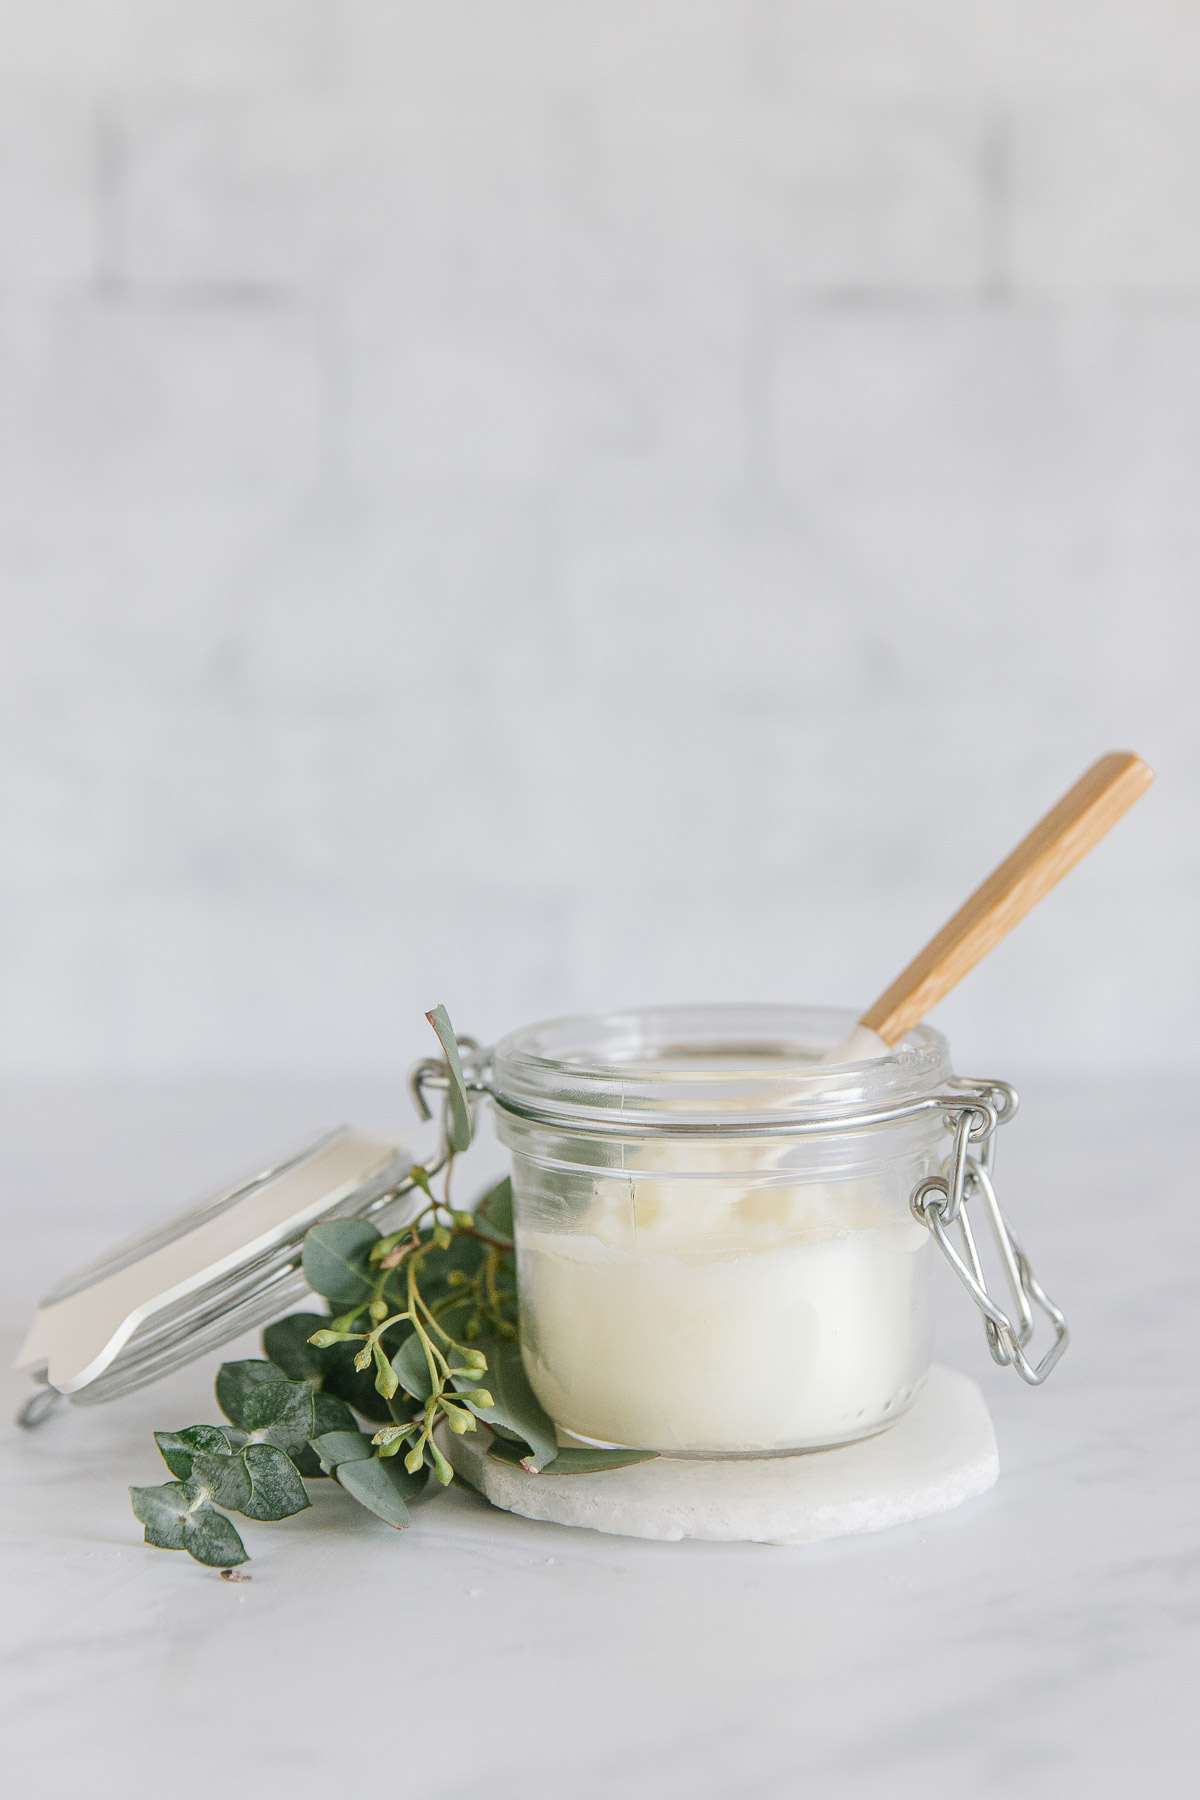
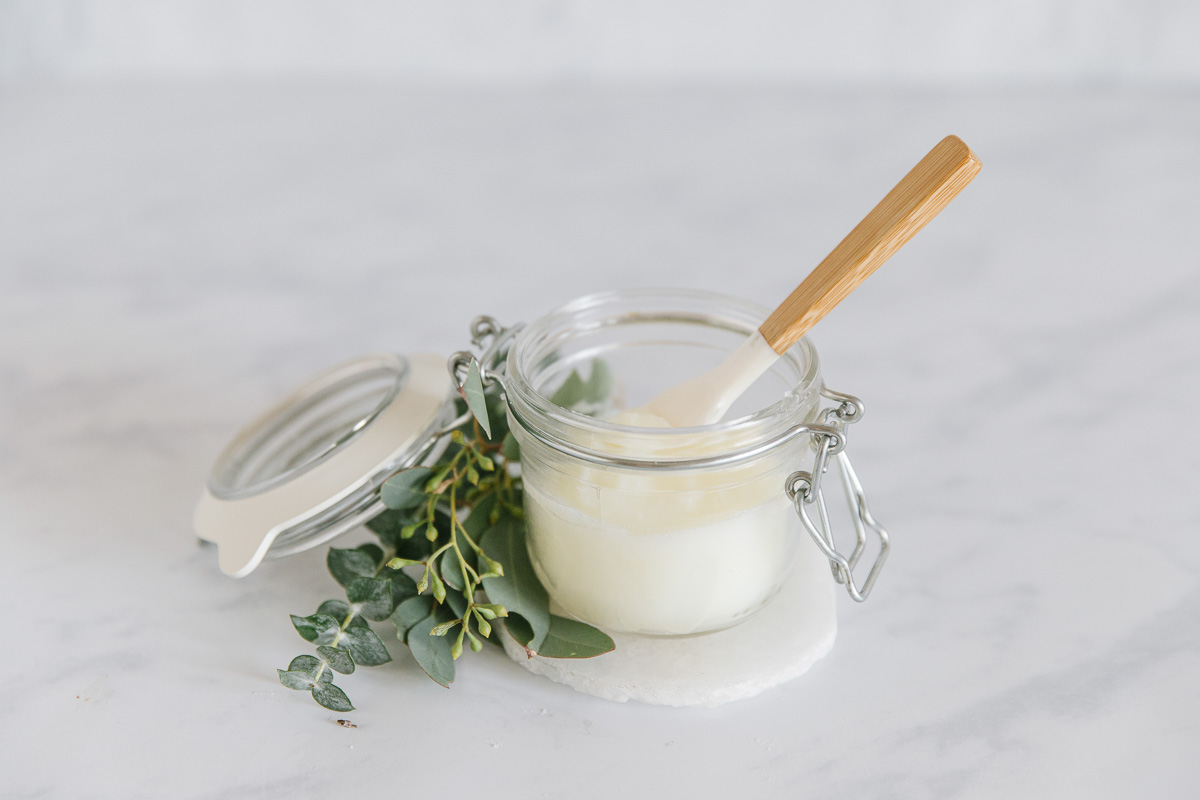
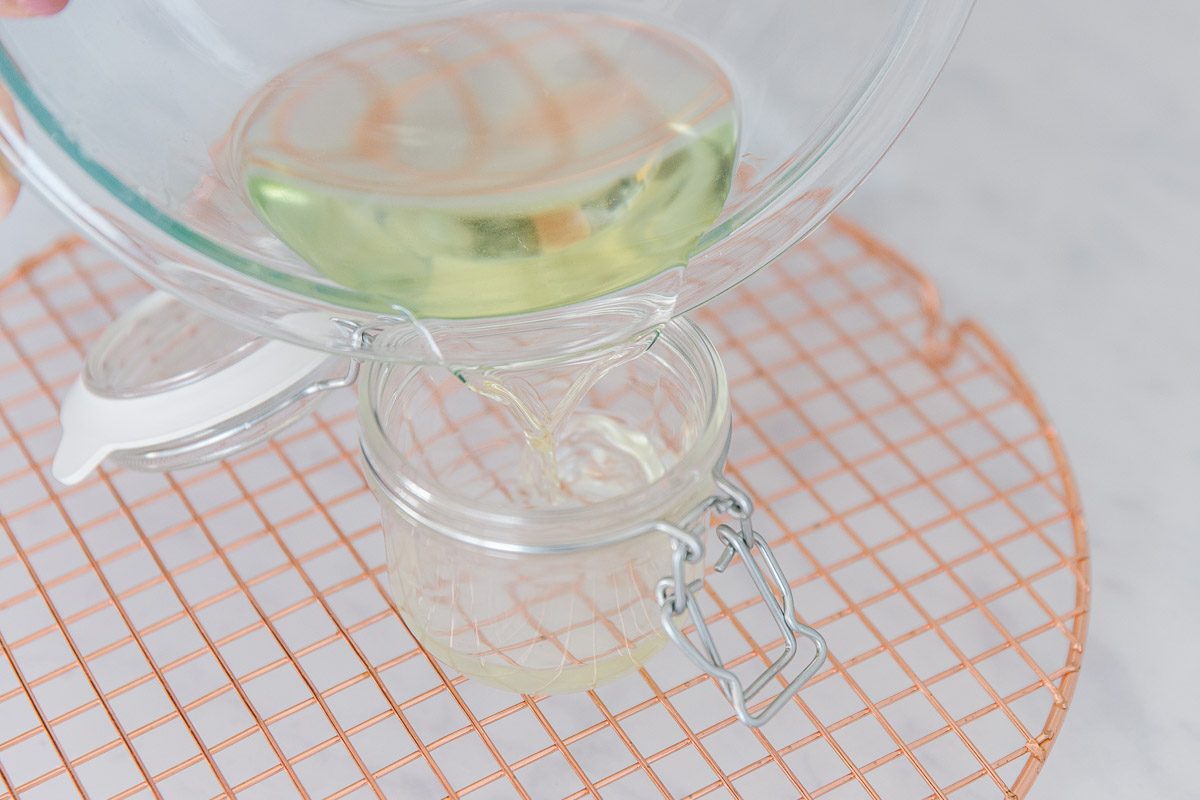
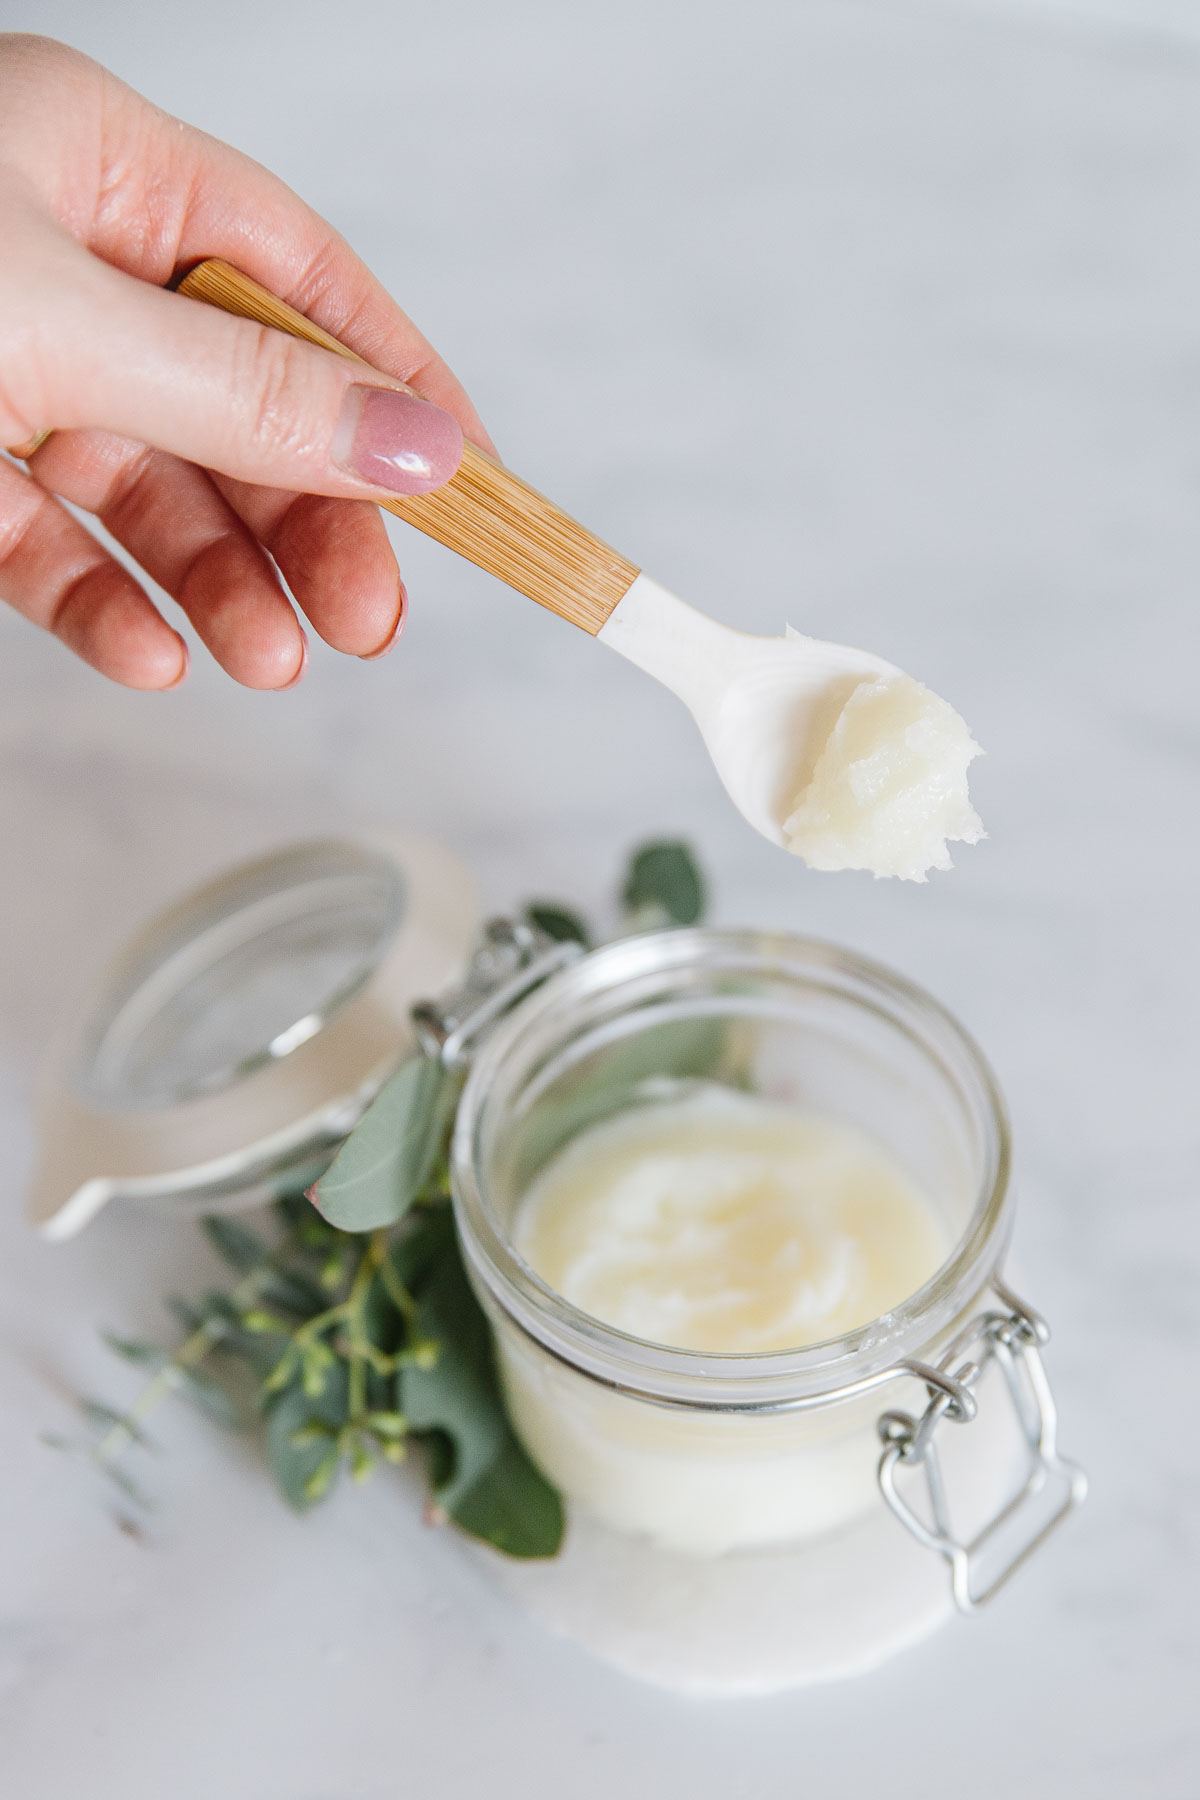
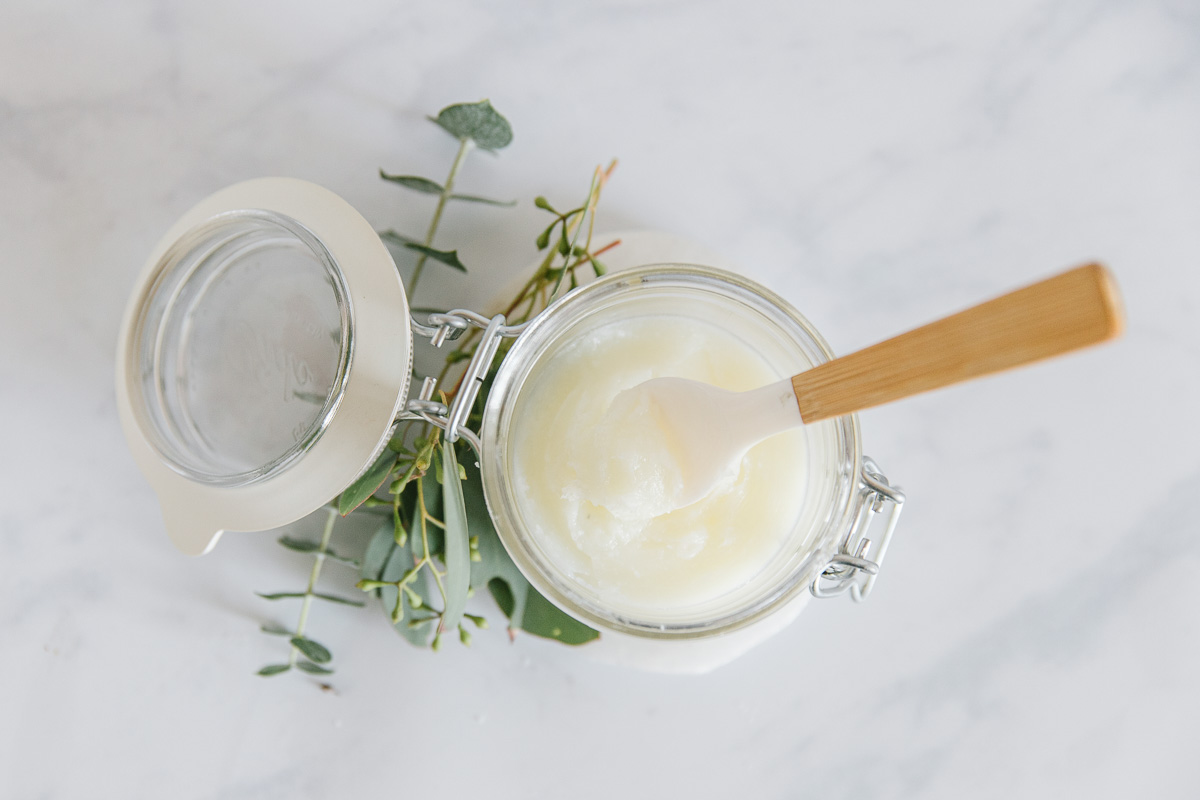
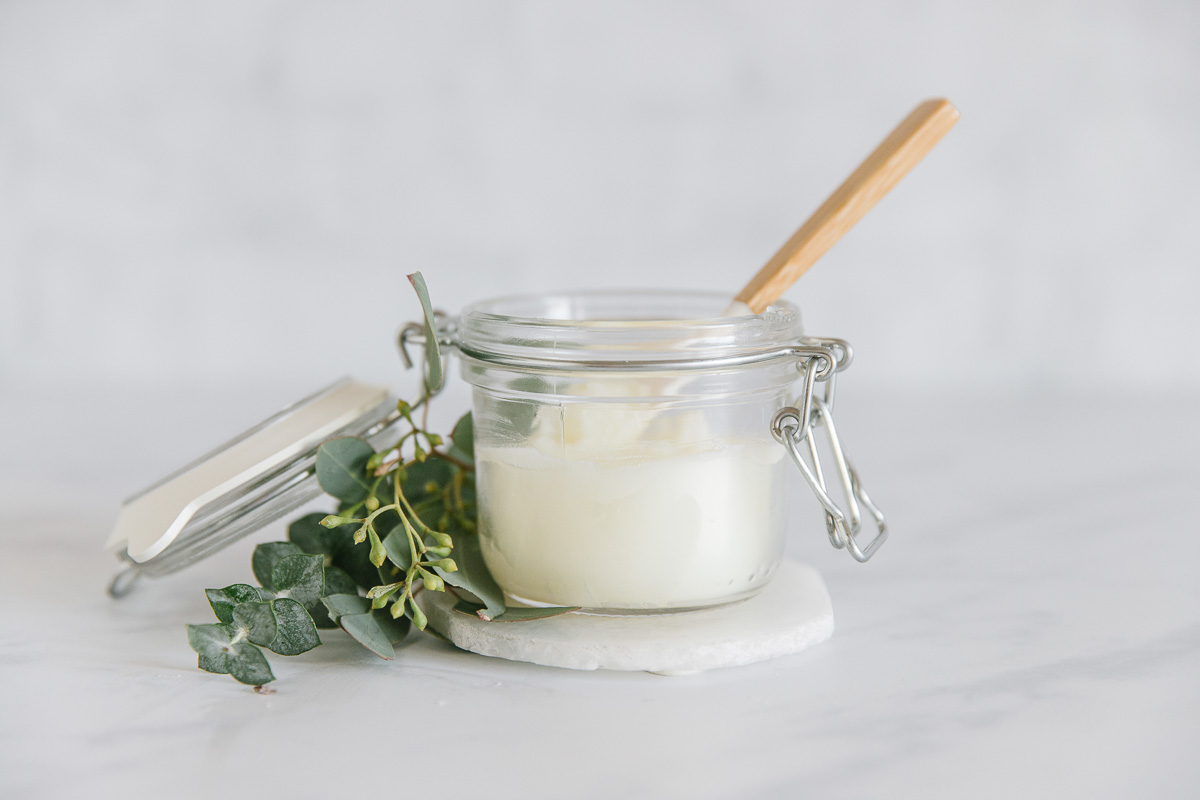
Pour into the storage jar of choice. I used a glass jar and it was the perfect fit.
Store at room temperature.
This is the same strength as a regular store-bought chest rub, so if using it on children under 2, be sure to dilute with more oil.
Does the Homemade Vapor Rub Save Money?
Let’s break it down.
Coconut Oil: $0.58
Beeswax: $0.65
Essential Oils: under $0.50
Total Cost: $1.73
A regular container of chest rub at my local store is $4.75, so our homemade version is 64% cheaper! And no petroleum as an added bonus!
How Long Does It Take To Make This Homemade Vicks Vapor Rub?
This recipe seriously comes together in minutes, and one jar should last about a year if you don’t use it all in the first few months!
What Can You Store the Homemade Vicks Vapor Rub In?
I like to use a reusable glass jar. I can see how much is left and be ready to make another batch when needed. I never want to run out of it!
You can use leftover baby food jars to save money or even a cute metal container if you are giving it away as a gift.
How Do You Use this DIY Vapor Rub?
When you start to feel sick, rub on the chest, under the nose, back, neck, and the bottoms of your feet. The vapors act as a decongestant and make you feel so much better!
I find it works especially well if rubbed on the bottom of your feet and covered with socks before bed.
What Kind of Essential Oils Do I Use?
I use Doterra Essential Oils. Here is more information about Essential Oils.
What Other Essential Oils Could You Use in this Recipe?
- Peppermint
- Lavendar
- Frankincense
- On Guard
- Tea Tree
- Ginger
- Helichrysum
- Lime
- Cinnamon
- Clove
- Thyme
- Chamomile
WANT MORE RECIPES LIKE THIS?
- Homemade Elderberry Syrup
- Homemade Hand Sanitizer
- DIY Natural Allergy Relief Balm
- Home Remedy for Hand Foot and Mouth Disease
- Natural Care to keep Ears Ache Free
The next time you make this recipe, I would love to see it! Snap a picture and share it with me on Instagram using the hashtag #happymoneysaver and tagging me @happymoneysaver!
Homemade Vicks Vapor Rub Recipe
Ingredients
- ¼ cup coconut oil
- 1 tbsp beeswax
- 20 drops eucalyptus essential oil
- 20 drops other essential oils of choice.
Instructions
- In a double boiler melt the coconut oil and beeswax together while gently stirring until mixture is smooth and well combined. I obviously need a new double boiler, so I had to go with plan B—Set a metal bowl on top of a pot of gently boiling water. Ta da! Double boiler.
- When mixture is smooth, remove from heat and quickly add in essential oils before the rub starts to solidify. It won’t become totally solid, but it’s definitely easier to mix while it’s still in liquid form.
- Pour into storage jar of choice.
This recipe was first posted on March 5th, 2014, but has been updated with new photos and better-detailed instructions on Oct 18th, 2021.

About Karrie
Food is my love language. But so is saving money. So I like to combine the two a lot and make thrifty make ahead and freeze meals to save time. Because life is busy, and freezer meals can come to the rescue for all of us. And yes, they actually CAN taste good. Read more...


Comments & Reviews
Kathleen Raijmann says
Hello, I’m not a fan of coconut oil. Want to make it, but prefer to use vaseline so it more closely resembles the consistency of Vicks Vapor rub. Can I just follow the recipe and substitute vaseline for the coconut oil? Do I need to melt the vaseline? Finally, will I need to use the beeswax if I use vaseline?Thanks for your input! Kathleen
Kira says
How long is the shelf life?
Karrie says
It should last for 6 months or longer!
Jennifer says
Hi, can I apply to my 21/2 your old daughters back or chest or just on bottoms of feet?
Isabel says
HI 😉
how many jars does this recipe make and what size?
Thank you,
Isabel
Karrie says
One little baby food jar size. 🙂
Marisol Lopez (personal) says
Is closer to a 2 oz or 4 oz jar?
sue fox says
do you have to wash this off before you head for the outdoors
Happy.MoneySaver says
I usually put this on my feet (or my kid’s feet!) at night before heading to bed and by morning it has absorbed. During the day it shouldn’t take long to absorb in your skin either. I think the only time I would be worried is if you were headed out to the pool right after you applied it. Then I would wait until later to apply it.
Rachel says
Where do you buy essential oils?
Happy.MoneySaver says
You can buy essential oils from me if you like – see my favorite brand here: http://bit.ly/1NrhxZ2
Mickie wordhouse says
I think I’m going to make this with beef tallow, olive oil, and essential oils.
Denise White says
For children- how much more oil? Or could you just use less essential oils? Thanks!
Happy.MoneySaver says
For children I would portion out what I needed and mix in the same amount of coconut oil before applying to my child. Hope this helps!
Sarah Davis says
I make the same thing- but I only use the coconut oil as the base. It still works great, and cuts down on work and cleanup!