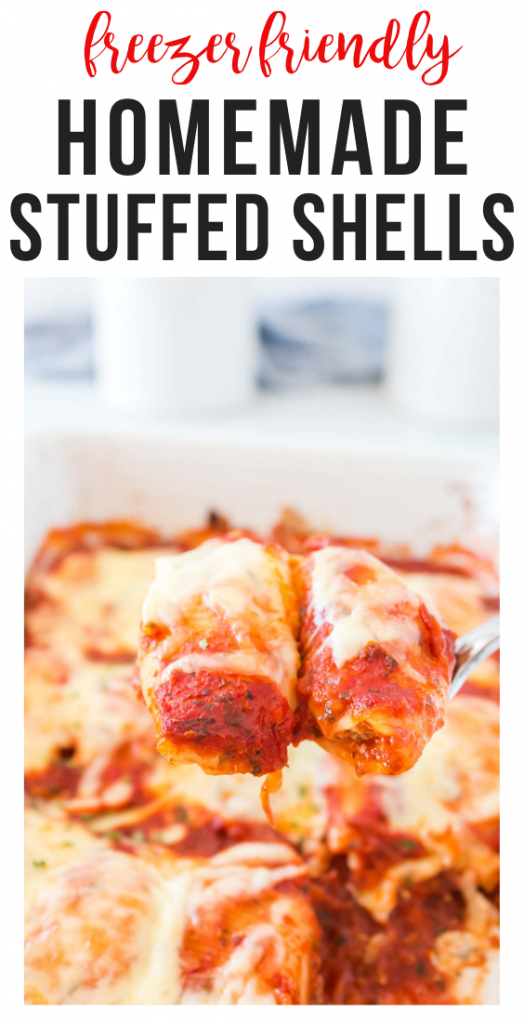
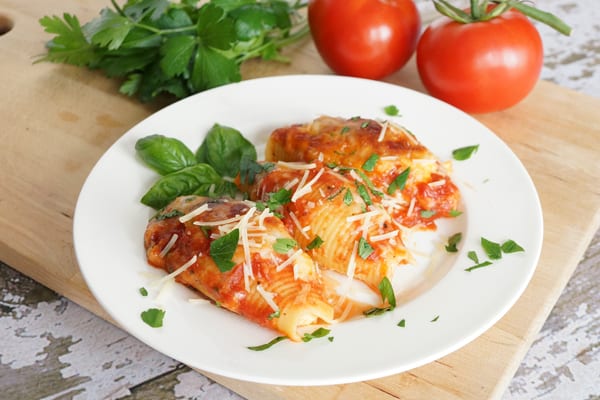
Stuffed Shells are a classic comfort food. Jumbo pasta shells stuffed with a creamy, cheesy filling flavored with fresh herbs and topped with a rich marinara sauce then baked to absolute perfection. They are perfect for a weeknight meal – hearty, delicious and a dinner everyone will love!
Have you ever wondered how to make stuffed shells? It is so easy and delicious! My favorite part about this meal is that it freezes well. You know I love me some freezer meals!!
There are so many reasons to love this Stuffed Shells Freezer Meal recipe! It is so versatile…if you like meat, use meat sauce…if not, just use marinara. You can use your own homemade sauce or use your favorite store bought sauce. It’s great to make ahead of time so you can just throw it in the oven later.
How to Make Stuffed Shells
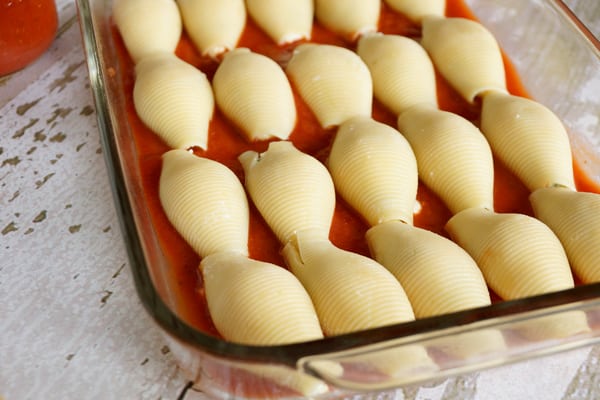
First, prepare a 9×13 pan by lightly spraying it with non-stick cooking spray. Add about half the jar of prepared sauce and 2 tablespoons of water to the bottom of the pan. Stir around until the bottom of the pan is coated.
Next, cook the shell pasta as direct on the package.
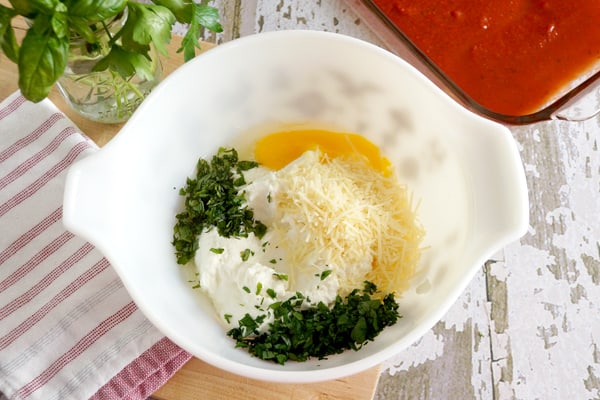
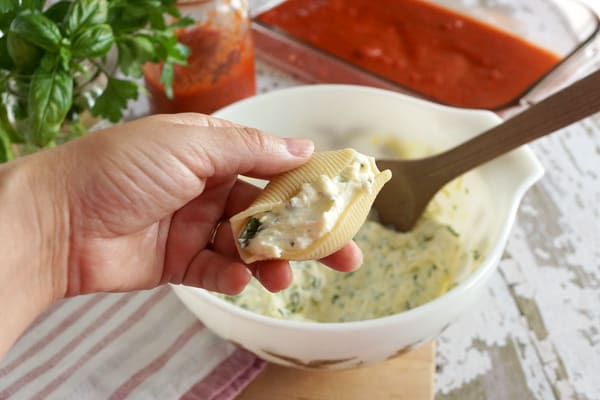
While the shells are cooking, in a large bowl, combine the ricotta cheese, parmesan cheese, egg, basil, and parsley. Mix well. I love to use fresh herbs, but if you don’t have them on hand, dried will work just fine.
Drain the shell pasta and run under cool water until you are able to handle them.
Once cooled, take the shells, one at a time, and fill with the cheese mixture. About 1 1/2 tablespoons of the mixture in each shell should do it…be careful not to overfill.
Place each shell seam side down in the prepared 9×13 pan.
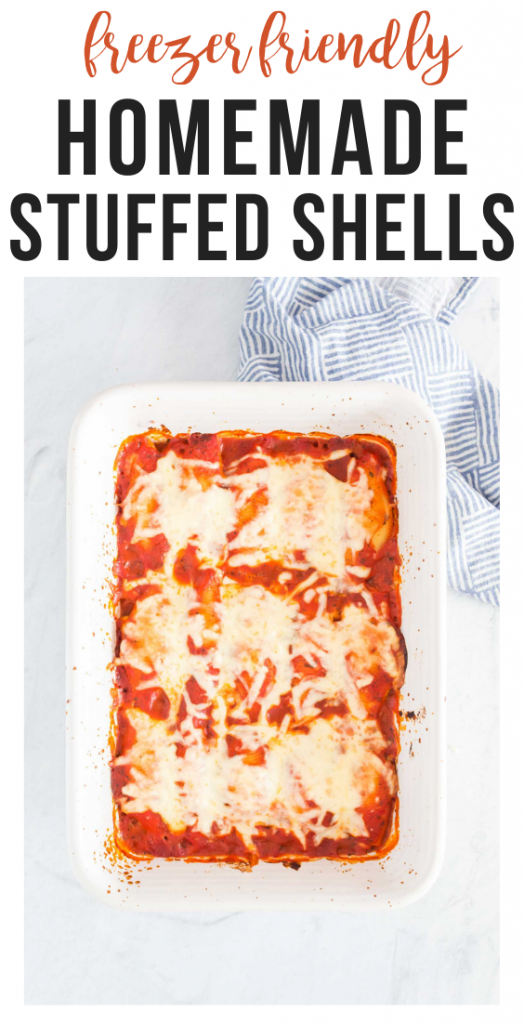
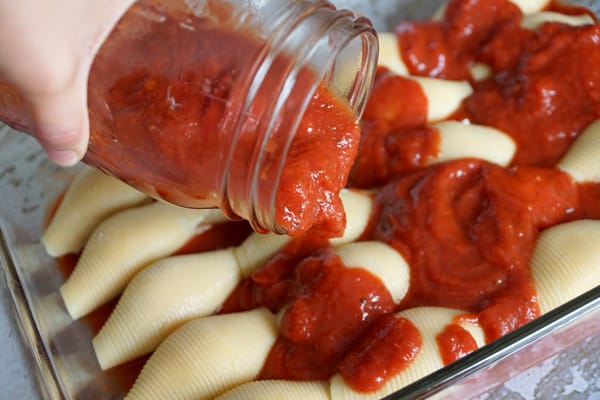
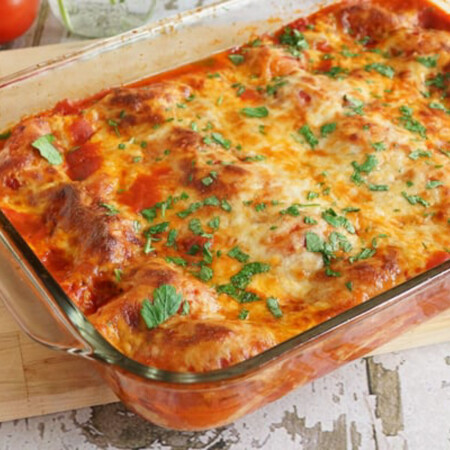
When the pan is full and all shells have been filled, pour the remaining sauce over the shells and top with mozzarella cheese.
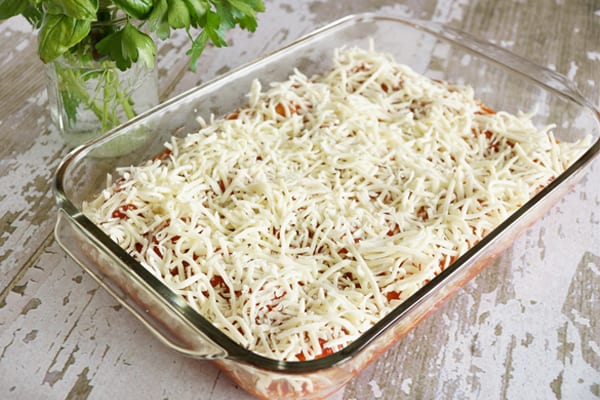
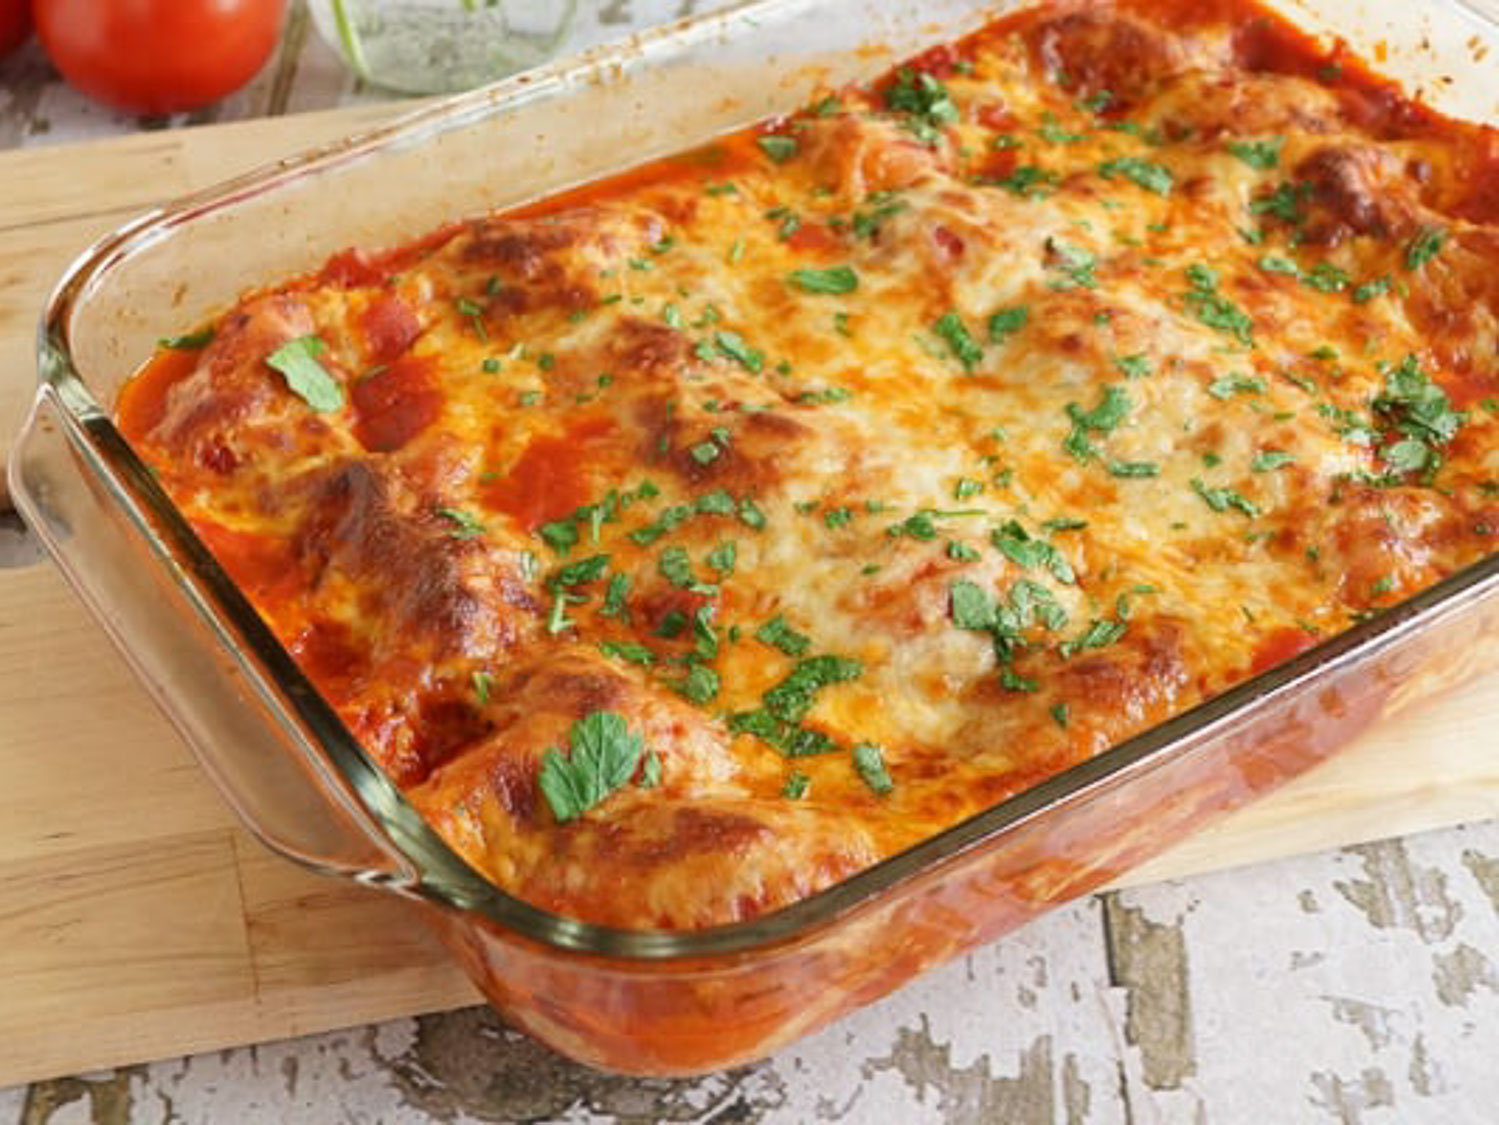
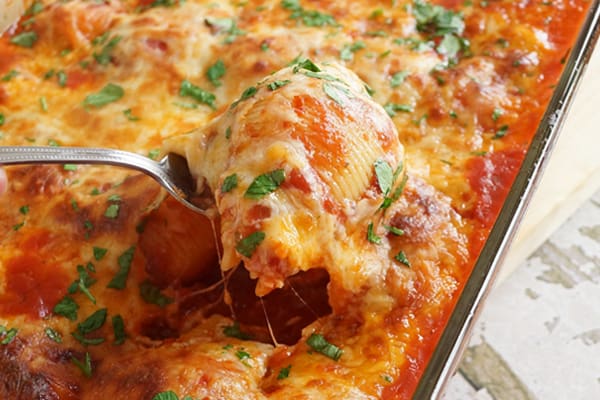
Bake at 350˚ for 35 minutes or until it gets nice and bubbly and slightly browned on top. You can garnish with a little extra parsley if you have it, just to make it pretty.
Doesn’t this look so delicious? I can’t wait to dig in…oh wait, I just did!
Freezer Directions:
Don’t you just love a good freezer recipe? I know I do, this Stuffed Shells Freezer Meal is the perfect meal to make ahead and have on hand for those busy nights! It’s best to use a disposable aluminum pan when you are planning on freezing this recipe.
Prepare the stuffed shells as directed above, but do not bake. Simply cover with aluminum foil and label the top and place in the freezer.
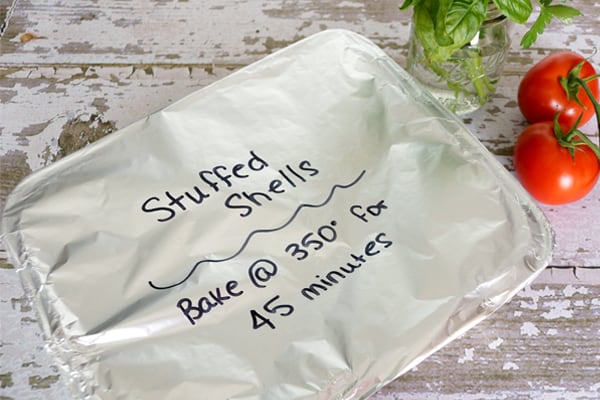
When you are ready to enjoy this delicious meal, bake uncovered at 350˚ for 45 minutes or until it gets nice and bubbly and slightly browned on top.
Such an easy, crowd pleasing recipe! Hope you enjoy!
More Freezer Meals
- Easy Homemade Lasagna
- Slow Cooker Boneless Pork Ribs
- Instant Pot Teriyaki Chicken
- Easy Chicken Noodle Soup
- Creamy Chicken Enchiladas
Stuffed Shells Recipe
Ingredients
- 6 oz jumbo shell pasta (about 20 shells)
- 24 oz jar marinara sauce
- 2 tbsp water
- 15 oz ricotta cheese
- 1/2 cup parmesan cheese
- 1 large egg
- 2 tsp dried basil
- 2 tsp dried parsley
- 8 oz shredded mozzarella cheese
Instructions
- Prepare a 9×13 pan by lightly spraying with non-stick spray. Add about half the jar of prepared sauce and 2 T. of water to the bottom of the pan. Stir around until the bottom of the pan is coated.
- Cook the shell pasta as directed on the package.
- In a large bowl combined the ricotta cheese, parmesan cheese, egg, basil, parsley. Mix well.
- Drain the shell pasta and run under cool water. Once cooled, fill each shell with cheese mixture. Place each shell seam side down in the prepared 9×13 pan.
- Pour remaining sauce over the shells and top with mozzarella cheese. Bake at 350˚ for 35 minutes or until bubbly and slightly browned.
Notes
Nutrition
Loved this recipe?
Make sure to follow on Instagram @happymoneysaver and on Pinterest @happymoneysaver for more money savin’ recipes!
This recipe was first posted July 6th, 2017, but has been updated with new photos and better detailed instructions and tips on Dec 21st, 2020.

About Karrie
Food is my love language. But so is saving money. So I like to combine the two a lot and make thrifty make ahead and freeze meals to save time. Because life is busy, and freezer meals can come to the rescue for all of us. And yes, they actually CAN taste good. Read more...


Comments & Reviews
Heather says
How long does this last in the freezer for?
Elizabeth says
I’m a bit confused by the serving size. Does it make 6 servings or do 6 shells make a serving? Also, in the nutritional info, does 1 serving have about 400 calories, or 1 shell?
Ann Terry says
1 shell = 1 serving
It says 407 kcal….. But that would be 407000 calories. That can’t be right for 1 shell.
I am as confused as you are.
Karrie says
Each serving is 4 shells for the 416 calories – fixed it, thanks for letting me know! 😉
Michael says
Made these, which are awesome!
Can you please tell me what software you use to type your recipes with the nutrition information?
Many thanks and much appreciated.
Lenetta says
Can u cook these, then freeze and reheat in microwave
Karrie says
You can, but they probably won’t taste quite as good as if you baked them fresh on the cooking day.
Lynda McAdams says
Another source suggests freezing the shells individually on a cookie sheet on parchment paper to prevent sticking, bagging them and placing back into freezer. Then when ready to cook place in a casserole dish and add sauce and cheese. This may help with the thawing process, as there is not as much to thaw.
Cathy says
This is what I do- then you can thaw whatever portion size you need and it saves freezer room as well.
Amy says
What temperature and how long do you cook them when you bake them this way?
Thanks!
Megan says
Can you make this the night before and bake the next day?
Karrie says
Yes you totally can!
Barbara Walker says
I hope this helps with cooking the meal after it was frozen. I usually put a meal that was put in the fridge to thaw in the oven while it is preheating. I have found that this helps with further thawing of the meal. I have found that by doing this, you can now cook meal as planned. Just keep an eye on it since all ovens are different. Hope it helps.
Linda Hinton says
This works great with metal pans, but I think it would crack a glass pan as ovens default to a very high heat when preheating. I freeze my shells without any sauce on a sheet pan and keep in a zip loc in the freezer, and only pull out how many I need each time, and I frequently use glass pans simply because they look nicer on the table.
I also a tiny bit of fresh nutmeg to these (it adds a subtle flavor thats really nice) and also add frozen spinach (thawed and squeezed dry) – it makes them extra pretty and adds some nutrition.
Ike says
I made this in a glass 9×13 glass pan & froze it to bake at a later time. Is this ok ??? Because you said to use an aluminum pan.
Karrie says
You just cant put a frozen glass pan into a hot oven or it could break. So thaw it first in fridge, then let it thaw at room temp for a little bit (like 20-30 mins) before baking.
Deborah Lucas says
I made this tonight, only I made my own sauce with hamburger meat. it came out really good!
Chelsey says
If I put sausage into the sauce, will that reheat ok?
Karrie says
Yes that will reheat just fine!
Andrea says
I made this and took it out of the freezer last night to thaw in the fridge. Its been in the oven now for an hour and still ice cold. What went wrong? I let it thaw for almost 24 hours first.
Beth Mangus says
Can you freeze left overs?
Julia says
Question:
I rarely use aluminum in our home and wondered why you preferred not using glass 9×13 pans in the freezer?
Does it have to do with the freezer to hot oven (cracking issue) or is it something else I am not aware of? I’ve never really “freezer” cooked except to reheat batch cooked items on the stove top/microwave.
Gina Marie says
I am making this recipe for a dinner party tomorrow and was wondering could I prep tonight, and just top it with sauce and cheese tomorrow before baking it? I will already have the sauce on bottom of pan and shells stuffed.
Karrie says
Yes you totally can do that! 🙂 Hope you have a wonderful dinner party!
Annie says
I add 2 boxes of (thawed, well-drained) frozen spinach and ground Italian sausage to mine. YUM!!!
Marti says
Added 1/2 a package of frozen chopped broccoli (thawed). My kids ate it right up!
Lindsey says
So it’s been an hour and the pan is still cold to the touch on top. What am I doing wrong here?
Happy.MoneySaver says
Did you thaw it out the night before in your fridge? When it goes from freezer to oven, it has to heat the pan first then the food. It takes a lot longer than when it is already thawed a little bit.
Maggie says
This is not something my husband would like, however I think they look amazing – since they make so many, I don’t want to re-heat the entire pan. Is there a way to individually package them/re-heat them so I can have them for multiple lunches/dinners? Thanks!
Happy.MoneySaver says
Yes, I like to package them smaller for lunches using a bread pan. It’s a great lunch or a small dinner.
Jessi says
I made these a little over a week ago, froze them and had them for dinner last night. They were delicious! I’m normally not a big fan of stuffed shells, but my husband and I enjoyed these. I’ll be making them again.
Amy says
Do we need to thaw it out first before baking?
Happy.MoneySaver says
I like to pull it out the night before or morning before so it is faster to cook.
Melissa says
That makes a lot of sense…. having a heck of a time trying to get my cheese to melt/bubble and look appetizing going straight from freezer to oven. Been an hour and no bubbly goodness yet….and this is after bumping temp to 375 after 45 mins then again to 400 at the hour mark. Poo.
Happy.MoneySaver says
Sometimes I even put the broiler on for a couple minutes so I can get the cheese to bubble!
Meari says
This looks really good… and easy!
Question: How long can it be kept in the freezer before freezer burn sets in?
Happy.MoneySaver says
I wouldn’t keep them in the freezer for longer than 3 months!